FastStone Capture (FSCapture) is classic and easy to use Screen Color Picker, also has Screen Ruler and screenshots, FastStone Capture's color picking supports color values in three formats: RGB, Dec and Hex. It also has a color mixer, which can be edited after picking up the color. You can also use a ruler to measure the distance between two horizontal or vertical points. The unit can be "pixels", "cm", or "inches".
Other functions:
The software can take screenshots of active windows and control objects in the window, and supports Freely take screenshots of hand-painted areas, or scroll windows, etc. All major image formats are supported. FastStone captures can be saved to BMP, GIF, JPEG, PCX, PNG, TGA, TIFF, and PDF formats.
All resources on this site are contributed by netizens or reprinted by major download sites. Please check the integrity of the software yourself! All resources on this site are for learning reference only. Please do not use them for commercial purposes. Otherwise, you will be responsible for all consequences! If there is any infringement, please contact us to delete it. Contact information: admin@php.cn
Related Article
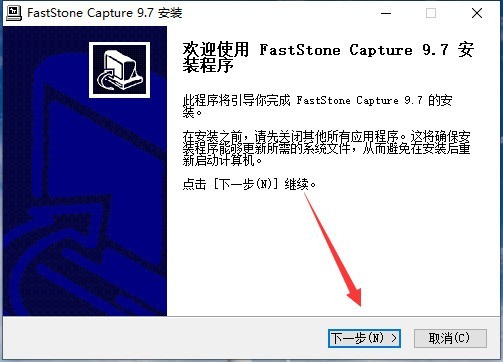 How to install FastStone Capture FastStone Capture installation steps
09 May 2024
1. Download the FastStoneCapture software package from the PHP Chinese website, unzip it, double-click the exe file to enter the installation program, and click [Next] to continue. 2. View the software license agreement and click [I Accept] to continue the installation. 3. The default installation location of FastStoneCapture software is [C:/ProgramFiles(x86)/FastStoneCapture]. Click [Browse] to select other locations for installation. 4. After selecting the installation location, click [Install]. 5. FastStoneCapture software is being installed, please wait. 6. FastStoneCapture software is installed successfully. Click [Finish] to exit the installation.
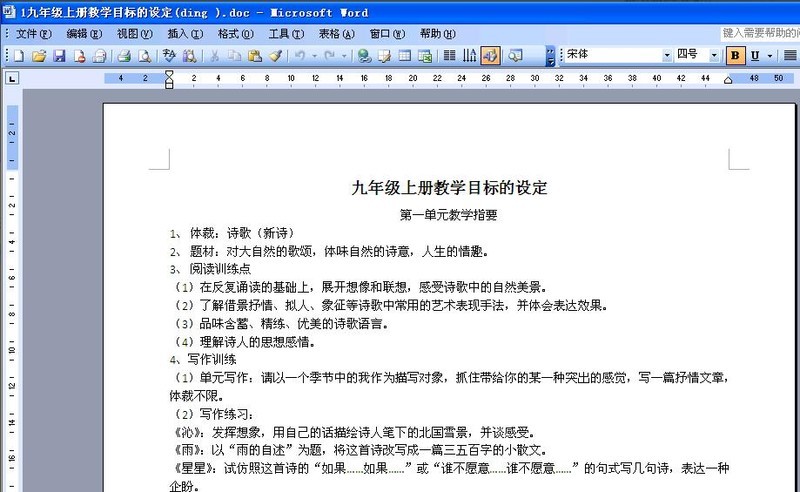 How to take screenshots with FastStone Capture FastStone Capture screenshot tutorial
09 May 2024
First, open the WORD document that requires screenshots on your computer. Then, open the FastStoneCapture software and a toolbar will appear. Next, switch to the document interface and click the [Capture Scroll Window] button, as shown in the figure. A red frame will appear on the interface. Click the document with the mouse, and the document will scroll and capture until the end of the document. When it ends, a gentle "dang" sound will be emitted. If you want to stop in the middle, press the [esc] key to stop. After the capture is completed, you can directly save it as a picture. The editor has shared the FastStoneCapture screenshot tutorial here. I hope it can help everyone use FastStoneCapture better.
 IDEs and development tools commonly used by Python programmers
19 Oct 2016
Overview "If you want to do your job well, you must first sharpen your tools." If programming is the programmer's craft, then IDE is the programmer's bread and butter. The full name of IDE is Integration Development Envi
 How to set delayed capture in FastStone Capture? Set delayed capture method
09 May 2024
First, open the FastStoneCapture screenshot tool and you will see a list of tools, as shown below. Then, on the far right of the list of tools, click the Settings icon. Then, the Setting Icon dialog box pops up, and we select the [Capture] page. We can see that the first column includes the mouse pointer when capturing images. There is no check mark, indicating that the mouse icon will not be displayed when taking screenshots. The delay before capture is 0 seconds, which means that when we click to take a screenshot, we can only capture the current screen. If you need to include the mouse pointer when capturing the image, we check it directly in front. For capturing icons that need to bring up hidden menus, etc., we can set the pre-capture delay to 3 seconds. Just click OK. In this way, the next time we take a screenshot, we have three seconds to select the screenshot object we need.
 How to set up screenshot and save in FastStone Capture? How to set up screenshot and save
09 May 2024
First, open FastStoneCapture, click Settings or press F12 to enter the setting interface. Then, set automatic saving, set the output folder, select automatic saving, and click OK after setting.
 How does FastStone Capture not intercept the mouse pointer? Methods of not intercepting the mouse pointer
09 May 2024
First, after launching FastStoneCapture, click the settings icon on the main panel. Then, click [Settings] in the pop-up menu. After clicking, the settings window will open. Click in this window to switch to [Capture]. Next, uncheck "Include mouse pointer when capturing". After canceling, remember to click [OK] at the bottom to close the settings window. After setting like this, when you use FastStoneCapture to take a screenshot, even if the mouse pointer is included in the screenshot, it will not be included in the screenshot.


Hot Tools

PS CS6 Green Lite Edition
The best image processing software

Website imitation gadget 2.1
The latest PHP website imitation gadget

FileZilla 3.24
Free and open source FTP software

TortoiseSVN 1.9.5
Free open source SVN client
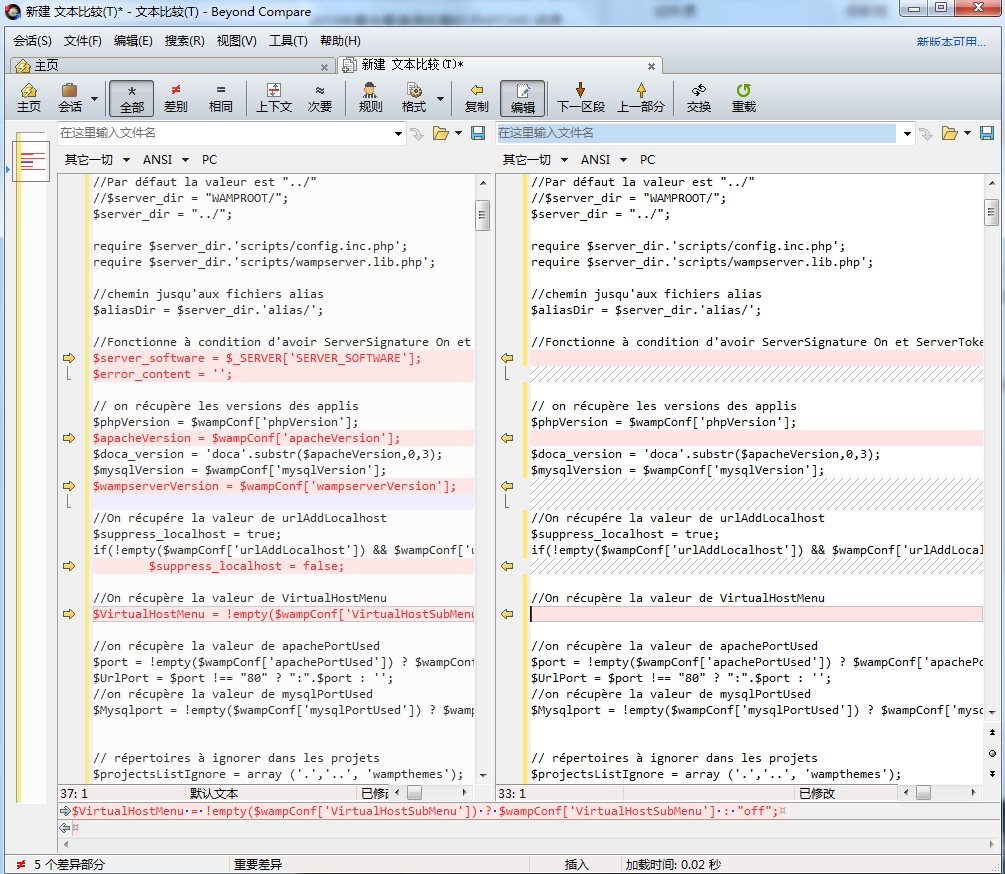
File comparison tool BCompare
File comparison tool


