
This article mainly introduces you to theSVN tool installation step tutorial.
SVN is the abbreviation of Subversion. It is an open source version control system that uses a branch management system. Unlike Git distributed version control system, SVN is centralized version control. Both tools have their own advantages and disadvantages, and you can choose according to different needs.
So in the previous article, I have introduced to you the difference betweenGit and Svnand the installation steps ofGit tool.
Now we will continue to bring you theSVN tool installation step tutorial!
First of all, everyone needs to know that SVN has two versions, one is the client version and the other is the server version.
svn client version:https://www.visualsvn.com/visualsvn/download/TortoiseSVN/
svn server version:https://www.visualsvn.com/server/
This tutorial takesSVN client versionas an example.
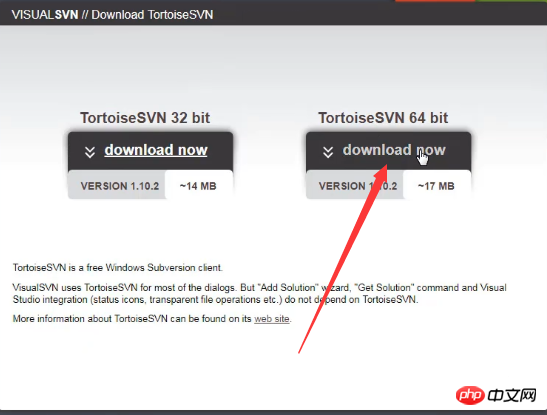
Step 1:Open the above svn client version link, find the following content in the interface and click to download.
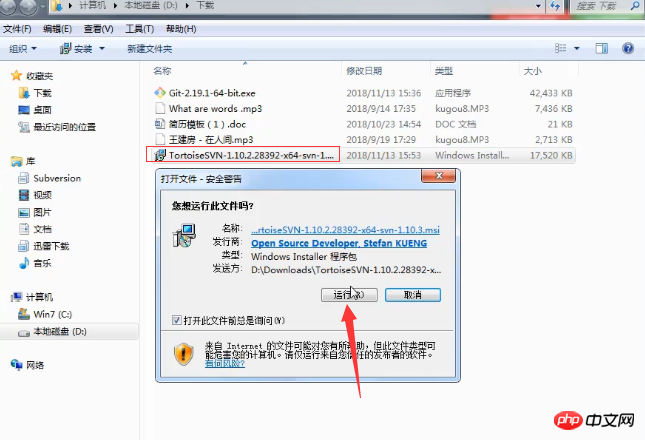
Step 2:Click Run to install the downloaded svn file.
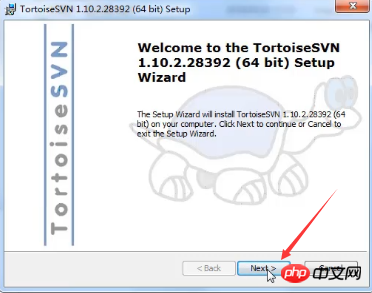
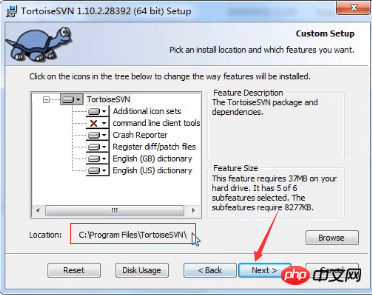
Click next directly.
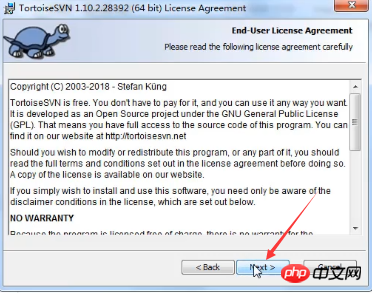
Select the download address here and continue next.
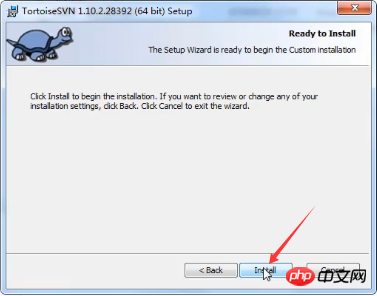
start installation.
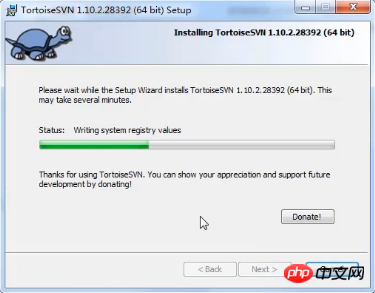
Waiting for installation.
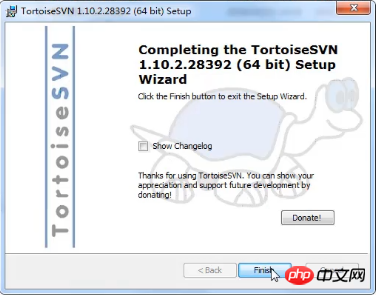
Click finish to indicate that the installation is complete.
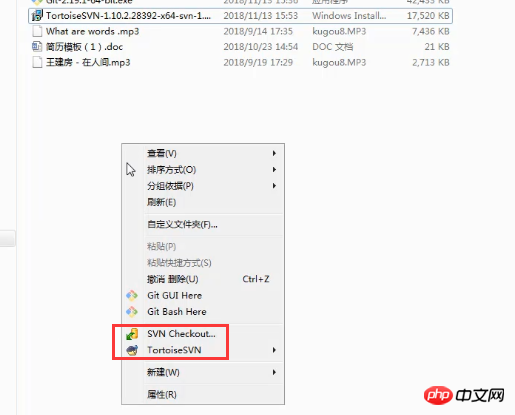
Step 3:Select a folder at random, right-click the mouse, and the following interface content appears, which means the svn tool is downloaded and installed successfully.
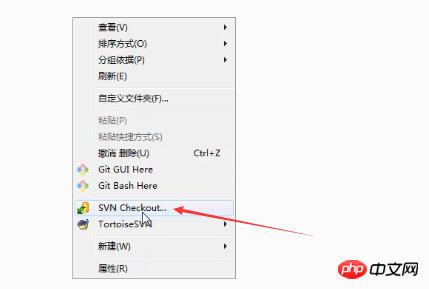
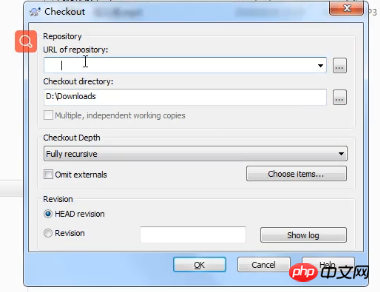
Step 4:Click svn checkout, the following content interface will appear, and you can use the svn tool.
This article is a tutorial on the installation steps of the svn tool. It is very simple. I hope it will be useful to friends who need it. help!
The above is the detailed content of How to install Svn tool. For more information, please follow other related articles on the PHP Chinese website!