Found a total of 10 related content
How to split a cell into two rows in Excel
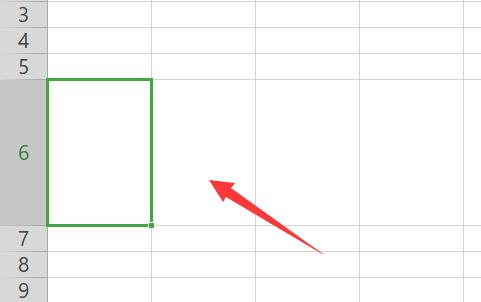
Article Introduction:How to split a cell into two rows in Excel? Many friends don’t know how to split cells. We need to display it in this way when editing data. So how should we set up to split a cell into two rows? Regarding this issue, next PHP The editor of the Chinese website will share the detailed operation method. I hope that today’s software tutorial can help more people. Introduction to the method of splitting a cell into two rows in Excel: 1. If you insist on splitting, you can use the automatic line wrap tool. 2. First, we drag the cells we want to split to make them larger for easier operation. 3. Then we enter the first line of text in the cell. 4. After the input is completed, click Automatically wrap 5. Then enter the second line of content. 6. Input
2024-09-12
comment 0
337

How to lock cells in excel so they cannot be modified. Excel sets cell locks so they cannot be modified.
Article Introduction:Many users have determined a lot of data in Excel tables, and these cells can be modified by default. In order to prevent the content from being changed, some users want to lock the cells, but they don’t know how to set it up. About The operation method of this problem is very simple. In today's software tutorial, the editor will take a look at the detailed setting steps of the problem with the majority of users. Interested friends are welcome to go to the PHP Chinese website to get it. How to lock cells in Excel from being modified: 1. First, right-click the cell you want to lock and select Format Cells. 2. Then enter the protection options, check Lock and confirm to save. 3. Then we click Review on the top toolbar. 4. Then click the Protect Worksheet option below. 5. Finally
2024-09-10
comment 0
418
How to uniformly indent the contents of excel cells WPS How to uniformly indent the contents of cells in excel
Article Introduction:When we use WPS software to create tables, we sometimes need to set the style of cells. So how can the contents of Excel cells be indented uniformly? Let this site introduce to users in detail how to set the uniform indentation of cell contents in WPS excel. How to uniformly indent the contents of excel cells? 1. First, we need to open the form to be set in WPS, as shown in the figure. 2. Next, we select the edited data content, then right-click and select the [Format Cells] option in the menu that opens. 3. When we enter the settings window, click the [Alignment] option, and then click the [Horizontal Alignment] option in the page that opens.
2024-09-14
comment 0
569
How to add a cell in wps How to add a cell in the prepared table in wps
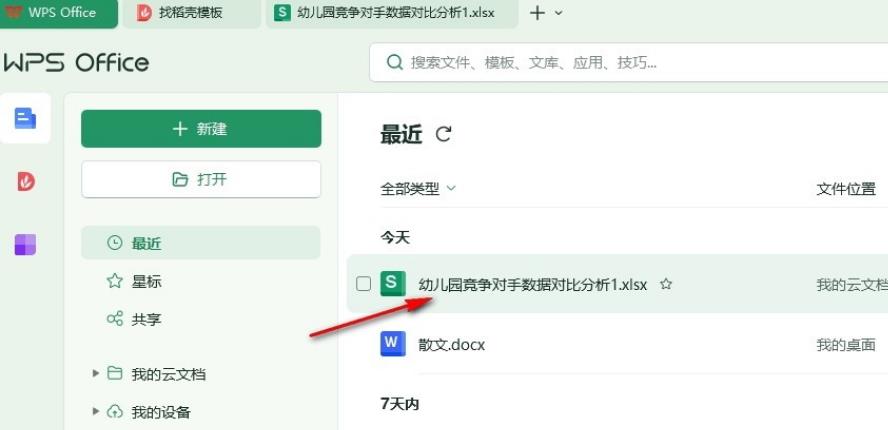
Article Introduction:WPS can help users create tables or documents according to their own needs, but many users want to add a blank cell after making the table. So how to set this up? Users can directly click on the blank cells to be added, and then find the row and column tools to operate, which can perfectly solve this problem. Let this site carefully introduce the tables that WPS is making for users. How to add a cell in the middle. How to add a cell to the prepared table in WPS 1. In the first step, we first click to open the WPS software on the computer, then find the table document that needs to be edited on the WPS page, and click to open the document. 2. In the second step, after entering the editing page of the table document, we will
2024-09-14
comment 0
999
How to split a cell into two in Excel Excel tutorial on how to split a cell into two
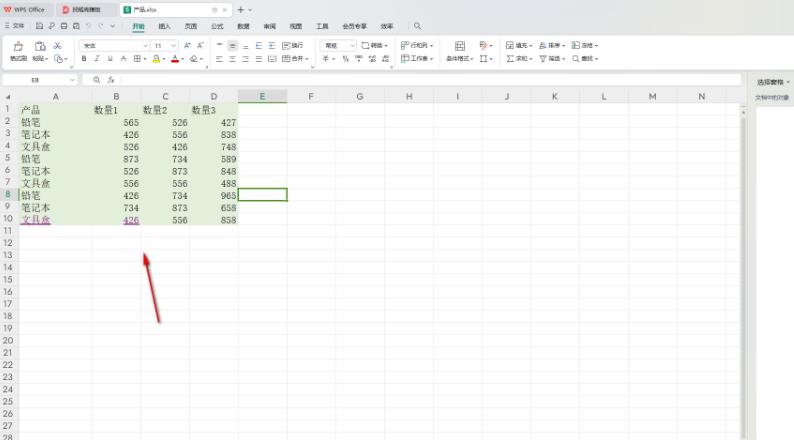
Article Introduction:When many of us use Excel tables to edit content, we sometimes need to divide a certain cell into two and fill in the corresponding data content top and bottom. However, many users do not know how to divide a cell into two, so what should we do? For setting up, today the editor of PHP Chinese website will share the specific operation steps with the majority of users. I hope that the content of this software tutorial can help more people. The steps are as follows: 1. First select the cells that need to be set. 2. Right-click a blank cell and click Format Cells in the pop-up menu. 3. Select the upper border again. 4. At this point you can see a diagonal line dividing it into two. 5. Select the required slash. 6. Then click OK. 7. Finally, the effect of splitting into two can be achieved.
2024-09-12
comment 0
518

What should I do if WPS cells cannot be dragged? What should I do if WPS Excel cells cannot be dragged?
Article Introduction:WPS is a very easy-to-use office software. Many users find that they cannot drag data when using WPS tables to edit data. So what should they do if WPS cells cannot be dragged? Users can directly click the location under the file option and then find the editor to set it. Let this site carefully introduce to users the solution to the problem that WPS Excel cells cannot be dragged. Solution to the problem that WPS Excel cells cannot be dragged: 1. Open a table and use the left mouse button to drag the cell data that needs to be dragged. It is found that the drag operation cannot be performed. 2. At this time, we can directly move the mouse to the [File] option on the upper left side. We need to click on this option to open it.
2024-09-12
comment 0
667
How to add a row to wps table wps table insert a row operation tutorial
Article Introduction:Many friends use wps software at work. Many users are still unfamiliar with editing table contents on the software. Some of them need to add a row after editing, but they don’t know how to do it. For this Question, this software tutorial will answer it for the majority of users. Next, let us take a look at the detailed operation steps. How to add a row to the WPS table: 1. First open the WPS software, and then select the row inside. 2. Then right-click and select Insert from the menu. 3. Then you can join successfully. 4. Similarly, if you want to insert a column, select a column first. 5. Then right-click and select Insert from the menu. 6. Finally, it can be inserted successfully.
2024-09-13
comment 0
856

How to cancel the hidden cell worksheet in WPS How to restore the hidden cell worksheet in WPS
Article Introduction:When we use WPS to edit the table, we hide some cell lists together for the sake of beauty. However, when we need to display them later, we don’t know how to restore the display. So today’s software tutorial editor will share with you Share how to unhide a cell sheet, let’s take a look at the detailed operation method. How to unhide a cell sheet in WPS: 1. Just select the hidden location to unhide it. 2. For example, here we can see that column C is hidden. 3. Then we put the mouse between columns B and D, and the mouse will turn into a two-way arrow. 4. Then just hold down the left mouse button to drag out the hidden rows. 5. The same is true for columns. Just drag the hidden position to drag it out.
2024-09-12
comment 0
815

How to copy discontinuous cells in wps How to copy discontinuous cells in wps
Article Introduction:When we edit a document, we will copy our own text content, but what do we do if we want to batch copy non-adjacent text? Users can directly open the document under WPS, select the content to be copied, and then press and hold the Ctrl key on the keyboard to select. Let this site carefully introduce to users the method of copying discontinuous cells in WPS. How to copy discontinuous cells in WPS 1. Open the Word text document that needs to be edited in WPS, as shown in the figure. 2. Then, we need to use the left mouse button to find the first content that needs to be copied in the document, as shown in the figure. 3. Then press and hold the Ctrl key on the keyboard, and then use the left mouse button to select other desired
2024-09-13
comment 0
531

How to unhide cells in exccel in WPS How to unhide cells in excel
Article Introduction:There are many practical functions in WPS, and it is a commonly used software in our daily office. If there is hidden content in the table document, how can the hidden content be restored? It's very simple, just turn on the hide and unhide option settings. Let's share the specific steps below, let's take a look. Setting method 1. Open a table document, then click the Open with option in the menu list, and then click the WPS office option. 2. After entering the WPS page, we select the area containing the hidden columns, and then open the row and column tools in the starting sub-toolbar. 3. After opening the row and column tool, we open the hide and unhide options in the drop-down list, and then select the unhide row or unhide column option in the submenu list.
2024-09-09
comment 0
560
