Home > Web Front-end > PS Tutorial > Photoshop简单制作丰富的水波纹

Photoshop简单制作丰富的水波纹

PHP中文网
Release: 2017-03-21 16:53:51
Original
2404 people have browsed it

  我们在《用Photoshop渲染类滤镜做云彩特效》中详细剖析了渲染类滤镜做特效的方法,今天我们来介绍具体的实例——水波纹。   1、Photoshop中新建一幅图像,如400×200,确保颜色为默认的前黑后白。新建一个图层。
  2、使用【滤镜_渲染_云彩】,图像大致如下图所示。
  
  3、使用【滤镜_扭曲_玻璃】,设置大致如下图。
  
  完成后效果如下图。
 
  4、使用【图像_调整_色彩平衡】,将中间调设置如下图。
   
  高光部分也做类似的设置。效果如下图。

  5、然后〖CTRL_T〗对该图层使用自由变换,然后选择透视,做出一个梯形透视。最终效果如下图。
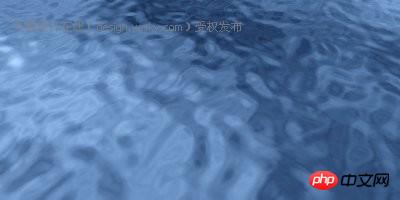
  
  总结:使用色彩平衡为灰度图像着色,通过阴影、中间调以及高光部分的不同设置,可以作出很丰富的效果。

source:php.cn
Statement of this Website
The content of this article is voluntarily contributed by netizens, and the copyright belongs to the original author. This site does not assume corresponding legal responsibility. If you find any content suspected of plagiarism or infringement, please contact admin@php.cn
Latest Articles by Author
Popular Tutorials
More>
Latest Downloads
More>
Web Effects
Website Source Code
Website Materials
Front End Template