
Home > Article > Web Front-end > Grunt's detailed explanation of static file compression and version control packaging

This article mainly brings you an example of Grunt's compression and version control packaging of static files. The editor thinks it is quite good, so I will share it with you now and give it as a reference for everyone. Let’s follow the editor to take a look, I hope it can help everyone.
Let’s talk about the general steps before talking about it: Install nodejs -> Install grunt globally -> Project creation package.json -> Project installation grunt and grunt plug-in -> Configure Gruntfile.js -> Run task
1. Install Node
We need to install Nodejs before we start, if there is no portal installed
After installation, check whether the installation is successful. Normally the prompt is like this
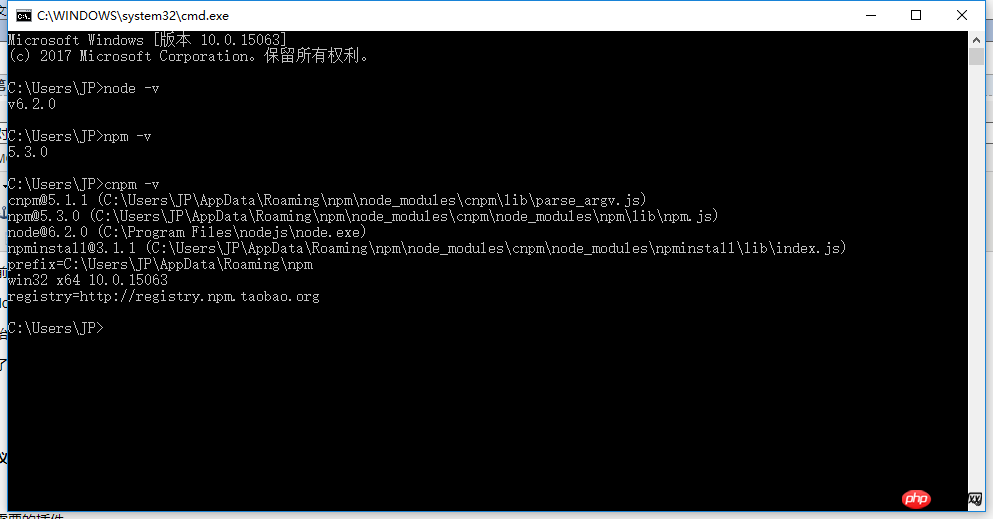
It is recommended that npm be replaced with Taobao’s cnpm , the speed is awesome.
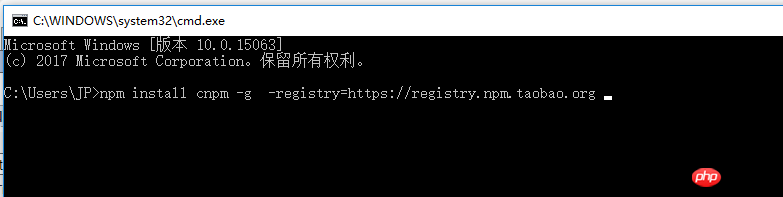
Installation command:
npm install cnpm -g -registry=https://registry.npm.taobao.org
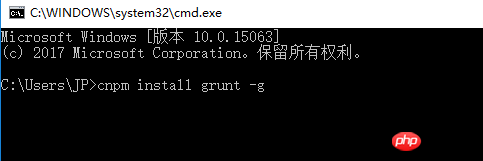
2. Install global Grunt
Installation command:
cnpm install grunt -g
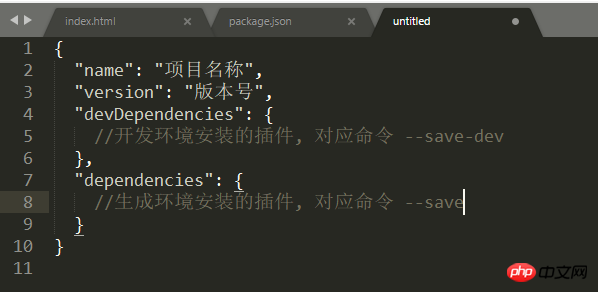
3.Project creation package.json
Create package in the project root directory .json file, the file content is as follows
4. Project installation grunt and grunt plug-in
The plug-ins we need
| Plug-in name | Description | Github address |
| grunt-contrib-clean | Clear files and folders | https://github.com/gruntjs/grunt-contrib-clean |
| grunt-contrib-copy | Copy files and folders | https://github.com/gruntjs/grunt-contrib-copy |
| grunt-contrib-concat | Connect and merge files (not used) | https://github.com/gruntjs/grunt-contrib-concat |
| grunt-contrib-cssmin | (CSS file) compression | https://github.com/gruntjs/grunt-contrib-cssmin |
| grunt-contrib-uglify | (JS file) compression | https://github.com/gruntjs/grunt-contrib-uglify |
| grunt-filerev | File content hash (MD5) (version number control) | https://github.com/yeoman/grunt-filerev |
| grunt-usemin | File reference modification | https://github.com/yeoman/grunt-usemin |
| load-grunt-tasks | oad-grunt-tasks | https://github.com/sindresorhus/load-grunt-tasks |
We open our project folder, enter cmd in the path bar and press Enter
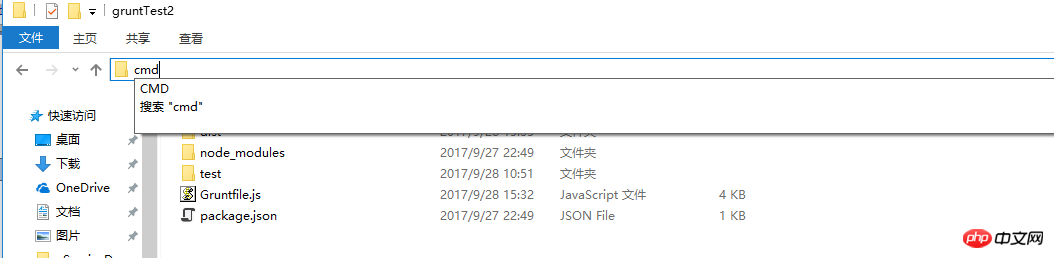
The interface after pressing Enter
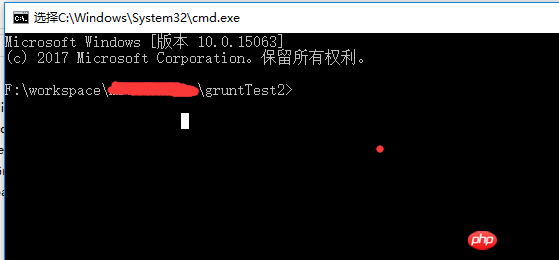
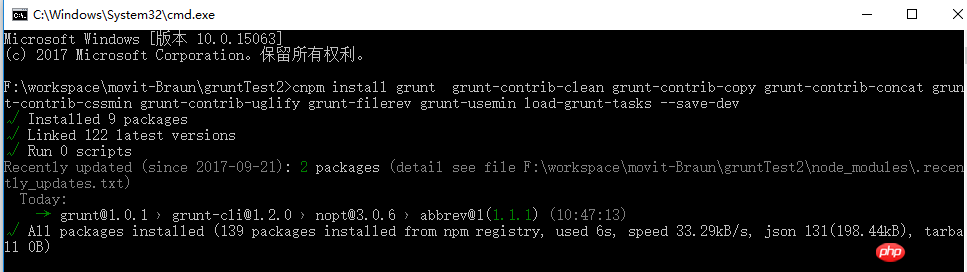
After opening the command line window, we enter the installation command:
cnpm install grunt grunt-contrib-clean grunt-contrib-copy grunt-contrib-concat grunt-contrib-cssmin grunt- contrib-uglify grunt-filerev grunt-usemin load-grunt-tasks --save-dev
.Configuration Gruntfile.js (This is the point, the point, the point. Say important things three times.)
I will post my configuration first, and I will explain it slowly latermodule.exports = function (grunt) {
require('load-grunt-tasks')(grunt);
var path = {
  src : 'test',
  dest : 'dist',
 }
grunt.initConfig({
path : path,
clean : {//清空生产文件夹
beforebuild : {
files : [{
src : ['<%= path.dest %>/']
}
]
}
},
filerev : {//对css和js文件重命名
build : {
files : [{
src : ['<%= path.dest %>/**',
'!<%= path.dest %>/page/*.html',//html文件不加版本号
'!<%= path.dest %>/**/*.{png,jpg,jpeg}']//图片 不需要加版本号
}
]
}
},
useminPrepare : {//声明concat、cssmin、uglify
build : {
files : [{
src : '<%= path.src %>/page/*.html'
}
],
}
},
usemin : {//修改html中的css和js引用
html : {
files : [{
src : '<%= path.dest %>/page/*.html'
}
]
}
},
copy : {//复制文件
   build : {
    files : [{
      expand : true,//为true启用cwd,src,dest选项
      cwd : '<%= path.src %>/',//所有src指定的匹配都将相对于此处指定的路径(但不包括此路径)
      src : ['**/*.*'],//相对于cwd路径的匹配模式。意思就是 src/**/*.*,匹配src下面所有文件
      dest : '<%= path.dest %>/'//目标文件路径前缀。
     }
    ]
   }
  },
cssmin :{
build : {
files : [{
expand : true,//为true启用cwd,src,dest选项
cwd : '<%= path.src %>/',//所有src指定的匹配都将相对于此处指定的路径(但不包括此路径)
src : ['css/*.css'],//相对于cwd路径的匹配模式。意思就是 src/**/*.css,匹配src下面所有css文件
dest : '<%= path.dest %>/'//目标文件路径前缀。
}
]
}
},
uglify :{
build : {
files : [{
expand : true,//为true启用cwd,src,dest选项
cwd : '<%= path.src %>/',//所有src指定的匹配都将相对于此处指定的路径(但不包括此路径)
src : ['js/*.js'],//相对于cwd路径的匹配模式。意思就是 src/**/*.js,匹配src下面所有js文件
dest : '<%= path.dest %>/'//目标文件路径前缀。
}
]
}
},
});
grunt.registerTask('default', ['clean:beforebuild', 'copy', 'cssmin', 'uglify','filerev', 'usemin']);
};We have been installing this and that, but how do we use these installed things? First of all, we learn how to use the plug-in by learning Getting Started with grunt. This is an example from the official website.
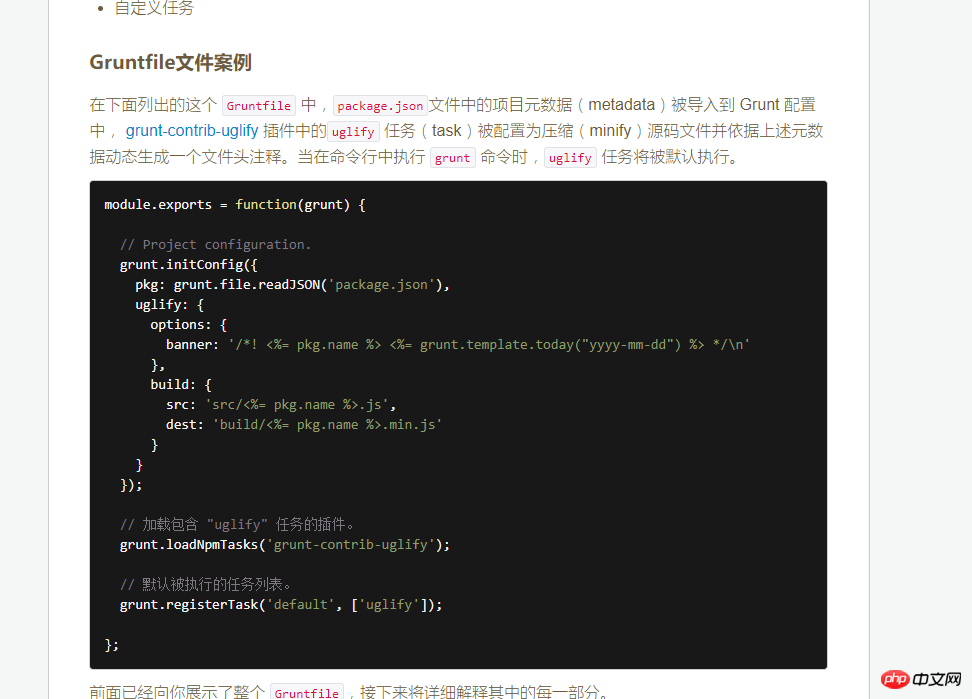
task name, can be viewed in the corresponding github
grunt.loadNpmTasks('grunt-contrib-uglify'); As you can see from the literal meaning, load a plug-in that can provide "uglify" tasks.
grunt.registerTask('default', ['uglify']); Register an alias task. This alias task corresponds to a task list
Step one: We need to repackage, then we need to copy the files, so we need the grunt-contrib-copy plug-in.
Before copying, we must first determine the source file and target file. The source files here are placed in the test folder, and the target files are placed in the dist folder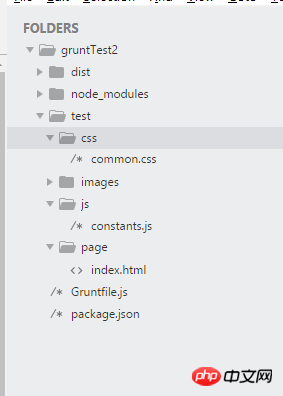
var path = {
src : 'test',
dest : 'dist',
}The file path is created, let’s look at copy
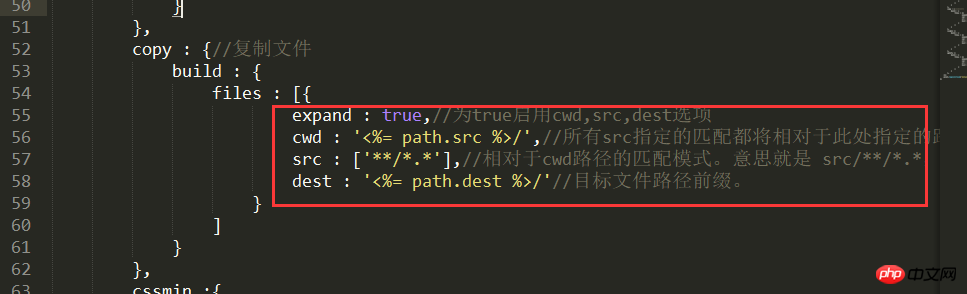
copy : {//复制文件
build : {
files : [{
expand : true,//为true启用cwd,src,dest选项
cwd : '<%= path.src %>/',//所有src指定的匹配都将相对于此处指定的路径(但不包括此路径)
src : ['**/*.*'],//相对于cwd路径的匹配模式。意思就是 src/**/*.*,匹配src下面所有文件
dest : '<%= path.dest %>/'//目标文件路径前缀。
}
]
}
},You can tell a lot from the comments in the code. Here we talk about cwd, src, dest. In fact, the source path here is cwd + src. This is the real source path. dest is the destination path prefix. What I mean here is all the files under src, which means copying the files in the src folder to the dest folder. Here you can specify the specific folder or file type that needs to be copied. Step 2: Compress files. I am only compressing js and css here. For img compression, you can view the corresponding plug-ins. The ideas are the same. css compression requires the grunt-contrib-cssmin plug-in, and the corresponding task name of the plug-in is cssmin
cssmin :{
   build : {
    files : [{
      expand : true,//为true启用cwd,src,dest选项
      cwd : '<%= path.src %>/',//所有src指定的匹配都将相对于此处指定的路径(但不包括此路径)
      src : ['css/*.css'],//相对于cwd路径的匹配模式。意思就是 src/**/*.css,匹配src下面所有文件
      dest : '<%= path.dest %>/'//目标文件路径前缀。
     }
    ]
   }
  },
js compression requires the grunt-contrib -uglify plug-in, the task corresponding to this plug-in is named uglify
uglify :{
   build : {
    files : [{
      expand : true,//为true启用cwd,src,dest选项
      cwd : '<%= path.src %>/',//所有src指定的匹配都将相对于此处指定的路径(但不包括此路径)
      src : ['js/*.js'],//相对于cwd路径的匹配模式。意思就是 src/**/*.js,匹配src下面所有文件
      dest : '<%= path.dest %>/'//目标文件路径前缀。
     }
    ]
   }
  },
Step 3: Rename static files. Our version control here is by renaming static files. realistic. Renaming requires the grunt-filerev plug-in. The task corresponding to the plug-in is called filerevfilerev : {//对css和js文件重命名
build : {
files : [{
src : ['<%= path.dest %>/**',
'!<%= path.dest %>/page/*.html',//html文件不加版本号
'!<%= path.dest %>/**/*.{png,jpg,jpeg}']//图片 不需要加版本号
}
]
}
},There is only one src parameter here, pass is an array. We only want to rename css and js here, not other files. Therefore, the first parameter of the array, src/**, matches all files in the src folder, and the last two! xx means exclusion. Step 4: Modify the references to css and js in htmlYou need to use the grunt-usemin plug-in to modify the file reference. The task corresponding to the plug-in is called usemin
usemin : {//修改html中的css和js引用
   html : {
    files : [{
      src : '<%= path.dest %>/page/*.html'
     }
    ]
   }
  },
There is only one src parameter here, which is html The address, if you still have css, you can write it like this
usemin : {//修改html中的css和js引用
   html : {
    files : [{
      src : '<%= path.dest %>/page/*.html'
     }
    ]
   },
   css :{
    files : [{
      src : '<%= path.dest %>/css/*.css'
     }
    ]
   }
  },
Step 5: We have already talked about copying, compressing, renaming, and modifying references, but there is still more to do here. One thing is that we need to delete the files in the target folder before each copy. You need to use the grunt-contrib-clean plug-in to modify file references. The task corresponding to this plug-in is called clean
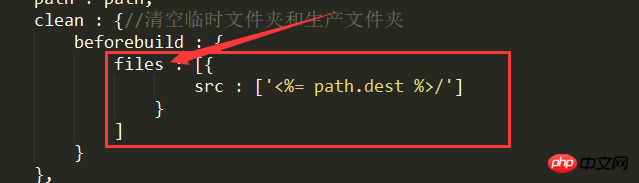
clean : {//清空生产文件夹
   beforebuild : {
    files : [{
      src : ['<%= path.dest %>/']
     }
    ]
   }
  },
There is only one src parameter here. Give the address of the destination folder. All tasks are settled here. Our registration task number
grunt.registerTask('default', ['clean:beforebuild', 'copy', 'cssmin', 'uglify','filerev', 'usemin']);
可以看到,我们这里只是注册了任务,并没有应用插件。我们添加插件是听过 load-grunt-tasks 插件完成的
require('load-grunt-tasks')(grunt);这里指令相当于我们一个个写
grunt.loadNpmTasks('xxx');Gruntfile.js 配置完了之后我们执行grunt命令就可以在目标文件夹中得到我们所需要的文件
这里补充说明几点:
Gruntfile.js 配置完了之后我们执行grunt命令就可以在目标文件夹中得到我们所需要的文件
这里补充说明几点:
这种写法是动态构建文件对象
这种写法是文件数组格式
相关推荐:
The above is the detailed content of Grunt's detailed explanation of static file compression and version control packaging. For more information, please follow other related articles on the PHP Chinese website!