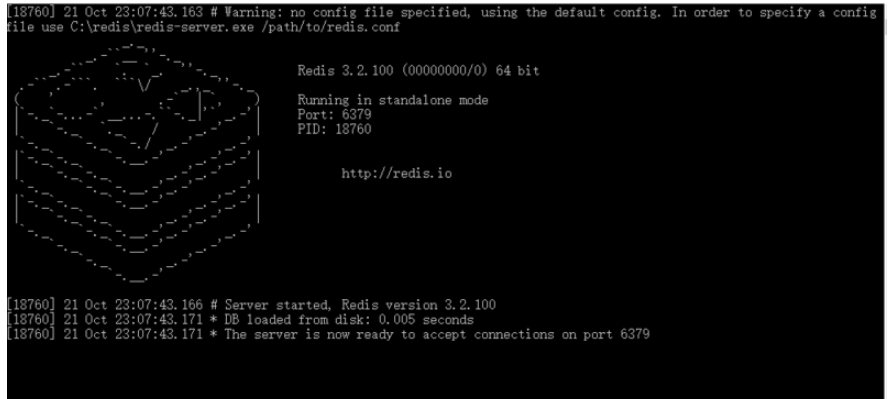
먼저 Redis 서버를 엽니다:

그런 다음 springboot에 구성 파일을 추가합니다.
# Redis数据库索引(默认为0)
spring.redis.database=0
# Redis服务器地址
spring.redis.host=localhost
# Redis服务器连接端口
spring.redis.port=6379
# Redis服务器连接密码(默认为空)
spring.redis.password=
# 连接池最大连接数(使用负值表示没有限制)
spring.redis.pool.max-active=8
# 连接池最大阻塞等待时间(使用负值表示没有限制)
spring.redis.pool.max-wait=-1
# 连接池中的最大空闲连接
spring.redis.pool.max-idle=8
# 连接池中的最小空闲连接
spring.redis.pool.min-idle=0
# 连接超时时间(毫秒)
spring.redis.timeout=0
마지막으로 springboot pom.xml 파일에 종속성을 추가합니다.
<dependency>
      <groupid>org.springframework.boot</groupid>
      <artifactid>spring-boot-starter-data-redis</artifactid>
    </dependency>
그런 다음 springboot 프로젝트에서 쓰기 테스트 클래스:
@RunWith(SpringRunner.class)
@SpringBootTest
public class ShoppingApplicationTests {
	@Autowired
	  private StringRedisTemplate stringRedisTemplate;
	@Test
	  public void test() throws Exception {
		List<string> list =new ArrayList();
		list.add("a");
		list.add("b");
		list.add("v");
		stringRedisTemplate.opsForValue().set("abc", "测试");
		stringRedisTemplate.opsForList().leftPushAll("qq",list);
		// 向redis存入List
		stringRedisTemplate.opsForList().range("qwe",0,-1).forEach(value ->{
			System.out.println(value);
		}
		);
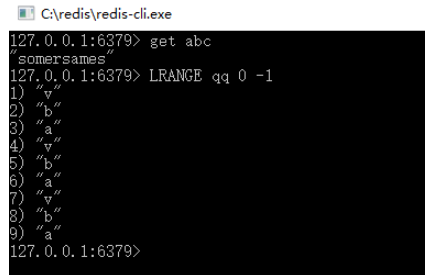
}</string>그러면 redis에서 새로 생성된

을 볼 수 있습니다. 그러면 이것은 springboot를 redis
에 연결하는 가장 간단한 방법입니다.위 내용은 Redis를 SpringBoot와 연결하는 방법의 상세 내용입니다. 자세한 내용은 PHP 중국어 웹사이트의 기타 관련 기사를 참조하세요!