


This article mainly introduces the analysis of how NodeJS operates the message queue RabbitMQ. It has a certain reference value. Now I share it with you. Friends in need can refer to it
Message (Message) refers to the data transmitted between applications. Messages can be very simple, containing only text strings, or more complex, possibly containing embedded objects.
Message Queue (Message Queue) is a communication method between applications. Messages can be returned immediately after being sent. The message system ensures reliable delivery of messages. The message publisher just publishes the message to MQ and doesn't care who gets it, and the message consumer just gets the message from MQ regardless of who publishes it. In this way, neither the publisher nor the user needs to know the existence of the other party.
RabbitMQ, RocketMQ, ActiveMQ, Kafka, ZeroMQ, MetaMq.
Even now some NoSQL can also be used as message queues, such as Redis.
Large-scale companies will have their own log analysis system. How is the log system implemented?

Illustration: When a user accesses an application, we need to record the user's operation record and the system's exception log. The conventional approach is It saves the logs generated by the system to the server disk, starts scheduled tasks in the server, regularly transfers the log information from the disk to mq (producer), and also regularly takes out the messages in mq and saves them to the corresponding database, such as ElasticSearch or Hive.
The above case introduces a usage scenario of MQ. I am using RabbitMQ as an example here. Kafka may be used in real projects.
First install brew (mac as an example)
/usr/bin/ruby -e "$(curl -fsSL https://raw.githubusercontent.com/Homebrew/install/master/install)"
Install RabbitMQ
brew install rabbitmq
Run RabbitMQ
Enter /usr/local/Cellar/rabbitmq/3.7 .7. Execute
sbin/rabbitmq-server
Start plug-in
Enter /usr/local/Cellar/rabbitmq/3.7.7/sbin
./rabbitmq-plugins enable rabbitmq_management
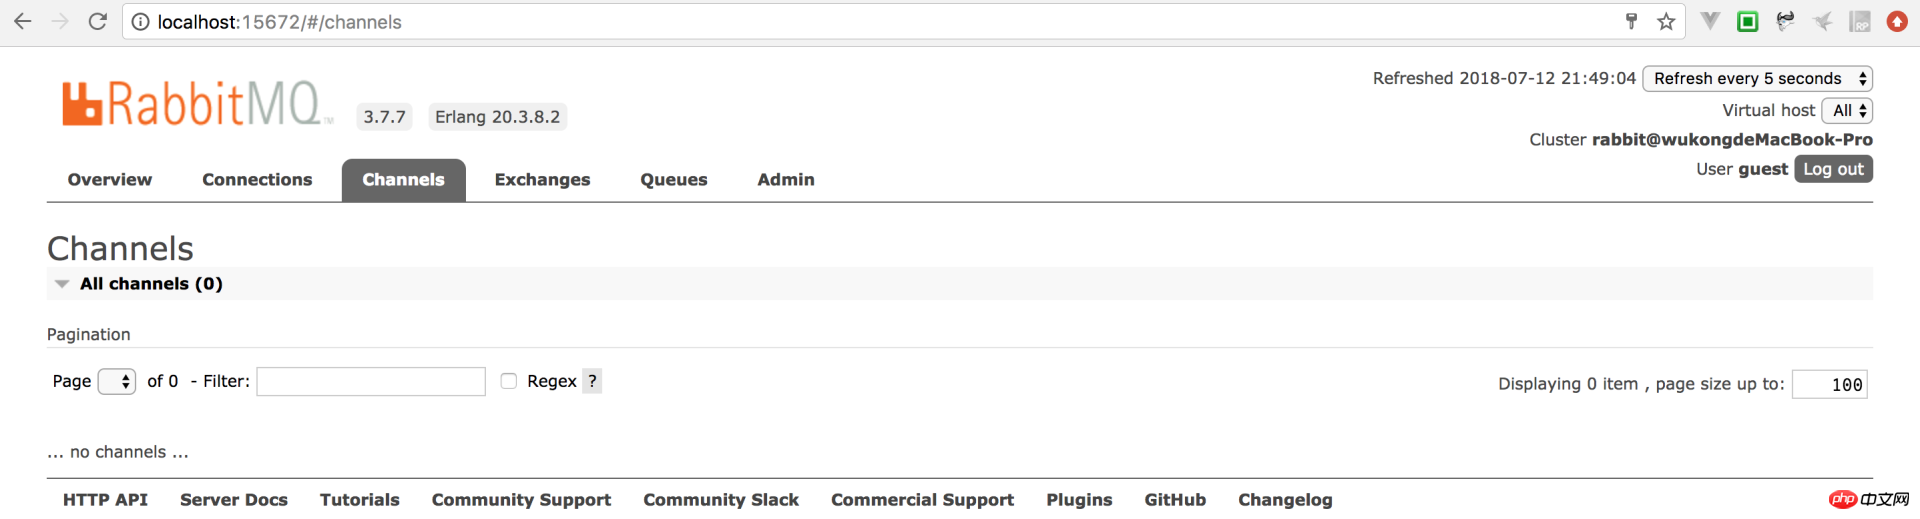
Log in to the management interface
Open the browser and enter: http://localhost:15672, RabbitMQ defaults to port 15672. Nodejs operates RabbitMQ
You can find several corresponding responses online Node SDK, here we recommend amqplib
1. Producer
/**
 * 对RabbitMQ的封装
 */
let amqp = require('amqplib');

class RabbitMQ {
    constructor() {
        this.hosts = [];
        this.index = 0;
        this.length = this.hosts.length;
        this.open = amqp.connect(this.hosts[this.index]);
    }
    sendQueueMsg(queueName, msg, errCallBack) {
        let self = this;

        self.open
            .then(function (conn) {
                return conn.createChannel();
            })
            .then(function (channel) {
                return channel.assertQueue(queueName).then(function (ok) {
                    return channel.sendToQueue(queueName, new Buffer(msg), {
                        persistent: true
                    });
                })
                    .then(function (data) {
                        if (data) {
                            errCallBack && errCallBack("success");
                            channel.close();
                        }
                    })
                    .catch(function () {
                        setTimeout(() => {
                            if (channel) {
                                channel.close();
                            }
                        }, 500)
                    });
            })
            .catch(function () {
                let num = self.index++;

                if (num <= self.length - 1) {
                    self.open = amqp.connect(self.hosts[num]);
                } else {
                    self.index == 0;
                }
            });
    }
}2. Consumer
/**
 * 对RabbitMQ的封装
 */
let amqp = require('amqplib');

class RabbitMQ {
    constructor() {
        this.open = amqp.connect(this.hosts[this.index]);
    }
    receiveQueueMsg(queueName, receiveCallBack, errCallBack) {
        let self = this;

        self.open
            .then(function (conn) {
                return conn.createChannel();
            })
            .then(function (channel) {
                return channel.assertQueue(queueName)
                    .then(function (ok) {
                        return channel.consume(queueName, function (msg) {
                            if (msg !== null) {
                                let data = msg.content.toString();
                                channel.ack(msg);
                                receiveCallBack && receiveCallBack(data);
                            }
                        })
                            .finally(function () {
                                setTimeout(() => {
                                    if (channel) {
                                        channel.close();
                                    }
                                }, 500)
                            });
                    })
            })
            .catch(function () {
                let num = self.index++;
                if (num <= self.length - 1) {
                    self.open = amqp.connect(self.hosts[num]);
                } else {
                    self.index = 0;
                    self.open = amqp.connect(self.hosts[0]);
                }
            });
}3. Send a message to MQ through the producer and create a queue
let mq = new RabbitMQ();
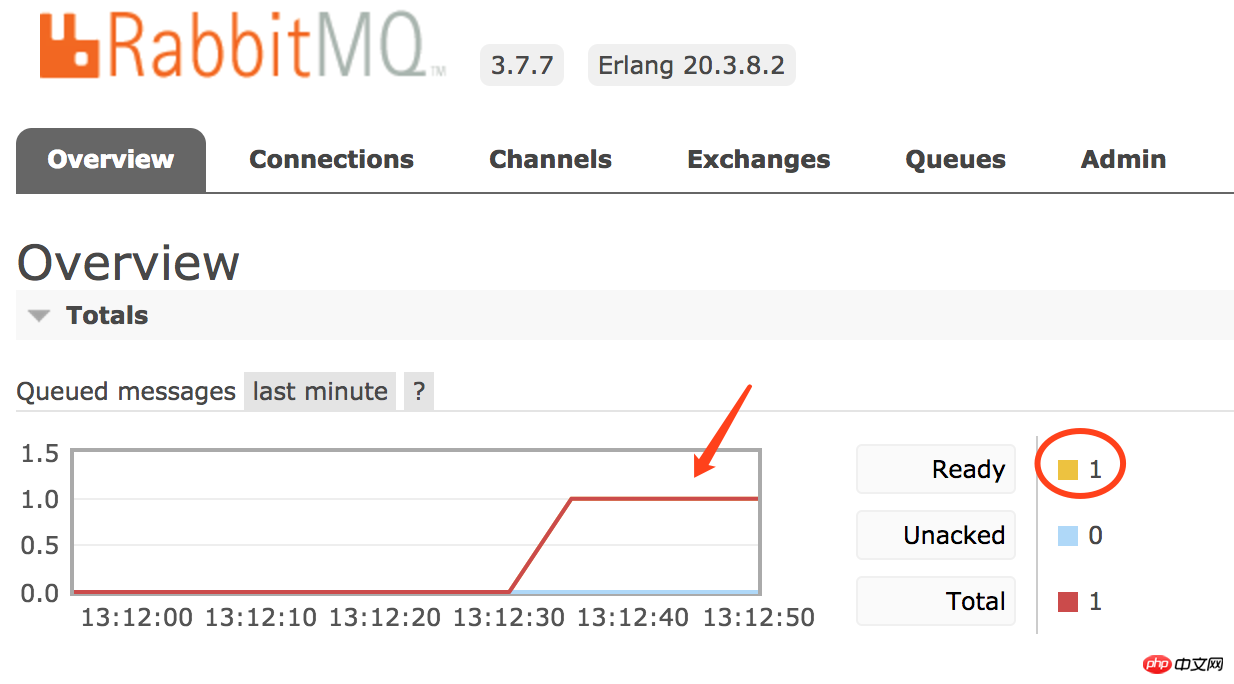
mq.sendQueueMsg('testQueue', 'my first message', (error) => {
console.log(error)
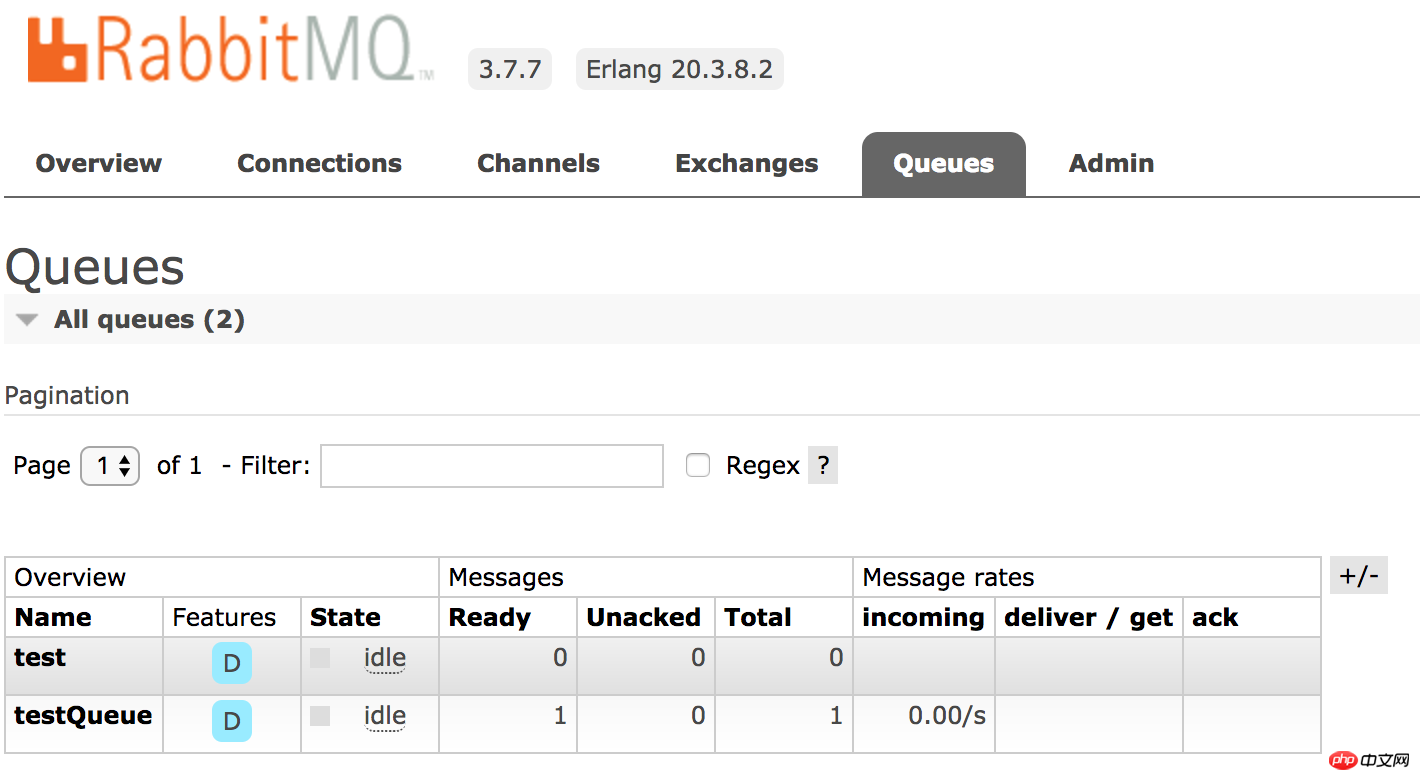
}) After execution, we opened the management platform and found that RabbbitMQ had received a message:
and RabbbitMQ added a new queue testQueue
4. Get messages from the specified queue
let mq = new RabbitMQ();
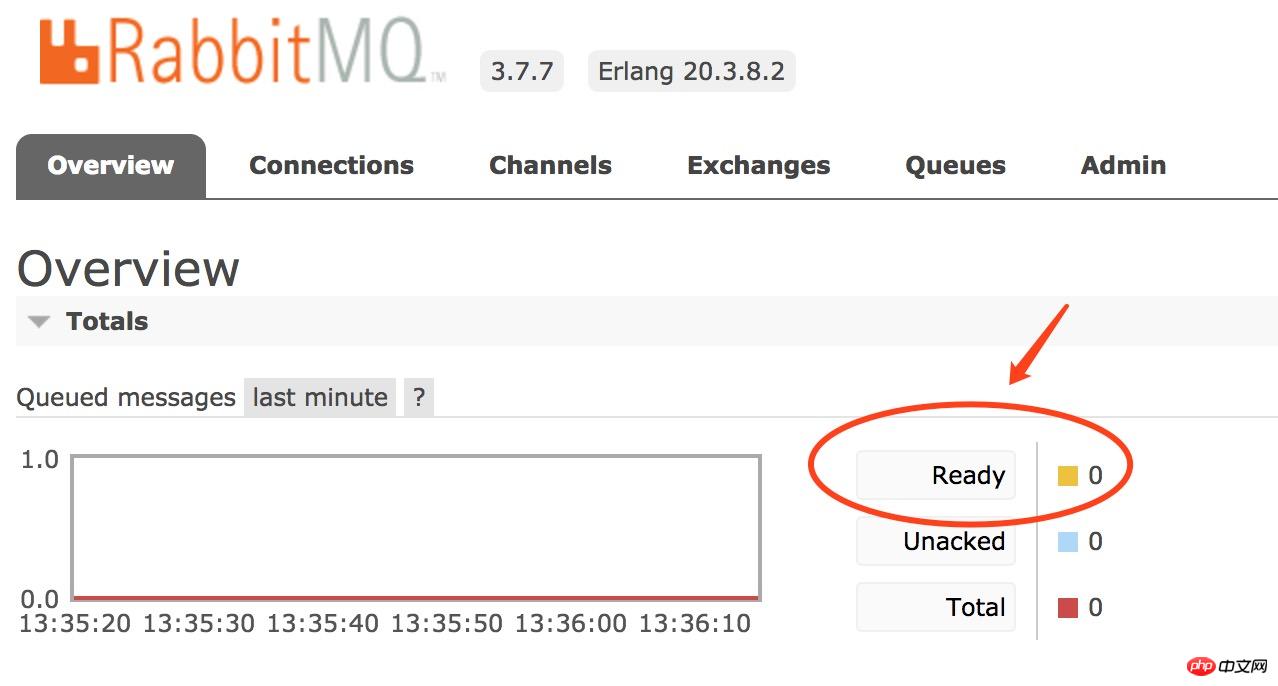
mq.receiveQueueMsg('testQueue',(msg) => {
console.log(msg)
})// 输出结果:my first message复制代码At this time, open the RabbitMQ management platform, and the number of messages has become 0
To summarize: We briefly talked about some knowledge related to message queues and RabbitMQ, and how we produce and consume messages through nodejs.
The above is the entire content of this article. I hope it will be helpful to everyone's study. For more related content, please pay attention to the PHP Chinese website!
Related recommendations:
How to implement the file download function using JavaScript
Call baidu-aip through node.js -SDK realizes the function of ID card recognition
The above is the detailed content of Analysis of how NodeJS operates message queue RabbitMQ. For more information, please follow other related articles on the PHP Chinese website!


![[Web front-end] Node.js quick start](https://img.php.cn/upload/course/000/000/067/662b5d34ba7c0227.png)


