
This article mainly introduces the basic tutorial of using JavaScript to draw graphics using Canvas. It has certain reference value and interested friends can refer to it.
Since HTML5 has become very popular in the past two years, I did some research. Recently, I had an idea to use HTML-related functions, so I also need to learn it carefully.
After taking a good look at the functions of Canvas, I feel that HTML5 is becoming more and more functional in client-side interaction. Today I took a look at Canvas drawing. Here are a few examples. Note them down for future use.
1. Use Canvas to draw a straight line:
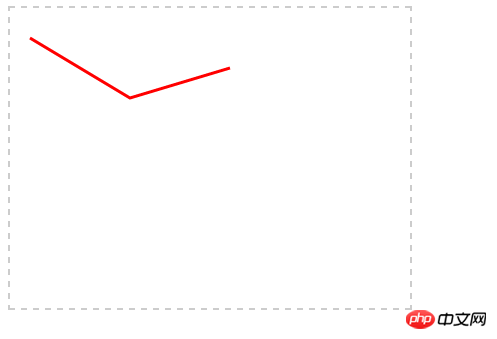
Used here The two API methods, moveTo and lineTo are the starting point and end point coordinates of the line segment respectively, the variables are (X coordinate, Y coordinate), strokeStyle and stroke respectively path drawing style and drawing path.
2. Draw gradient lines
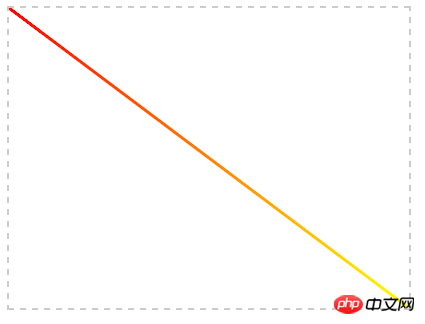
Gradient lines have a gradient effect in color. Of course, the gradient style can follow the direction of the path. You can also not follow the direction of the path:
3. Draw a rectangle or square:
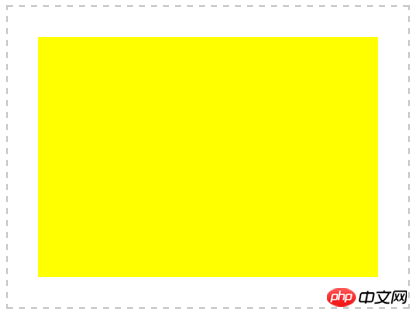
If you use HTML4, this kind of rectangular frame can only be generated using background code. Now the Canvas function provided by HTML5 can be easily drawn, so the superiority of HTML5 is quite high.
A method is used here - fillRect(). From the literal meaning, you can also know that this is to fill a rectangle. The parameters here are worth explaining fillRect(X , Y, Width, Height), this is different from the coordinates in mathematics. For details, please see
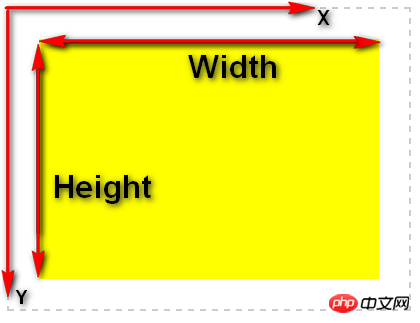
where X and Y are relative to the starting point of the upper left corner of the Canvas. Yes, remember! !
4. Draw a simple rectangular box
The above example talks about drawing a rectangular block and filling it with color. This example simply draws a rectangle. No filling effect is achieved.
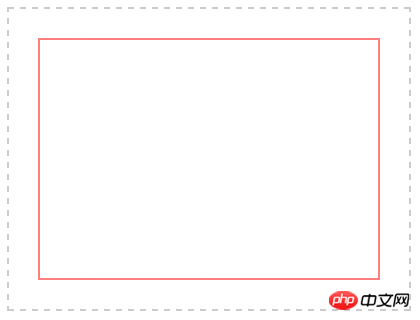
This is very simple, just like the above example, just replace fill with stroke. For details, see the above example. .
5. Draw a rectangle with linear gradient
Gradient is a pretty good effect of filling. Combining Example 2 and Example 3, we can create a gradient Rectangle
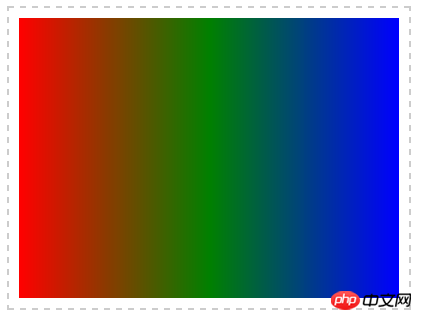
I won’t explain it, just remember fillRect(X,Y,Width,Height).
6. Fill a circle
Circles are widely used, and of course they also include ellipses.
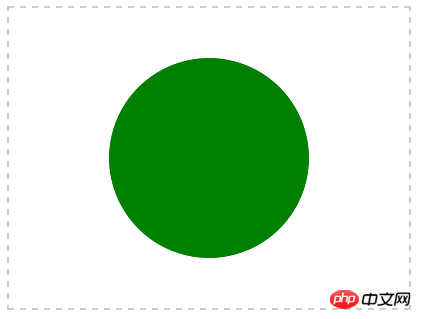
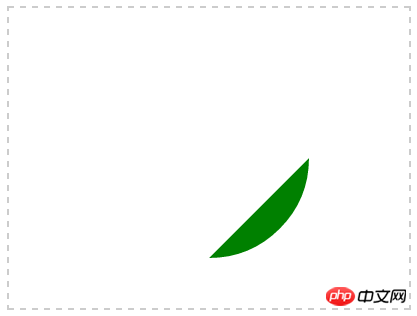
The usage of arc method here is arc(X,Y,Radius,startAngle,endAngle,anticlockwise), It means (X coordinate of circle center, Y coordinate of circle center, radius, starting angle (radians), ending angle radians, whether to draw clockwise);
Comparison of parameters in arc:
a, cans.arc(200,150,100,0,Math.PI,true);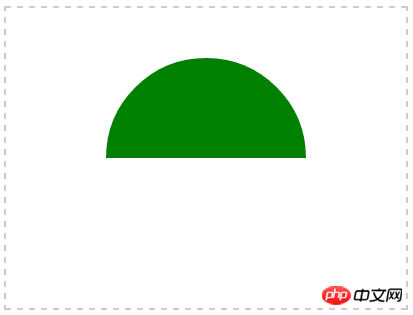
c、cans.arc(200,150,100,0,Math.PI/2,true);[/code]
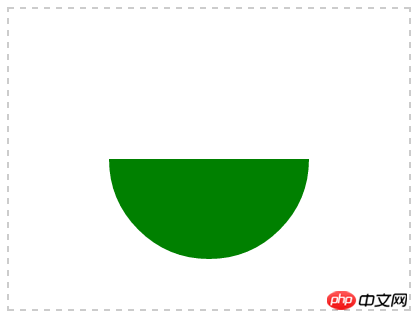
c、cans.arc(200,150,100,0,Math.PI/2,true);
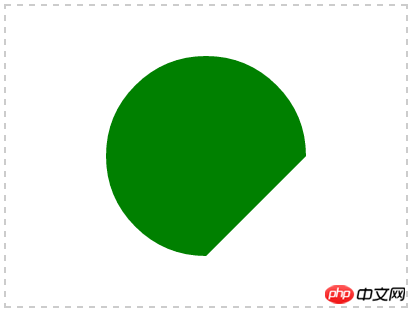
d , cans.arc(200,150,100,0,Math.PI/2,false);
##7, circular block
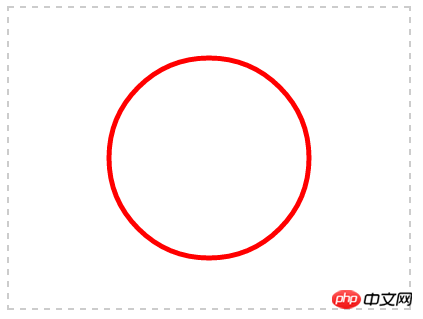
8, circular gradient
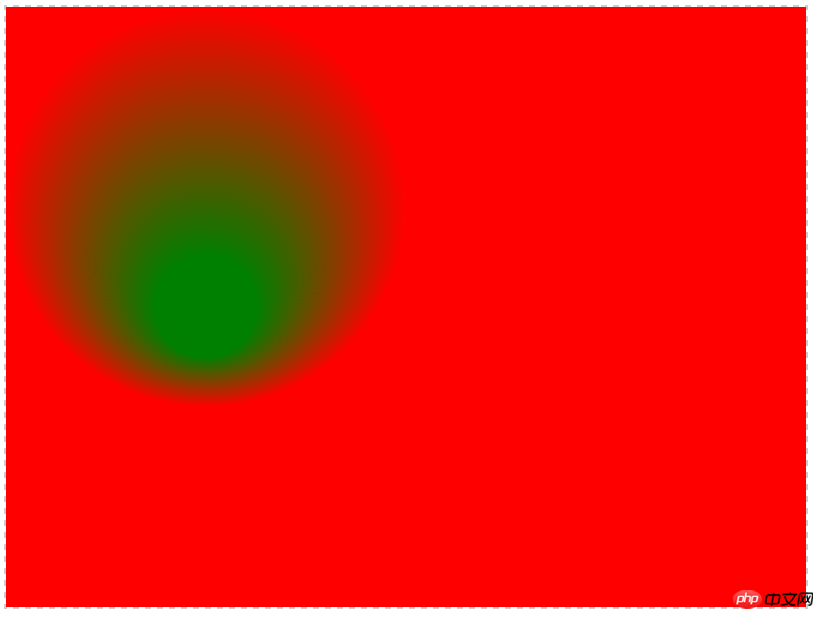
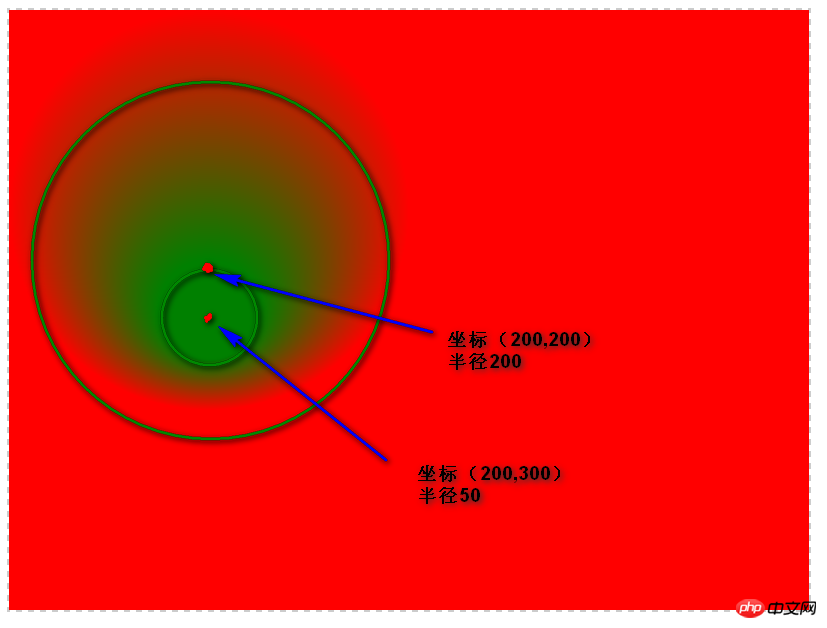
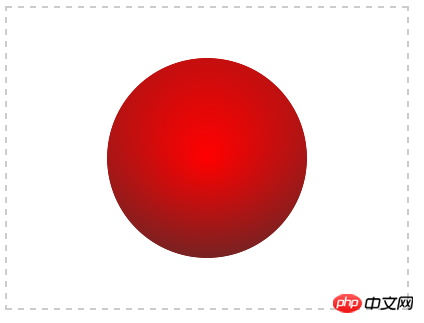
var gnt = cans.createRadialGradient(200,150,0,200,50,250); gnt.addColorStop(0,'red'); gnt.addColorStop(1,'#333');
以上就是本文的全部内容,希望对大家的学习有所帮助,更多相关内容请关注PHP中文网!
相关推荐:
JavaScript和html5 canvas如何绘制一个小人的代码
The above is the detailed content of JavaScript implements drawing graphics using Canvas. For more information, please follow other related articles on the PHP Chinese website!


