
前回の記事「ピュアCSS3でウォーターフォールフローレイアウトを作るには?」 「列の簡単な分析メソッド」では、CSS3 列シリーズのプロパティを使用してウォーターフォール フロー レイアウトを作成する方法を紹介しました。興味のある友人はそれについて学ぶことができます~
そして今日は見ていきます。 CSS3 を使用してウォーターフォール フロー レイアウトを作成する方法で、ボタンに動的な効果を追加して、ボタン ホバーの光沢のあるシャドウ アニメーション効果を実現し、Web ページをよりインタラクティブで魅力的なものにします。
最初にレンダリングを見てみましょう
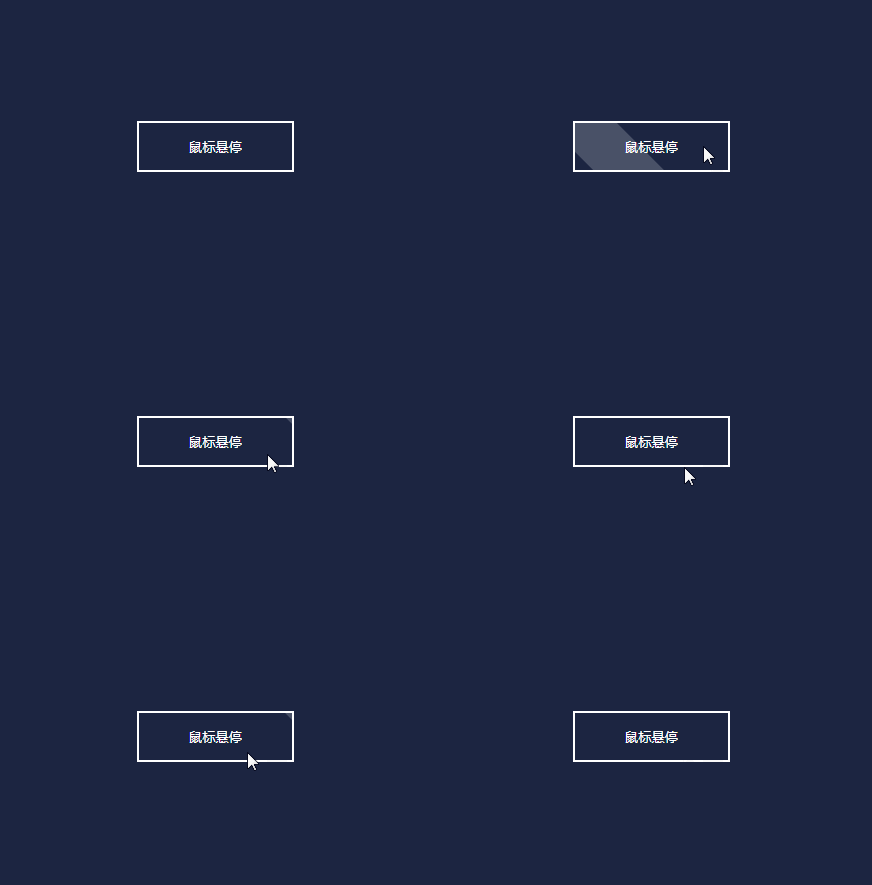
この効果を実現する方法を検討してみましょう:
まず第一に、それは HTML パーツです 、ボタン ボタンをラップする div コンテナを定義します、ボタン内で タグ ペアを使用してボタン テキストを含めます
<div id="shiny-shadow">
  <button><span>鼠标悬停</span></button>
</div>
そして、[変更する CSS スタイルの定義] を開始します: レイアウト スタイル、色の範囲を調整します
#shiny-shadow {
  display: flex;
  align-items: center;
  justify-content: center;
  height: 100vh;
  background: #1c2541;
}

button {
  border: 2px solid white;
  background: transparent;
  text-transform: uppercase;
  color: white;
  padding: 15px 50px;
  outline: none;
}

span {
  z-index: 20;
}##次に、点滅するオーバーレイを作成します:
:after セレクターを使用して透明度のある四角形を作成し、ボタン button
button {
  position: relative;
}
button:after {
	content: '';
	display: block;
	position: absolute;
	background: white;
	width: 50px;
	height: 125px;
	opacity: 20%;
}Style## を追加します。 #
button:after {
	transform: rotate(-45deg);
}
button:after {
	top: -2px;
	left: -1px;
}#最後にボタンホバー点滅アニメーション効果を実装します
ホバー効果なので使用する必要があります
:hoverbutton:hover:after {
left: 120%;
} 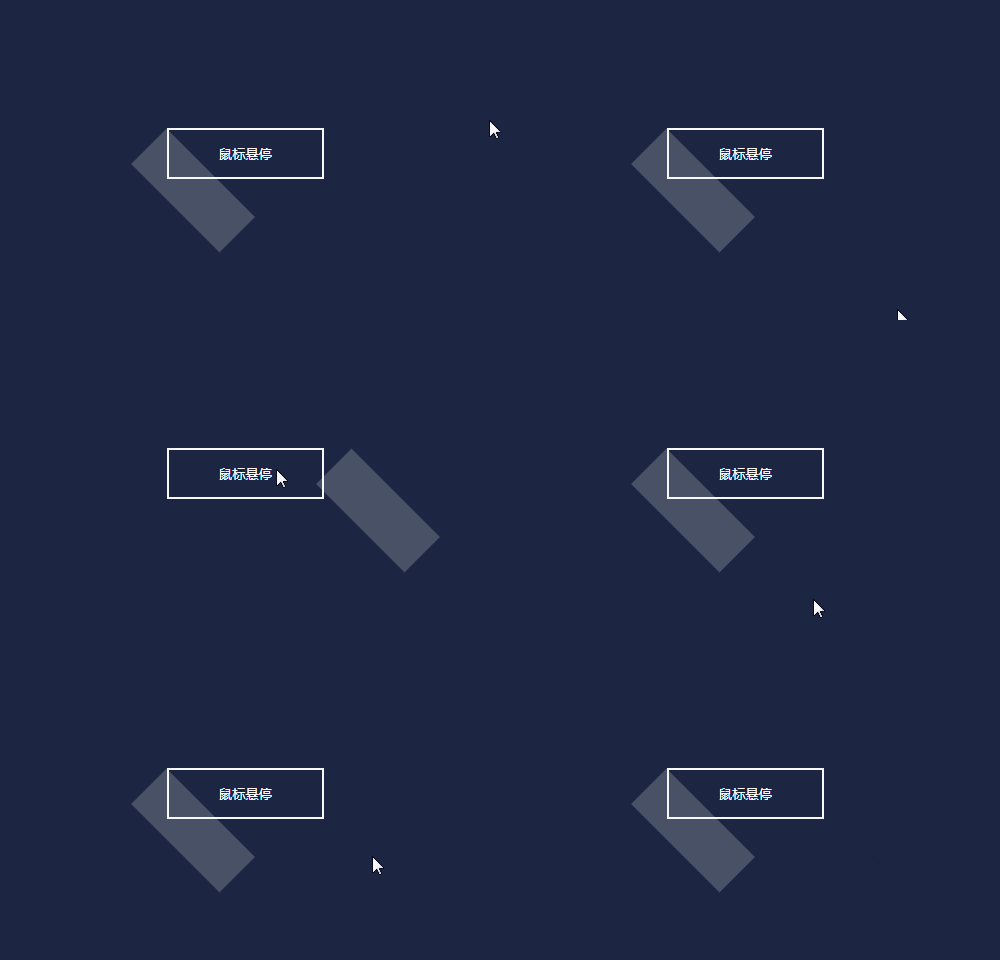 #そのような位置の突然の変更は、私たちが望む効果ではありません。この属性は CSS3 の新しい属性であり、接頭辞が必要であるため、
<div class="code" style="position:relative; padding:0px; margin:0px;"><pre class="brush:php;toolbar:false">button:hover:after {
  left: 120%;
  transition: all 600ms cubic-bezier(0.3, 1, 0.2, 1);
   -webkit-transition: all 600ms cubic-bezier(0.3, 1, 0.2, 1);
}</pre><div class="contentsignin">ログイン後にコピー</div></div>

overflow: hidden;
stylebutton {
overflow: hidden;
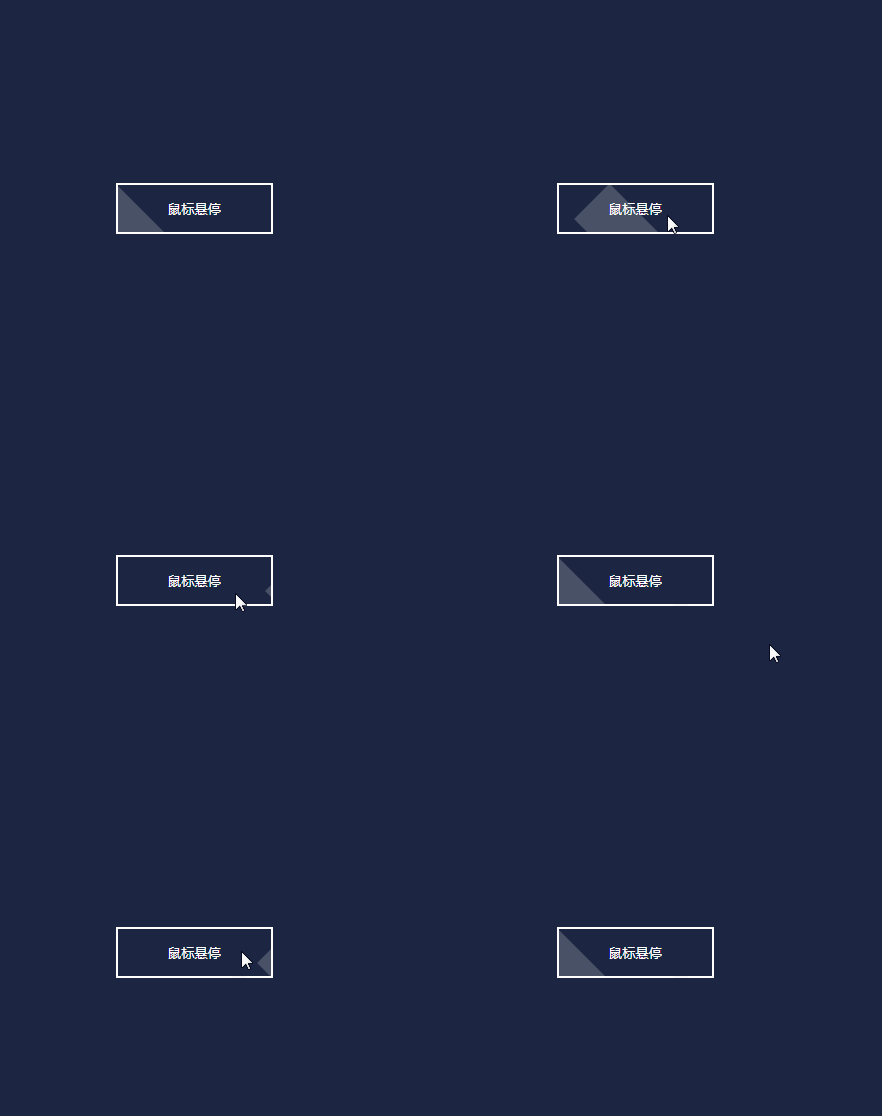
}##オーバーレイの位置にまだ問題があることがわかります。最終的なエフェクトでは、オーバーレイは表示されません。 top 属性と left 属性を使用して調整します。
button:after {
	top: -36px;
	left: -100px;
}
<!DOCTYPE html>
<html>
<head>
<meta charset="utf-8">
<style type="text/css">
#shiny-shadow {
display: flex;
align-items: center;
justify-content: center;
height: 100vh;
background: #1c2541;
}
button {
border: 2px solid white;
background: transparent;
text-transform: uppercase;
color: white;
padding: 15px 50px;
outline: none;
position: relative;
overflow: hidden;
}
span {
z-index: 20;
}
button:after {
content: '';
display: block;
position: absolute;
background: white;
width: 50px;
height: 125px;
opacity: 20%;
transform: rotate(-45deg);
top: -36px;
left: -100px;
}
button:hover:after {
left: 120%;
transition: all 600ms cubic-bezier(0.3, 1, 0.2, 1);
-webkit-transition: all 600ms cubic-bezier(0.3, 1, 0.2, 1);
}
</style>
</head>
<body>
<div id="shiny-shadow">
<button><span>鼠标悬停</span></button>
</div>
</body>
</html>css ビデオ チュートリアル 
以上がCSS3 を使用してボタンのホバリングと点滅の動的な効果を実現する方法を段階的に説明します。の詳細内容です。詳細については、PHP 中国語 Web サイトの他の関連記事を参照してください。
