この記事では、Angular ルーティングのルーティング ガードを紹介します。一定の参考値があるので、困っている友達が参考になれば幸いです。

関連する推奨事項: 「angular チュートリアル 」
1. ルーティング ガード
ユーザーは特定の条件を満たした場合にのみ、 ルートに入る、または からルートを離れることができます。
ルート ガード シナリオ: ユーザーがログインし、特定の権限を持っている場合にのみ、特定のルートに入ることができます。 登録プロセスなどの複数のフォームで構成されるウィザード。ユーザーは、現在のルートのコンポーネントに必要な情報を入力した場合にのみ、次のルートに移動できます。 ユーザーが保存操作を実行せずに現在のナビゲーションを離れようとした場合に、ユーザーに通知します。 Angular は、ルートの出入りを制御するためのフック を提供します。これらのフックはルーティング ガードであり、上記のシナリオはこれらのフックを通じて実現できます。
2. CanActivate
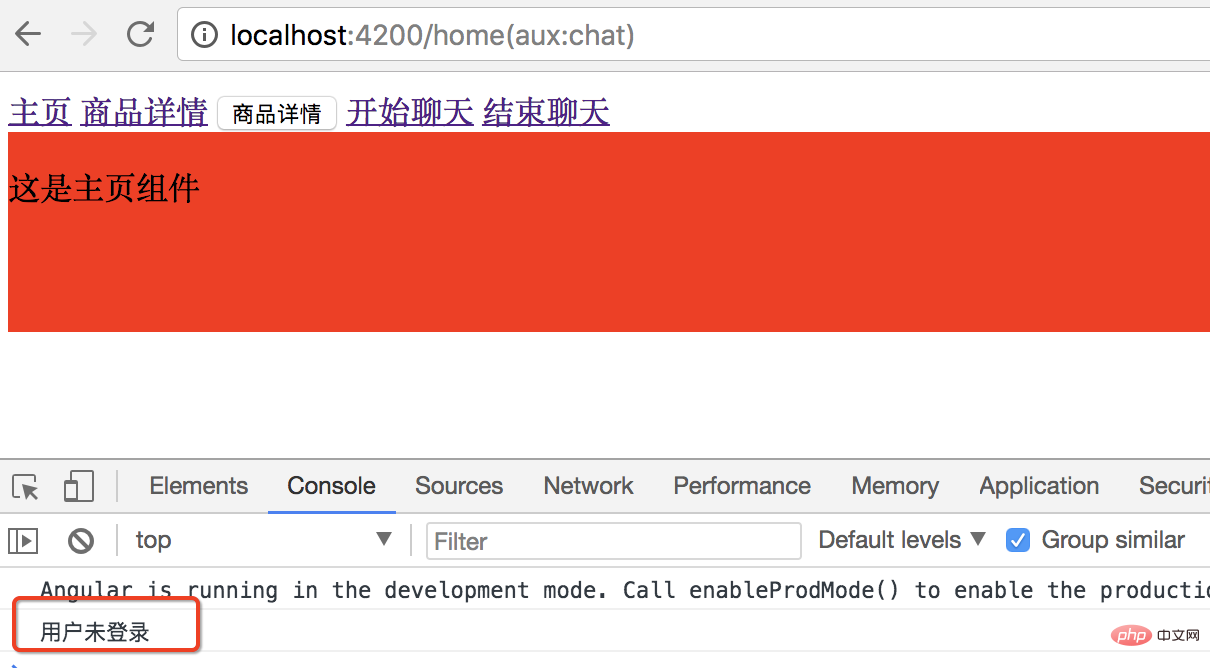
例: ログイン ユーザーのみに製品情報ルーティングへの入力を許可します。 新しいガード ディレクトリを作成します。ディレクトリに新しいlogin.guard.tsを作成します。 LoginGuard クラスは CanActivate インターフェイスを実装し、true または false を返します。Angular は戻り値に基づいてリクエストが成功したか失敗したかを判断します。import { CanActivate } from "@angular/router";
export class LoginGuard implements CanActivate{
canActivate(){
let loggedIn :boolean= Math.random()<0.5;
if(!loggedIn){
console.log("用户未登录");
}
return loggedIn;
}
}const routes: Routes = [
{ path: '', redirectTo : 'home',pathMatch:'full' },
{ path: 'chat', component: ChatComponent, outlet: "aux"},//辅助路由
{ path: 'home', component: HomeComponent },
{ path: 'product/:id', component: ProductComponent, children:[
{ path: '', component : ProductDescComponent },
{ path: 'seller/:id', component : SellerInfoComponent }
] ,canActivate: [LoginGuard]},
{ path: '**', component: Code404Component }
];
#3.CanDeactivate 出発時のルートガード。終了する前に保存するようユーザーに通知します。
guard ディレクトリに新しい unsave.guard.ts ファイルを作成します。
CanDeactivate インターフェイスには、現在のコンポーネントのタイプを指定するジェネリック タイプがあります。
CanDeactivate メソッドの最初のパラメーターは、インターフェイスによって指定されたジェネリック型のコンポーネントです。保護されるコンポーネントのステータスに基づいて、またはメソッドを呼び出して、ユーザーが終了できるかどうかを判断します。
import { CanDeactivate } from "@angular/router";
import { ProductComponent } from "../product/product.component";
export class UnsaveGuard implements CanDeactivate<ProductComponent>{
//第一个参数 范型类型的组件
//根据当前要保护组件 的状态 判断当前用户是否能够离开
canDeactivate(component: ProductComponent){
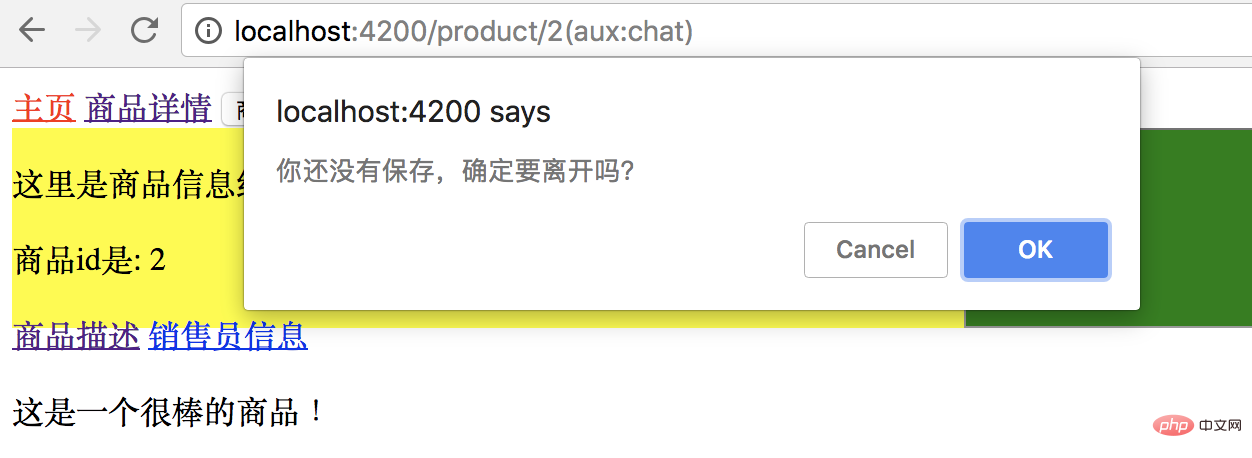
return window.confirm('你还没有保存,确定要离开吗?');
}
}ルーティングを構成するには、まずプロバイダーに追加してから、ルーティングを構成します。
import { NgModule } from '@angular/core';
import { Routes, RouterModule } from '@angular/router';
import { HomeComponent } from './home/home.component';
import { ProductComponent } from './product/product.component';
import { Code404Component } from './code404/code404.component';
import { ProductDescComponent } from './product-desc/product-desc.component';
import { SellerInfoComponent } from './seller-info/seller-info.component';
import { ChatComponent } from './chat/chat.component';
import { LoginGuard } from './guard/login.guard';
import { UnsaveGuard } from './guard/unsave.guard';

const routes: Routes = [
  { path: '', redirectTo : 'home',pathMatch:'full' },
  { path: 'chat', component: ChatComponent, outlet: "aux"},//辅助路由
  { path: 'home', component: HomeComponent },
  { path: 'product/:id', component: ProductComponent, children:[
    { path: '', component : ProductDescComponent },
    { path: 'seller/:id', component : SellerInfoComponent }
  ] ,canActivate: [LoginGuard],
     canDeactivate: [UnsaveGuard]},
  { path: '**', component: Code404Component }
];

@NgModule({
  imports: [RouterModule.forRoot(routes)],
  exports: [RouterModule],
  providers: [LoginGuard,UnsaveGuard]
})
export class AppRoutingModule { }効果:
[OK]をクリックして現在のページを離れ、キャンセルして現在のページに留まります。

4. ガードの解決http リクエスト データを返すのに遅延があり、その結果、テンプレートがすぐに表示されない。
データが返される前は、コントローラーの値を表示するために補間式を使用する必要があるテンプレート上のすべての場所が空になっています。ユーザーエクスペリエンスは良くありません。
resolve 解決策: ルーティングを入力する前にサーバーにアクセスしてデータを読み取ります。必要なデータをすべて読み取った後、データを含むルーティングを入力し、すぐにデータを表示します。
例:
製品情報のルーティングを入力する前に、製品情報を準備してからルーティングを入力します。
情報を取得できない場合、または情報の取得に問題がある場合は、エラー メッセージ ページに直接ジャンプするか、プロンプトがポップアップ表示され、目的のルートに入ることはできません。まず、product.component.ts で製品情報の型を宣言します。
export class Product{
  constructor(public id:number, public name:string){
  }
}guard ディレクトリに新しい product.resolve.ts を作成します。 ProductResolve クラスは Resolve インターフェイスを実装します。
Resolve は、resolve によって解析されるデータのタイプであるパラダイムも宣言する必要があります。
import { Resolve, ActivatedRouteSnapshot, RouterStateSnapshot, Router } from "@angular/router";

import { Injectable } from "@angular/core";
import { Observable } from "rxjs/Observable";
import { Product } from "../product/product.component";

@Injectable()
export class ProductResolve implements Resolve<Product>{

    constructor(private router: Router) {
    }

    resolve(route: ActivatedRouteSnapshot, state: RouterStateSnapshot): Observable<any> | Promise<any> | any {
        let productId: number = route.params["id"];
        if (productId == 2) { //正确id
            return new Product(1, "iPhone7");
        } else { //id不是1导航回首页
            this.router.navigate(["/home"]);
            return undefined;
        }
    }
}ルーティング構成: プロバイダーで宣言され、製品ルーティングで構成されます。
resolve はオブジェクトです。オブジェクト内のパラメータの名前は、渡したいパラメータの名前です。それを解析して生成するために Product が使用されます。
import { NgModule } from '@angular/core';
import { Routes, RouterModule } from '@angular/router';
import { HomeComponent } from './home/home.component';
import { ProductComponent } from './product/product.component';
import { Code404Component } from './code404/code404.component';
import { ProductDescComponent } from './product-desc/product-desc.component';
import { SellerInfoComponent } from './seller-info/seller-info.component';
import { ChatComponent } from './chat/chat.component';
import { LoginGuard } from './guard/login.guard';
import { UnsaveGuard } from './guard/unsave.guard';
import { ProductResolve } from './guard/product.resolve';

const routes: Routes = [
  { path: '', redirectTo : 'home',pathMatch:'full' },
  { path: 'chat', component: ChatComponent, outlet: "aux"},//辅助路由
  { path: 'home', component: HomeComponent },
  { path: 'product/:id', component: ProductComponent, children:[
    { path: '', component : ProductDescComponent },
    { path: 'seller/:id', component : SellerInfoComponent }
  ] ,
    //  canActivate: [LoginGuard],
    //  canDeactivate: [UnsaveGuard],
    resolve:{ //resolve是一个对象
      product : ProductResolve   //想传入product,product由ProductResolve生成
    }},
  { path: '**', component: Code404Component }
];

@NgModule({
  imports: [RouterModule.forRoot(routes)],
  exports: [RouterModule],
  providers: [LoginGuard,UnsaveGuard,ProductResolve]
})
export class AppRoutingModule { }product.component.ts とテンプレートを変更して、製品 ID と名前を表示します。
import { Component, OnInit } from '@angular/core';
import { ActivatedRoute, Params } from '@angular/router';

@Component({
  selector: 'app-product',
  templateUrl: './product.component.html',
  styleUrls: ['./product.component.css']
})
export class ProductComponent implements OnInit {

  private productId: number;
  private productName: string;
  constructor(private routeInfo: ActivatedRoute) { }

  ngOnInit() {
    // this.routeInfo.params.subscribe((params: Params)=> this.productId=params["id"]);
    this.routeInfo.data.subscribe(
      (data:{product:Product})=>{
        this.productId=data.product.id;
        this.productName=data.product.name;
      }
    );
  }

}

export class Product{
  constructor(public id:number, public name:string){
  }
}<div class="product">
<p>
这里是商品信息组件
</p>
<p>
商品id是: {{productId}}
</p>
<p>
商品名称是: {{productName}}
</p>
<a [routerLink]="['./']">商品描述</a>
<a [routerLink]="['./seller',99]">销售员信息</a>
<router-outlet></router-outlet>
</div>効果:
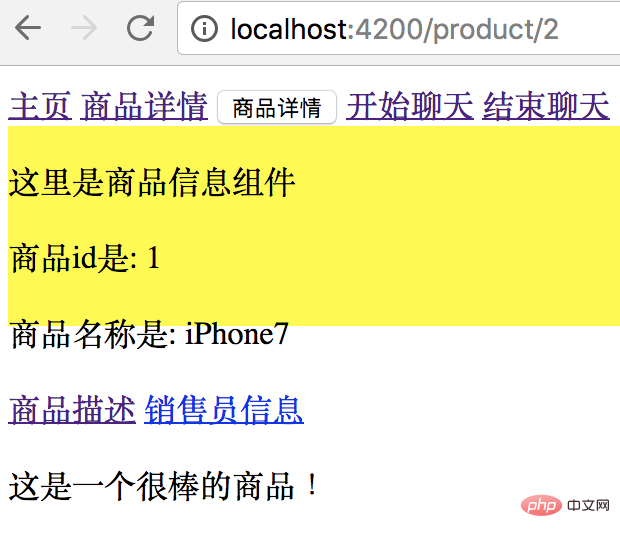
製品詳細リンクをクリックし、製品 ID を 2 (解決ガード内の正しい ID) として渡すと、製品データの一部が返されます。
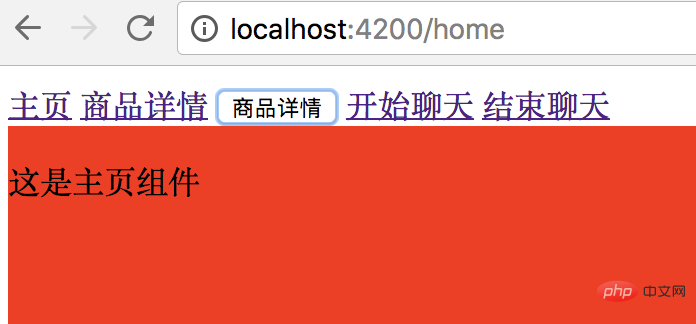
製品の詳細ボタンをクリックすると、受信した製品 ID は 3 ですが、これは間違った ID であり、ホームページに直接ジャンプします。

 この記事は http://www.cnblogs.com/starof/p/9012193.html
プログラミング関連の知識について詳しくは、プログラミング ビデオをご覧ください。 !
以上がAngular のルーティング ガードの詳細な説明の詳細内容です。詳細については、PHP 中国語 Web サイトの他の関連記事を参照してください。


