At the beginning of this article, we will introduce the new functions of lufylegend-1.4.0, how to create a physical world and various rigid bodies in this physical world with box2dweb
Preparation
First you need to download the html5 open source library lufylegend-1.4.0
http://blog.csdn.net/lufy_legend/article/details /7644932
box2dweb You can download it here
http://code.google.com/p/box2dweb/downloads/list
Prepare three pictures,


are used to create circular, rectangular and triangular rigid bodies respectively.
Ready to finish, now start production.
The following is to use the LLoadManage class in lufylegend.js to read the image
init(10,"mylegend",800,400,main);
var backLayer,cLayer,wallLayer,bitmap,loadingLayer;
var imglist = {};
var imgData = new Array(
		{name:"bird1",path:"./images/bird1.png"},
		{name:"bird2",path:"./images/bird2.png"},
		{name:"stage01",path:"./images/stage01.png"}
		);
function main(){
	LGlobal.setDebug(true);
	backLayer = new LSprite();
	addChild(backLayer);


	loadingLayer = new LoadingSample3();
	backLayer.addChild(loadingLayer);
	LLoadManage.load(
		imgData,
		function(progress){
			loadingLayer.setProgress(progress);
		},
		function(result){
			imglist = result;
			backLayer.removeChild(loadingLayer);
			loadingLayer = null;
			gameInit();
		}
	);
}LGlobal.setDebug(true); is to turn on the debug mode, so that when creating a rigid body, all box2dweb will be The created debug rigid body is also displayed together. When releasing the finished product, the debug mode should be turned off.
The LLoadManage class has three parameters, $list, $onupdate, $oncomplete,
$list is the image array to be read, $onupdate is the function that needs to be called during reading, $oncomplete It is the function called when the reading is completed.
The LoadingSample3 class is the progress bar display function in the lufylegend.js library. In addition to the LoadingSample3 class, there are also the LoadingSample1 class and the LoadingSample2 class.
is created Before creating the rigid body, first create four walls, up, down, left and right, to control the movement range of the rigid body to be created later.
wallLayer = new LSprite();
	wallLayer.x = 400;
	wallLayer.y = 0;
	backLayer.addChild(wallLayer);
	wallLayer.addBodyPolygon(800,10,0);
	wallLayer = new LSprite();
	wallLayer.x = 0;
	wallLayer.y = 200;
	backLayer.addChild(wallLayer);
	wallLayer.addBodyPolygon(10,400,0);
	wallLayer = new LSprite();
	wallLayer.x = 400;
	wallLayer.y = 400;
	backLayer.addChild(wallLayer);
	wallLayer.addBodyPolygon(800,10,0);
	wallLayer = new LSprite();
	wallLayer.x = 800;
	wallLayer.y = 200;
	backLayer.addChild(wallLayer);
	wallLayer.addBodyPolygon(10,400,0);
For children who don’t know how to use LSprite, please read my previous articles. I won’t be too wordy here.
addBodyPolygon(w,h,type,density,friction,restitution) is to add a rectangular body to LSprite, the parameters are, (width, height, static or dynamic, density, friction, elasticity)
If the third parameter sets the body to be static, the following parameters can be omitted. Here, the four walls are set to static.
Then, add a mouse click event to backLayer, and prepare to add a rigid body when the mouse clicks.
##
backLayer.addEventListener(LMouseEvent.MOUSE_UP,add);
	cLayer = new LSprite();
	cLayer.x = 50 + Math.random()*700;
	cLayer.y = 50;
	backLayer.addChild(cLayer);
	bitmap = new LBitmap(new LBitmapData(imglist["bird1"]));
	cLayer.addChild(bitmap);
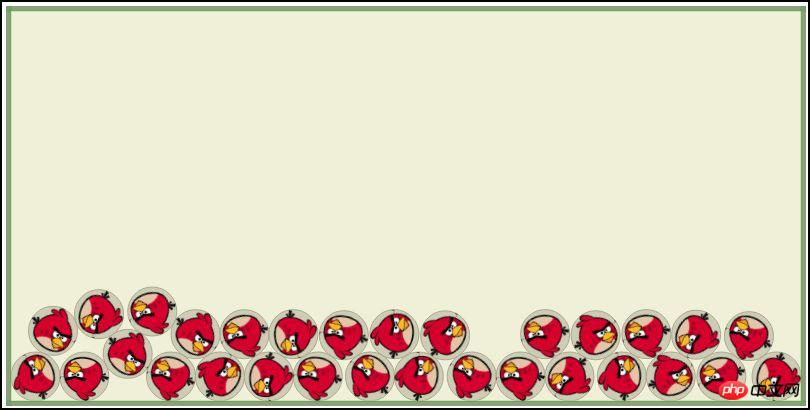
	cLayer.addBodyCircle(bitmap.getWidth()*0.5,bitmap.getHeight()*0.5,bitmap.getWidth()*0.5,1,.5,.4,.5);

	var rand = Math.random();
	if(rand < 0.5){
		cLayer = new LSprite();
		cLayer.x = 50 + Math.random()*700;
		cLayer.y = 50;
		backLayer.addChild(cLayer);
		bitmap = new LBitmap(new LBitmapData(imglist["bird1"]));
		cLayer.addChild(bitmap);
		cLayer.addBodyCircle(bitmap.getWidth()*0.5,bitmap.getHeight()*0.5,bitmap.getWidth()*0.5,1,.5,.4,.5);
	}else{
		cLayer = new LSprite();
		cLayer.x = 50 + Math.random()*700;
		cLayer.y = 50;
		backLayer.addChild(cLayer);
		bitmap = new LBitmap(new LBitmapData(imglist["stage01"]));
		cLayer.addChild(bitmap);
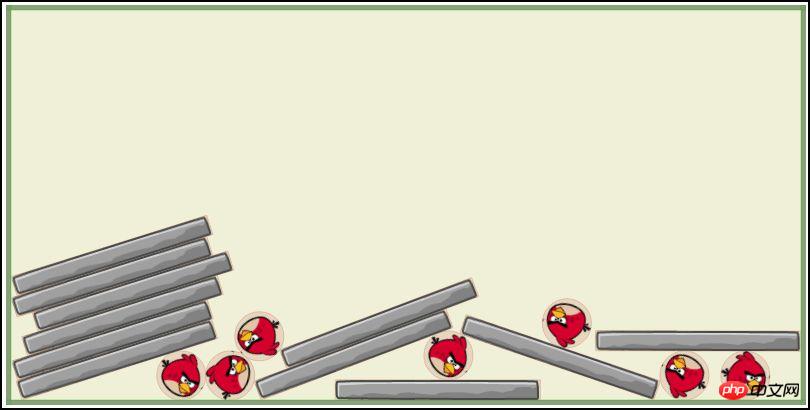
		cLayer.addBodyPolygon(bitmap.getWidth(),bitmap.getHeight(),1,5,.4,.2);
	}
cLayer = new LSprite();
backLayer.addChild(cLayer);
bitmap = new LBitmap(new LBitmapData(imglist["bird2"]));
cLayer.addChild(bitmap);
var shapeArray = [
[[0,54],[27,0],[54,54]]
];
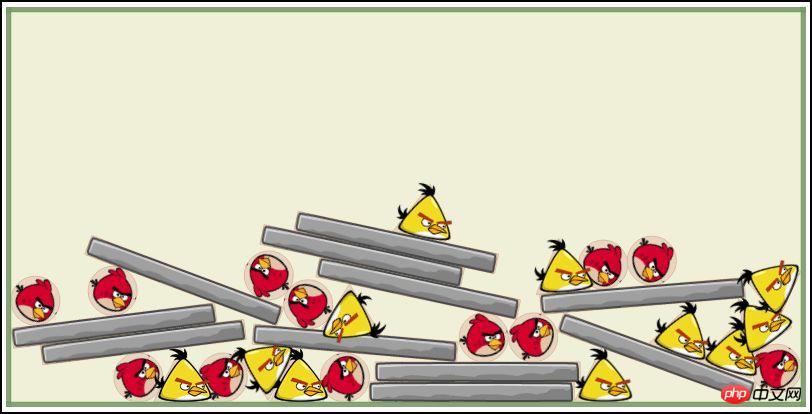
cLayer.addBodyVertices(shapeArray,27,27,1,.5,.4,.5);
cLayer.box2dBody.SetPosition(new LGlobal.box2d.b2Vec2((50 + Math.random()*700)/LGlobal.box2d.drawScale,50/LGlobal.box2d.drawScale));

http://lufy.netne.net/lufylegend-js/lufylegend-1.4/box2d/sample01/index3.htmlThis article is over, the final code is presented, please look forward to the next tutorialThe above is the content of HTML5 game development-Box2dWeb application (1)-creating various rigid bodies. For more related content, please pay attention to the PHP Chinese website (m.sbmmt.com)!
 What are the production methods of html5 animation production?
 The difference between HTML and HTML5
 What is the return value of the function
 busyboxv1.30.1 cannot boot
 How to set the URL of tplink router
 A complete list of alter commands in Mysql
 The difference between rom and ram
 Commonly used expressions in php


