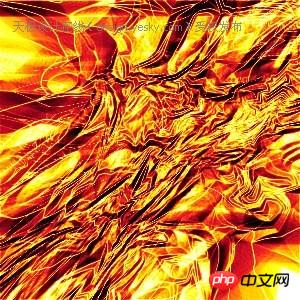
我们在《用Photoshop渲染类滤镜做云彩特效》中详细剖析了渲染类滤镜做特效的方法,今天我们来介绍具体的实例——揉皱的纸纹。
1、Photoshop新建图像,选择渐变工具,设定如下图,注意模式要选择为“差值”。
 -
-
2、在图像中拉动渐变条,方向长度随意,多次之后形成类似下左图的效果。接着使用【滤镜_风格化_查找边缘】,形成如下右图的效果。新建一个图层,重复刚才的所有步骤。

3、将位于上方的图层混合模式改为“叠加”,效果如下图。
对其执行【图像_调整_色阶】,将中间调的灰色箭头移动到最右方。

4、建立一个渐变映射的调整层,设定渐变为黑红黄白。得到效果类似下左图。可在渐变映射中开启“反向”,得到下右图的效果。

总结:不同于通常的云彩滤镜或光晕滤镜,而是通过渐变工具的差值混合模式来营造素材。也不同于通常的使用色彩调整命令来着色灰度图像,而是通过渐变映射,并在不同的灰度上使用不同的颜色来指定。
 How to light up Douyin close friends moment
 microsoft project
 What is phased array radar
 How to use fusioncharts.js
 Yiou trading software download
 The latest ranking of the top ten exchanges in the currency circle
 What to do if win8wifi connection is not available
 How to recover files emptied from Recycle Bin


