
If you want to use macros in Word 2013 but don’t know how to enable them, this article will provide you with detailed guidance. Macros are pre-recorded sequences of actions that help you automate repetitive tasks and enhance document functionality. Once you learn how to turn on and use macros, you'll find that you'll be much more productive and flexible in Word 2013. The steps detailed below will take you step by step through the process of enabling macros, allowing you to easily master this practical function.
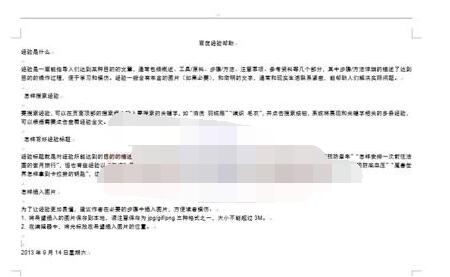
1. First open word2013 and click [File] on the menu bar.
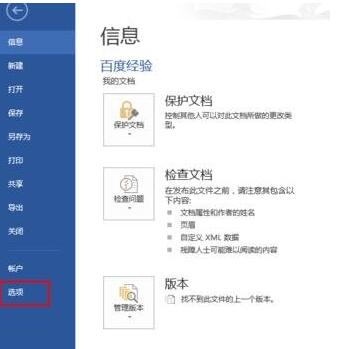
2. After clicking [File] on the menu bar, the word system settings page will open. Here, select [Trust Center] in the menu list on the left.
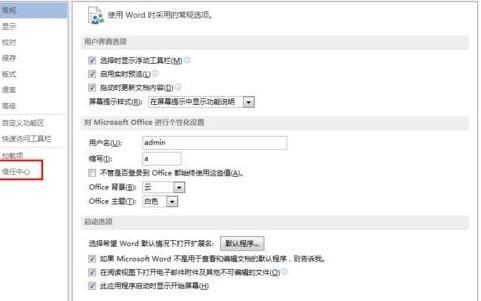
3. After opening the [Trust Center] page, click the [Trust Center Settings...] button on the right.
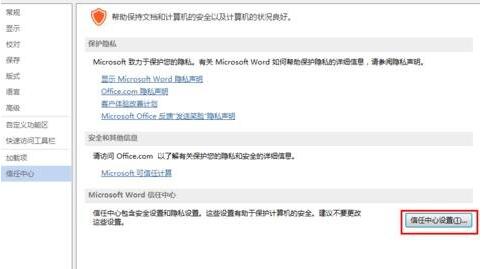
4. After clicking the [Trust Center Settings...] button, open the [Trust Center] settings dialog box.
5. Open the settings dialog box of [Trust Center], as shown in the figure. Here, select [Macro Settings] in the function list on the left.
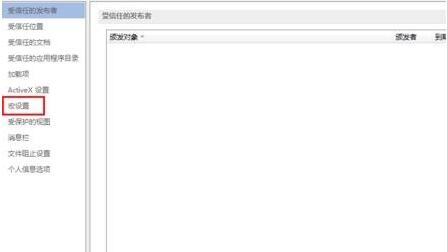
6. After opening the [Macro Settings] option, some macro settings are set in this option. The default state of the macro settings is [Disable all macros and issue notifications].
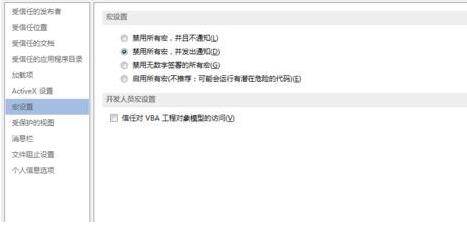
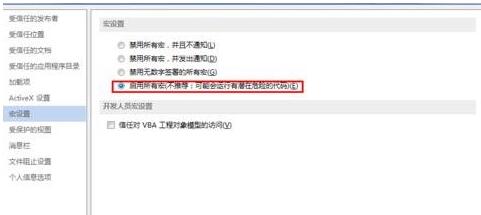
Because I need to turn on macros, I select [Enable all macros (not recommended: potentially dangerous code may run)] at the bottom of [Macro Settings], but generally turn on macros It is to select [Disable all macros without digital signatures], but macros with digital signatures can run.
The above is the detailed content of Detailed method to open macro in word2013. For more information, please follow other related articles on the PHP Chinese website!
 How to check jvm memory usage
 How to solve the problem that scanf return value is ignored
 What are the parameters of marquee?
 Usage of ppf function in Python
 Top 10 most secure digital currency exchanges in 2024
 The difference between mysql and sql_server
 Solution to computer display error code 651
 What should I do if chaturbate is stuck?


