
How to create neat fill-in-the-blank test papers in Word Are you tired of the tedious process of manually creating fill-in-the-blank test papers? PHP Chinese website editor provides you with a simple solution to help you create neat and professional fill-in-the-blank test papers. This guide will take you step-by-step through effectively creating fill-in-the-blank questions using Word's built-in features, including: Use placeholders to create blanks Insert text boxes to enter answers Alignment options for a consistent look Start reading now for detailed instructions and create A neat fill-in-the-blank test paper that impresses students.
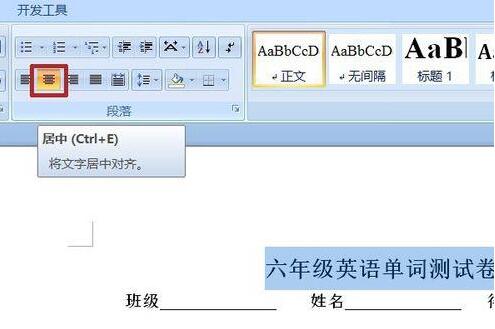
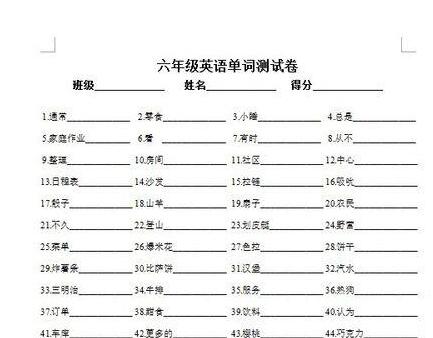
1. Enter the title of the test paper, go to Start - Paragraph, and select Center Alignment.
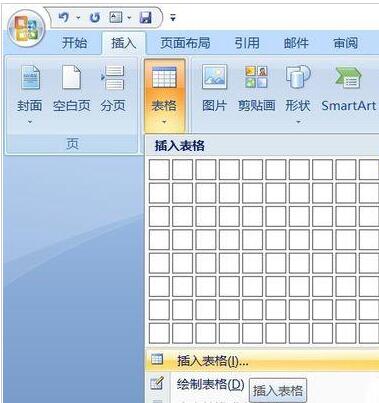
2. The title is the table, select Insert - Table - Insert Table.
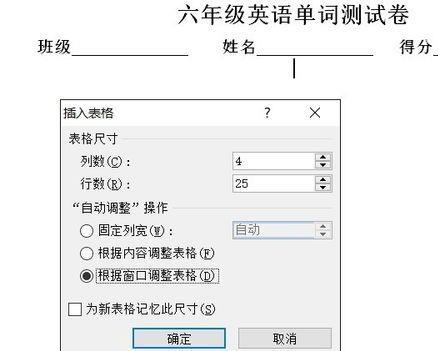
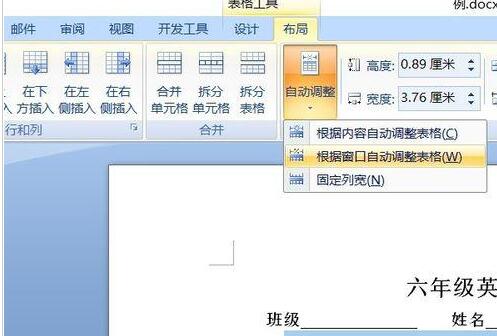
3. In the pop-up panel, set the number of rows and columns. Because there are exactly 100, the number of columns is 4 and the number of rows is 25. Select [Adjust according to the window] for the automatic adjustment operation. sheet】.
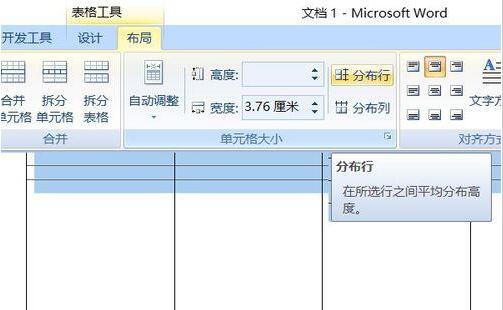
4. The inserted table is very small. Pull the last row down to the bottom, and then select [Distribute Rows] in Table Tools - Layout - Cell Size.
5. The completed table is positioned to the right. Select Auto Adjust in the layout - automatically adjust the table according to the window. Move the table to the center.
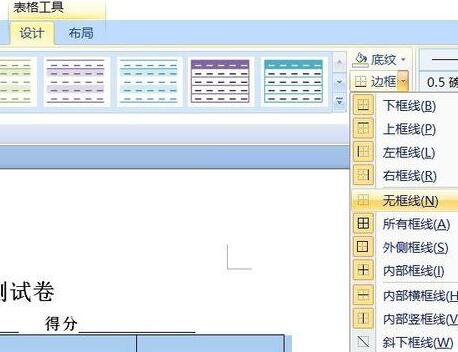
6. The table is only used to align the text, not to see the table, so remove the table lines. Table Tools - Design - Border - No Border Lines.
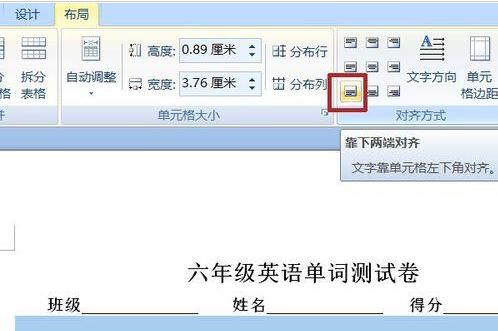
7. For the alignment of the table text, select Align the bottom ends.
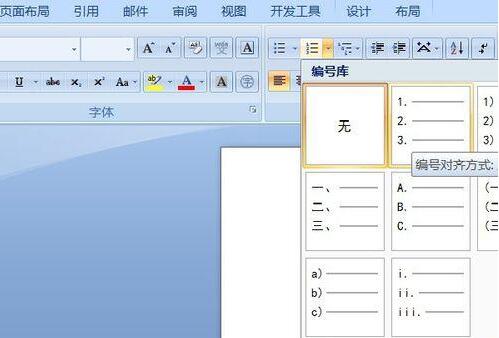
8. There is a question number in front of each word. Insert into the number: start-paragraph-number. Select the first number. After confirmation, the serial number will appear in the cell.
9. Just enter the text in sequence. Press the Tab key to move to the next frame.
The above is the detailed content of Detailed method for creating neat fill-in-the-blank test papers in Word. For more information, please follow other related articles on the PHP Chinese website!


