Home > Software Tutorial > Computer Software > How to create an old poster effect in PS_Steps to create an old poster effect in PS

How to create an old poster effect in PS_Steps to create an old poster effect in PS

王林
Release: 2024-04-19 14:40:31
forward
1290 people have browsed it

In design, the old poster effect is a popular way to create a retro feel. PHP editor Banana will bring you a step-by-step guide on how to use Photoshop to create a realistic old poster effect. This tutorial will cover everything from adding paper texture to creating the effect of broken corners. By following these steps, you can easily add a sense of nostalgia and history to your designs.

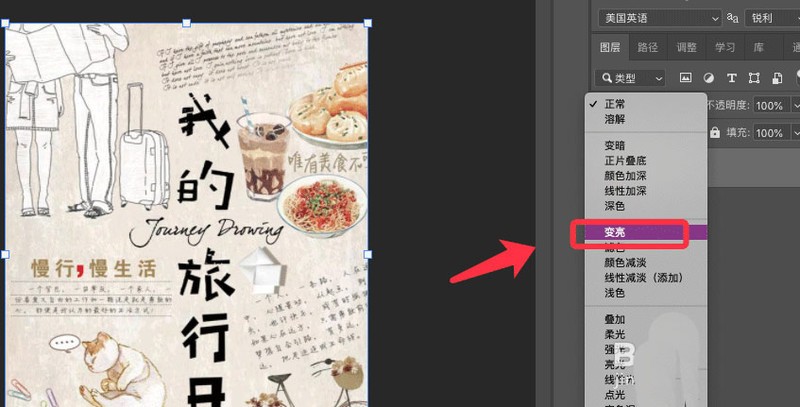
1. Open the picture and select the mode type as brighten.
How to create an old poster effect in PS_Steps to create an old poster effect in PS

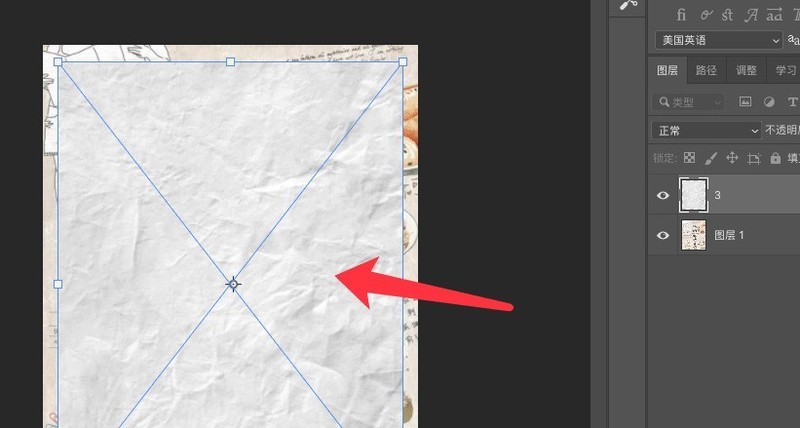
2. Then drag the required paper fold material into the software, as shown in the figure below.
How to create an old poster effect in PS_Steps to create an old poster effect in PS

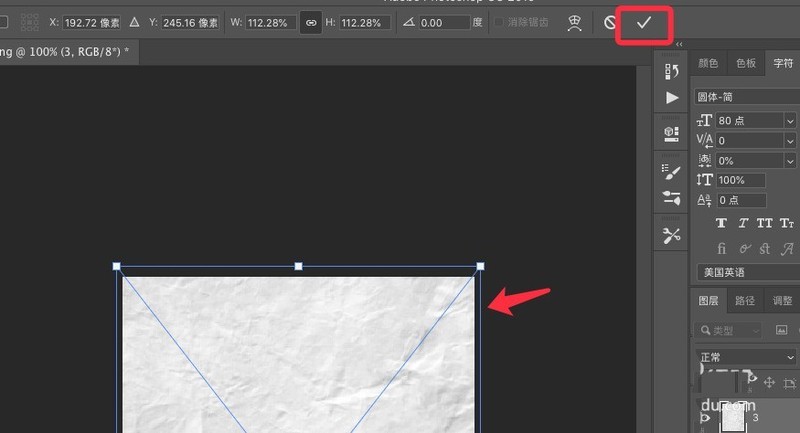
3. Drag the size of the material to cover the background, and click the check mark to confirm.
How to create an old poster effect in PS_Steps to create an old poster effect in PS

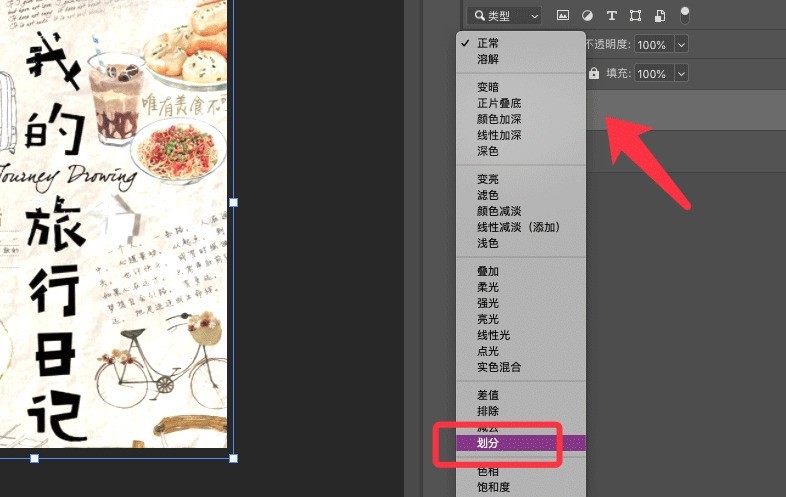
4. Click the wrinkle material layer and select the mode to divide.
How to create an old poster effect in PS_Steps to create an old poster effect in PS

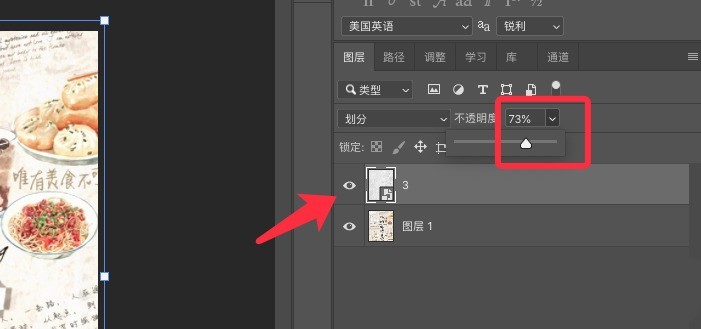
5. Click on the opacity and drag the slider to reduce the opacity.
How to create an old poster effect in PS_Steps to create an old poster effect in PS

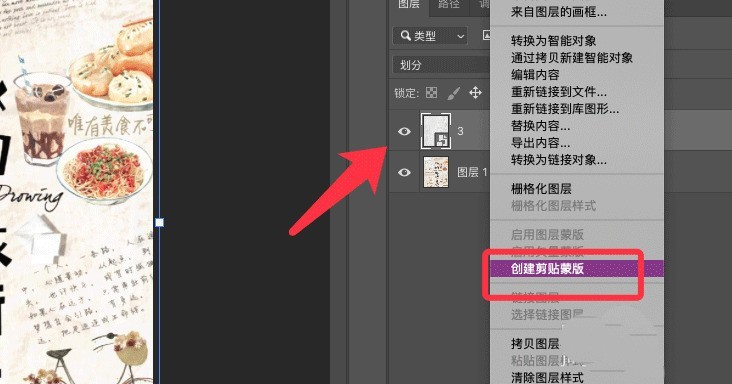
6. Right-click the layer and select Create Clipping Mask.
How to create an old poster effect in PS_Steps to create an old poster effect in PS

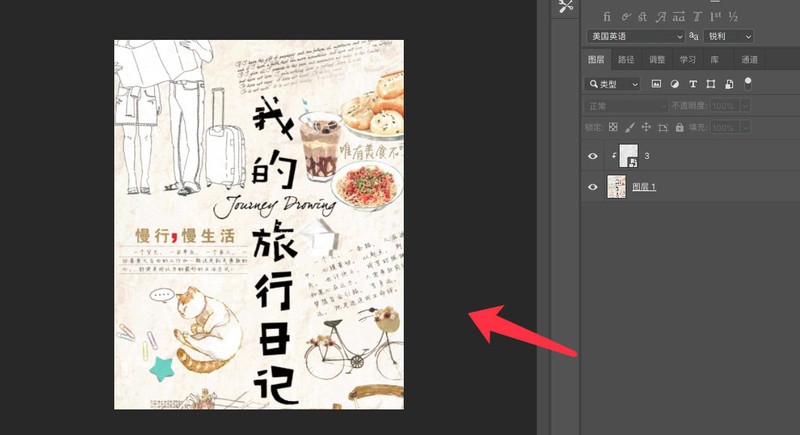
7. The old poster effect is completed, as shown in the picture below.
How to create an old poster effect in PS_Steps to create an old poster effect in PS

The above is the detailed content of How to create an old poster effect in PS_Steps to create an old poster effect in PS. For more information, please follow other related articles on the PHP Chinese website!

source:zol.com.cn
Statement of this Website
The content of this article is voluntarily contributed by netizens, and the copyright belongs to the original author. This site does not assume corresponding legal responsibility. If you find any content suspected of plagiarism or infringement, please contact admin@php.cn
Popular Tutorials
More>
Latest Downloads
More>
Web Effects
Website Source Code
Website Materials
Front End Template