
Do you want to know how to repair ripped jeans and make them look like new? PHP editor Zimo brings you a detailed step-by-step guide that will take you through the steps required to repair holes using Photoshop. This tutorial will cover every aspect from preparing the image to applying repair techniques, allowing you to easily restore the integrity of your jeans.
Tool 1: Clone Stamp Tool.
Use the [Lasso Tool] to select the part to be repaired.
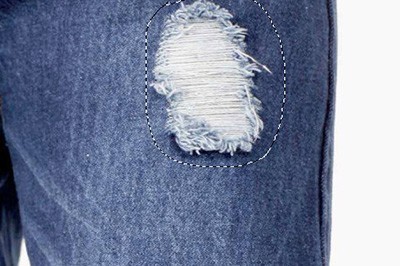
Select [Clone Stamp Tool] (shortcut key S).
Hold down the ALT key and left-click on the intact part of the jeans. Then apply and repair the holes. Note, do not apply it all at once, apply a little and select again. Finally, after several applications, the hole disappeared.
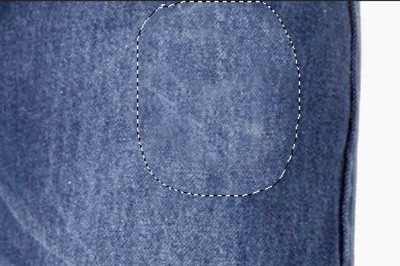
Tool 2: Patch Tool
Right-click on the [Spot Brush Repair Tool] and click [Patch Tool] in the pop-up menu
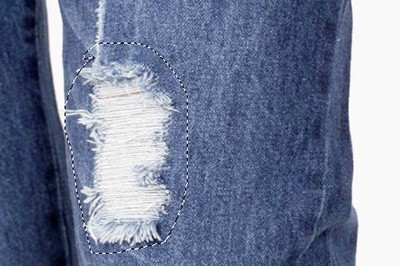
Directly select the hole in the jeans. Then move the mouse inside the marquee and drag the marquee to where the other jeans are complete. Release the left button and the system will automatically patch.
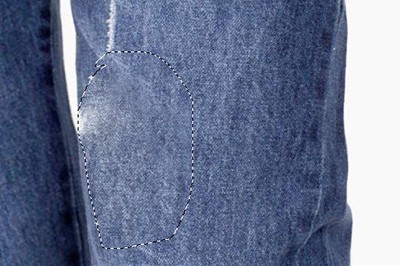
If the repair effect is not satisfactory to you, you can use the repair tool again to perform the same operation, or you can use the imitation stamp tool for precise repair.
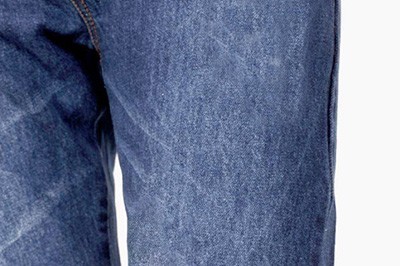
Dear friends who have just come into contact with Photoshop software, after learning the process of repairing ripped jeans with Photoshop in this article, do you think it will be easier to operate it in the future?
The above is the detailed content of How to repair ripped jeans using Photoshop. For more information, please follow other related articles on the PHP Chinese website!
 What is the use of docker image?
 How to find the location of a lost Huawei phone
 Clean the registry
 How to set offline status on Douyin
 Oracle view table operation history
 Introduction to carriage return and line feed characters in java
 parseint function usage
 What should I do if the docker container cannot access the external network?


