


When creating impressive presentations, the timeline is a powerful tool that enhances the narrative and highlights important events. PHP editor Yuzai will guide you through every step of creating a timeline in PowerPoint, from inserting to customizing styles. By following this step-by-step guide, you can easily create a dynamic timeline that keeps your audience focused on the progress of your presentation.
Insert-Shape-Select the straight line, hold down the shift key, and insert a horizontal straight line
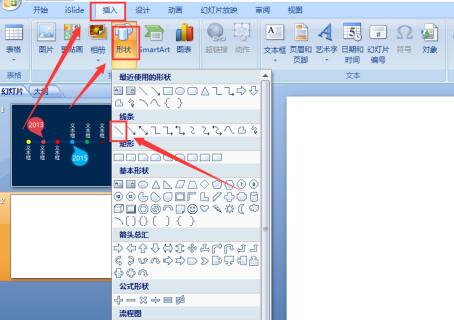
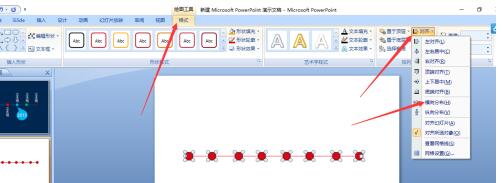
After drawing the straight line, go to Insert-Shape-Select the ellipse , hold down the Shift key, insert a circle, hold down the shift Ctrl key, and drag the small ball horizontally multiple times. In order to improve efficiency, you can drag 1 circle into 2 circles and 2 circles into 4 circles.
Select all the ellipses, go to Format - Alignment - Horizontal alignment, be careful not to select a straight line here
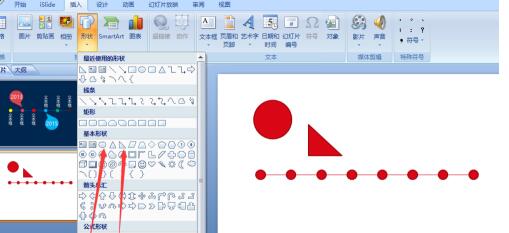
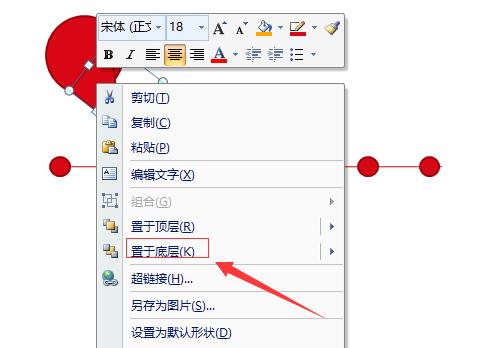
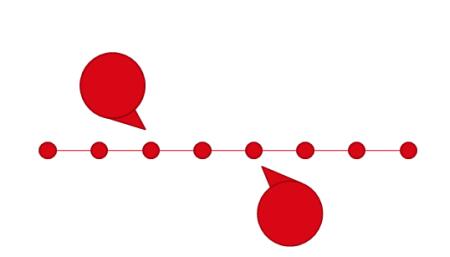
Go to Insert - Shape - Select the ellipse There is also a right-angled triangle. Place the right-angled triangle on the bottom layer of the ellipse. Adjust the position of the right-angled triangle so that the entire shape becomes a comma
After adjusting, select the ellipse and the right-angled triangle at the same time , right-click the mouse and select [Combination]
CTRL C to copy one and place it on the other side. The timeline is completed. You can adjust the color of the timeline according to your own PPT style.
The above is the detailed content of The operation process of making PPT timeline. For more information, please follow other related articles on the PHP Chinese website!
 String array assignment method
 Why disabling automatic updates in Windows 11 is invalid
 How to embed CSS styles in HTML
 The difference between official replacement phone and brand new phone
 Can't open app store
 The role of parseint function
 Android desktop software recommendations
 Ethereum today's market price


![[Web front-end] Node.js quick start](https://img.php.cn/upload/course/000/000/067/662b5d34ba7c0227.png)


