
Want to create a lifelike water ripple effect on your pictures? Don’t worry, PHP editor Xigua will reveal to you the detailed steps to achieve this effect in Photoshop. From choosing the right image to applying ripple filters and adjusting textures, this guide will cover everything you need to know. If you want to instantly bring your images to life, read on and let’s discover the secrets of creating a water ripple effect in Photoshop.
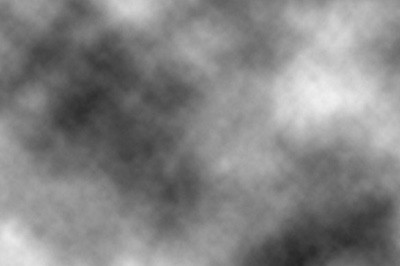
Create a new canvas with a white background. After confirming that the foreground color is the default black, use [Filter]-[Rendering]-[Clouds]. Generates a black smoke effect. Next, use filter effects all in order.
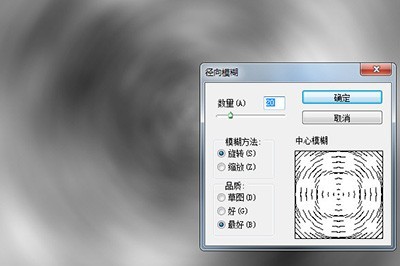
[Blur]-[Radial Blur], select rotation as the blur method, and adjust the amount.
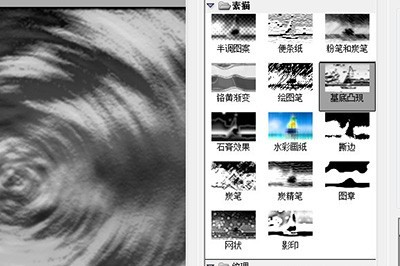
[Filter Library]-[Sketch]-[Base Extrusion], adjust details and smoothness.
[Filter Library]-[Sketch]-[Yellow Gradient], adjust details and smoothness.
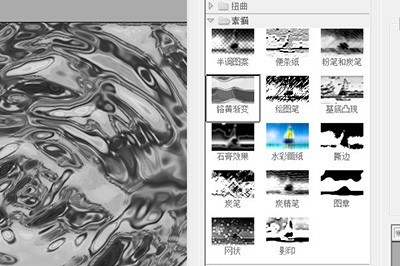
Through the superposition of the above filters, the water wave effect comes out. The last step is to color. Create a new layer, adjust the foreground color to blue, and press ALT DLE to quickly fill it.

Change the layer’s blending mode to [Overlay], and a clear water wave effect will appear.

The above is the detailed content of Detailed method to create water ripple effect in Photoshop. For more information, please follow other related articles on the PHP Chinese website!


