Home > Software Tutorial > Computer Software > Detailed steps for creating precise borders in Photoshop

Detailed steps for creating precise borders in Photoshop

王林
Release: 2024-04-17 16:04:12
forward
749 people have browsed it

How to make precise borders? PHP editor Xigua shared the detailed steps for creating precise borders using Photoshop, an image processing expert, and taught you step by step how to create perfect borders.

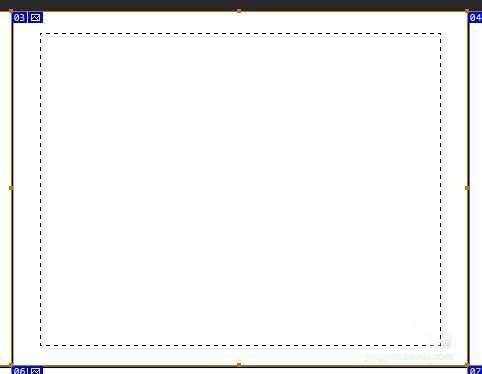
Draw a selection.
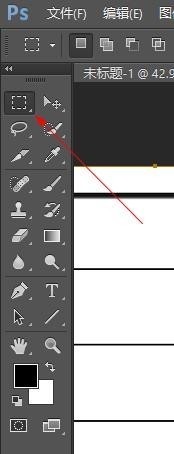
Detailed steps for creating precise borders in PhotoshopDetailed steps for creating precise borders in Photoshop

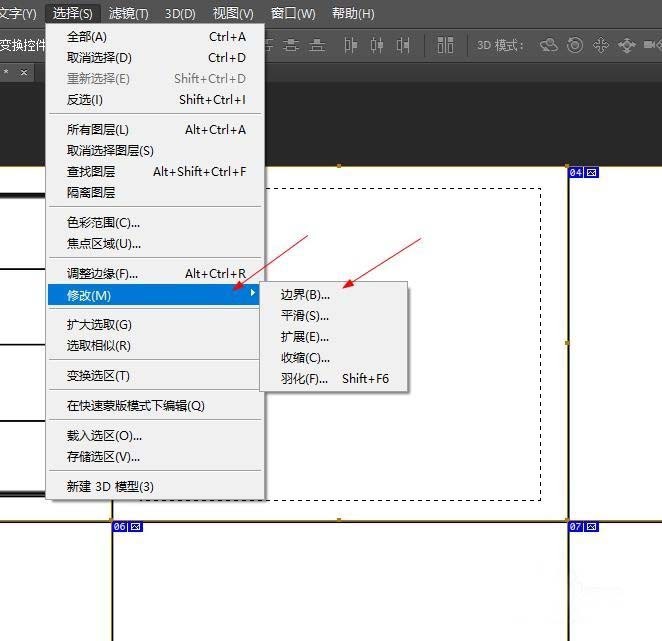
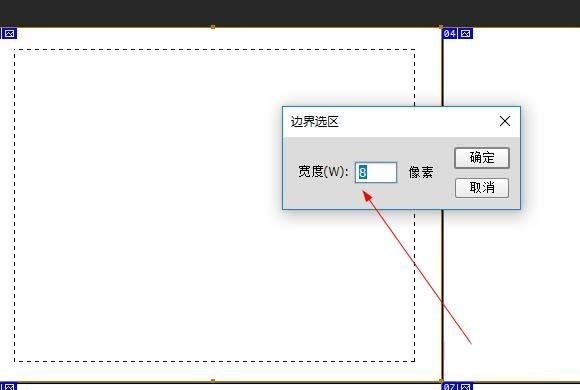
Selection—Modify—Boundary

Detailed steps for creating precise borders in Photoshop

Then see the tool below. In order to see the effect more clearly later, fill in [8] px, click [OK]
Detailed steps for creating precise borders in Photoshop

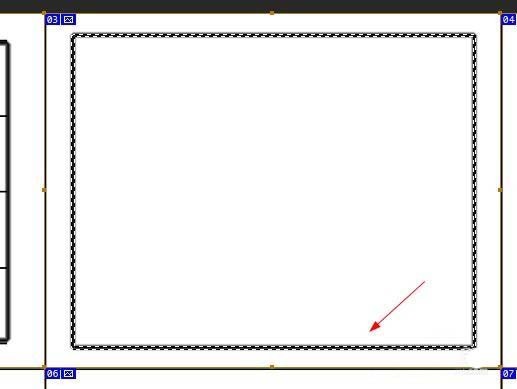
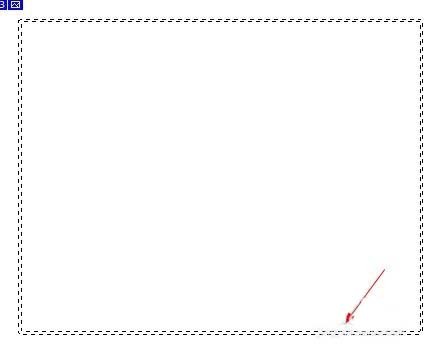
Then a double-bordered selection appears, which is much simpler than the previous method. More importantly, you can adjust the thickness of the border at will.
Detailed steps for creating precise borders in Photoshop

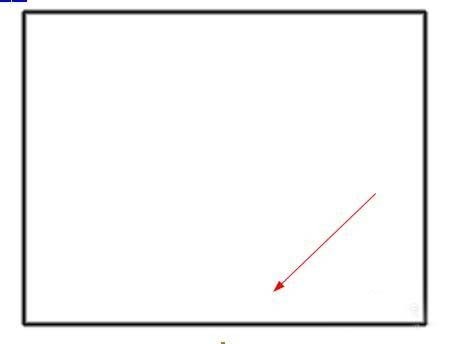
Then, alt delete, fill with black

Detailed steps for creating precise borders in Photoshop

Finally, cancel the selection, ctrl D. This is done.
Detailed steps for creating precise borders in Photoshop

The above is the detailed content of Detailed steps for creating precise borders in Photoshop. For more information, please follow other related articles on the PHP Chinese website!

source:zol.com.cn
Statement of this Website
The content of this article is voluntarily contributed by netizens, and the copyright belongs to the original author. This site does not assume corresponding legal responsibility. If you find any content suspected of plagiarism or infringement, please contact admin@php.cn
Popular Tutorials
More>
Latest Downloads
More>
Web Effects
Website Source Code
Website Materials
Front End Template