
php editor Strawberry will share with you the operation skills of setting print preview in PPT2013 today. PPT is a commonly used presentation production software, and every detail may affect the final effect. Print preview is a very important link in the PPT production process. With correct settings, you can ensure that the final printing effect meets expectations. In this article, we will introduce in detail how to set the correct print preview parameters through PPT2013, and how to adjust them as needed to make your presentation more perfect!
Open the PPT slide you want to print and click the [File] option in the upper left corner of the page.

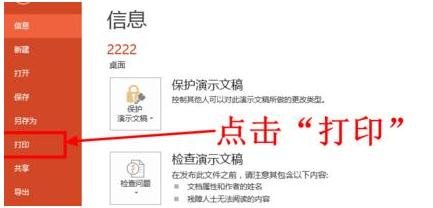
After opening the file options page, click the [Print] option on the left side of the page to enter the print settings page.
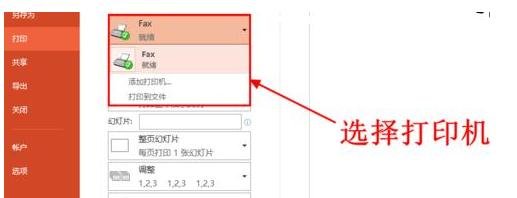
On the print settings page, select the printer you want to use from the printer list.
Set the printing range. Here you can choose to print all slides, print the current slide or specify the slides to be printed. You can set it as needed. Select the [Print all slides] option here.

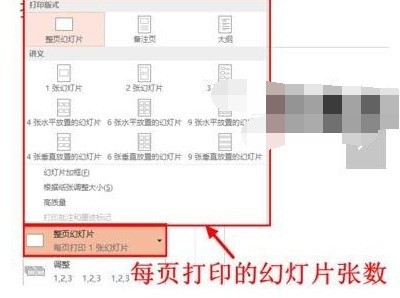
Set the number of slides printed on each printing paper. You can choose to print 1, 2, 3, 4, 6, or 9 slides on each paper. Choose 6 here.
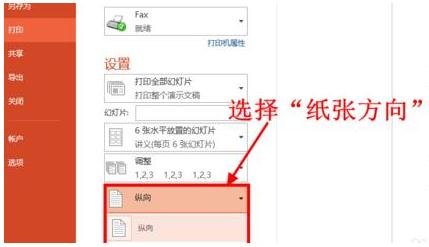
Set the paper orientation, you can choose landscape or portrait, also according to your needs. The editor here chooses [Portrait].
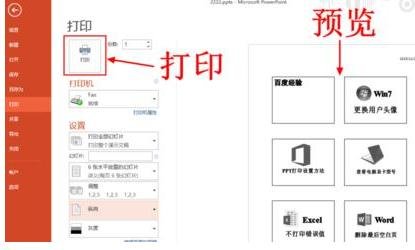
There is a print preview on the right side of the page. When you are satisfied with the printing effect, you can click the [Print] button to print.
The above is the detailed content of How to set print preview in ppt2013. For more information, please follow other related articles on the PHP Chinese website!


