
php editor Apple shares the latest tips: "How to edit PPT in "read-only mode"". In a PPT document, if you want to set the read-only mode so that others cannot edit it, you need to save the file in PPTX format first, and then set it to read-only. Then find "Protect Document" under the "Information" column in the "File" option, click "Encryption Options", and check "Read-only access". Finally save the settings to take effect. This simple operation can effectively protect the content of the document, prevent others from malicious modification, and ensure file security.
If the PPT property is set to "read-only mode", you can still edit it normally after opening the PPT, but the original PPT file cannot be saved.
When saving a file, a dialog box prompting "Unable to save" will pop up. If you want to save the edited PPT, you need to save the modified PPT file name as a new file or save it to another location.
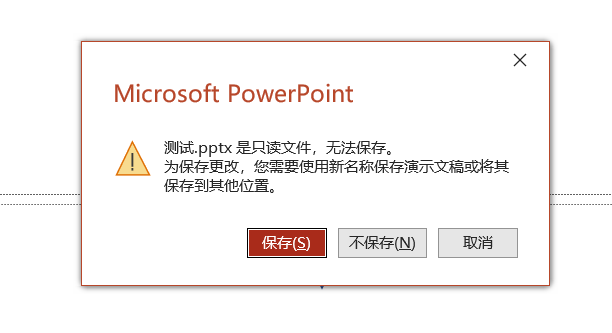
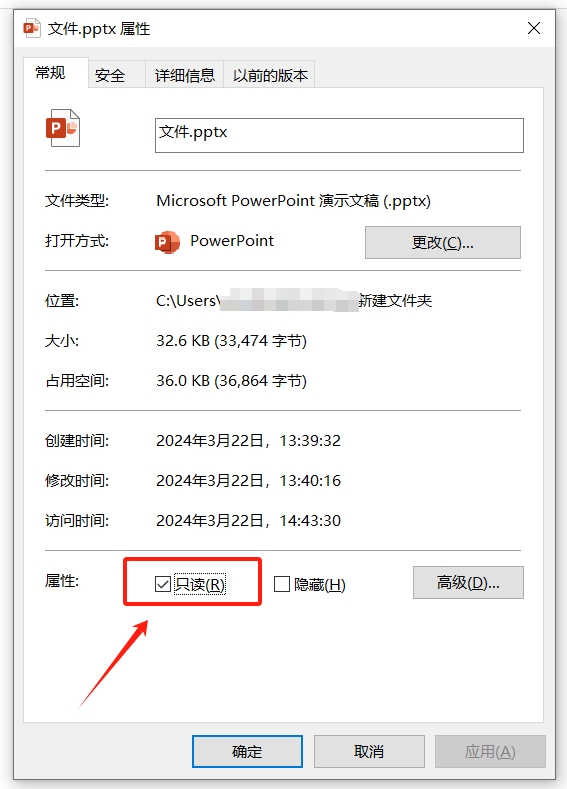
Of course, you can also directly cancel the "read-only mode" of PPT, that is, remove the check in front of "read-only" in the file properties, and then you can edit the PPT normally.
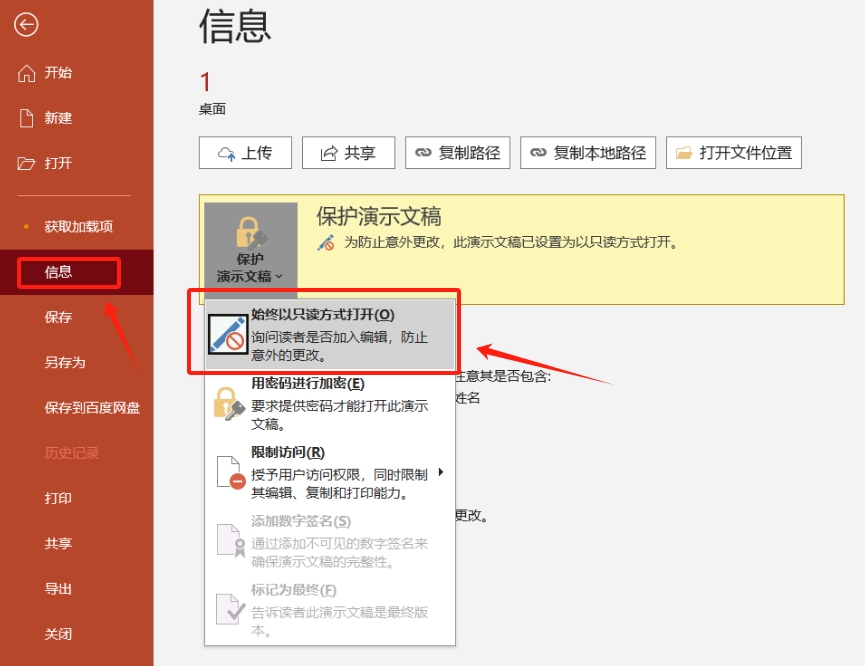
Another "read-only method" for PPT. After opening it, you will find that you cannot edit or modify the content, and the menu tabs are all gray and cannot be selected. .
You can see a yellow text box below the menu bar, which prompts "To prevent accidental changes, the author has set this file to open in read-only mode", and there is also an "Edit Anyway" option. Click this option to You can make the PPT editable. After editing is completed, you can also save the PPT directly.

We can also cancel the "read-only mode" first and then edit the PPT.
How to operate:
Click the menu tab [File], then click [Information] - [Always open in read-only mode], you can cancel the "read-only mode" of the PPT, that is, you can directly save the edited PPT.
"Read-only mode" of PPT with password. After opening the PPT, a dialog box will pop up, prompting "Enter password to modify or open in read-only mode" , as long as you enter the originally set password in the password field, you can enter the editable mode and edit the PPT normally; if you click [Read Only], you can still open the PPT, but you cannot edit it and can only view it.
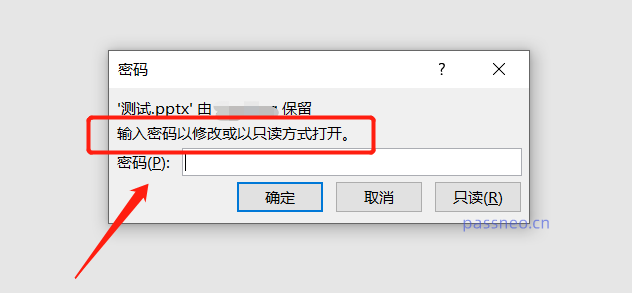
If you want to cancel the "read-only mode" with a password, you also need to enter the password first and enter the editable mode before you can operate.
How to operate:
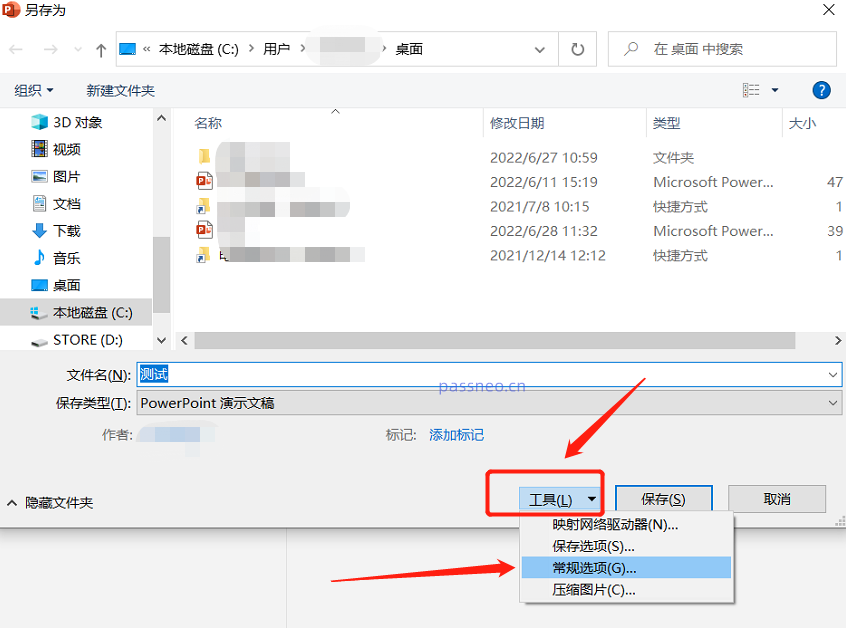
After opening the PPT with the password, click the menu tab [File]-[Save As], bring up the [Save As] dialog box, and click [General Options] in the [Tools] option list;
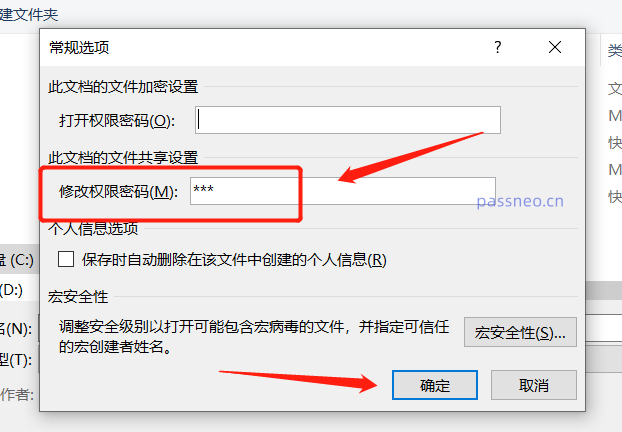
After the [General Options] dialog box pops up, you can see that there is already a password in the [Modify Permission Password] column. This is the originally set "read-only mode" password. Select and delete the password, and then save the file, PPT The "read-only mode" is cancelled.
Of course, if you forget the password for "read-only mode", you will not be able to edit the PPT, nor can you cancel the "read-only mode". In this case, we need to use other tools to solve the problem.
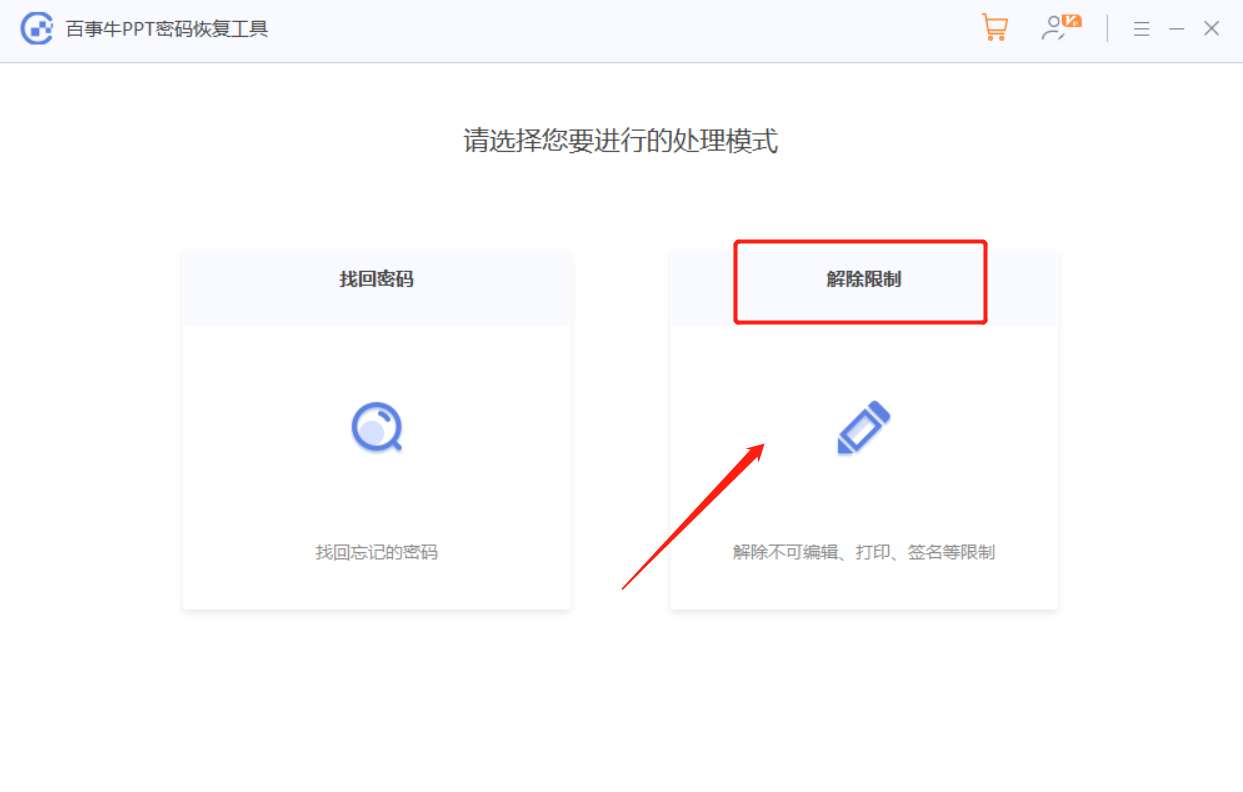
For examplePepsi Niu PPT Password Recovery Tool can directly remove the "read-only mode" of PPT with password without password.
Just click on the [Unrestriction] module in the tool and then import the PPT.
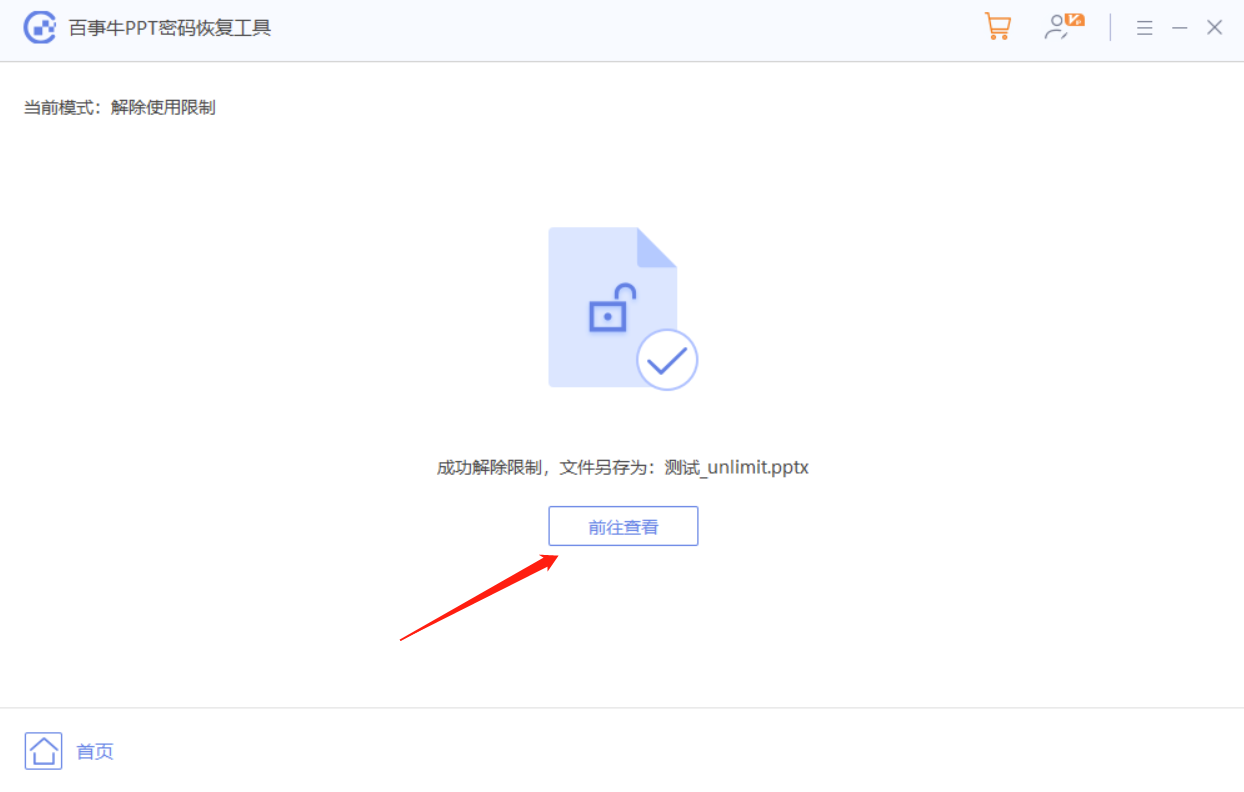
The PPT after releasing the "read-only mode" will be saved as a new PPT and saved in the folder created by the tool; click [Go to View] in the tool to see it.
The above is the detailed content of How to edit PPT in 'read-only mode'?. For more information, please follow other related articles on the PHP Chinese website!


