
php editor Zimo introduces the setting interface of WPS2019: As a powerful office software, the design of WPS2019 setting interface is very important. In WPS2019, the design of the setting interface has been carefully polished so that users can easily find the functions they need, perform personalized settings conveniently, and improve work efficiency. From personalized themes to document format settings, WPS2019's settings interface covers a variety of functions, allowing users to adjust according to their own needs and enjoy a smoother office experience.
1. First, open the document to be edited and pull the slider in the lower right corner to quickly reduce or enlarge the view interface.
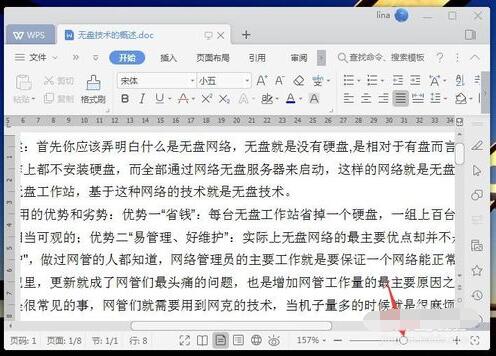
2. Click the minus sign in the lower right corner to shrink the interface, and click the plus sign to quickly enlarge the interface. Click on the best display ratio on the far right to automatically identify the window size and quickly zoom to the appropriate size.
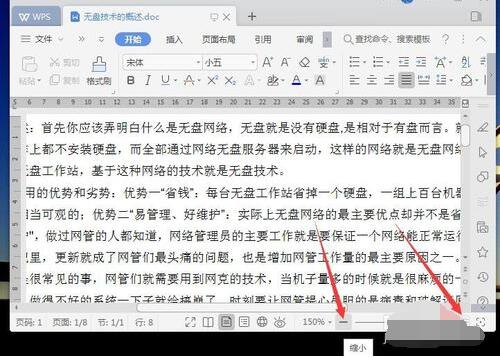
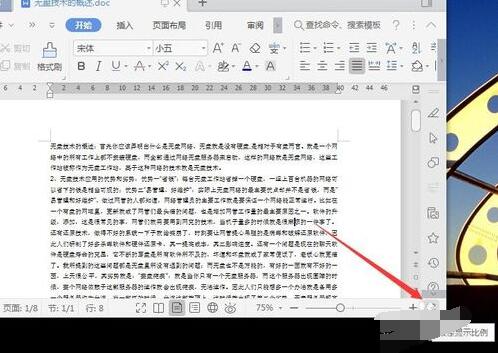
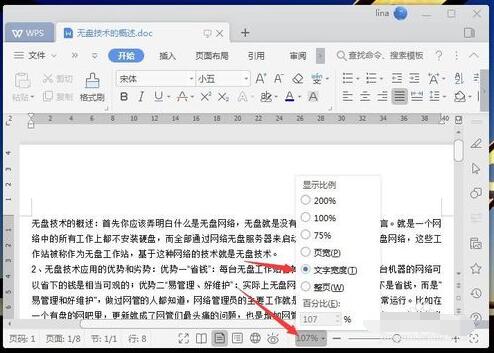
3. Click on the percentage number in the lower right corner, and the display ratio will pop up for selection. You can easily select the required ratio or enter the ratio.
4. Click the eye button in the lower right corner to activate the eye protection mode, and the workspace will appear light cyan.
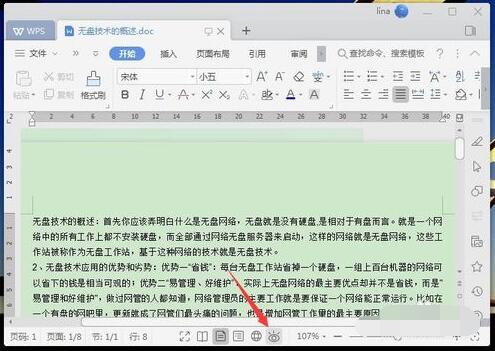
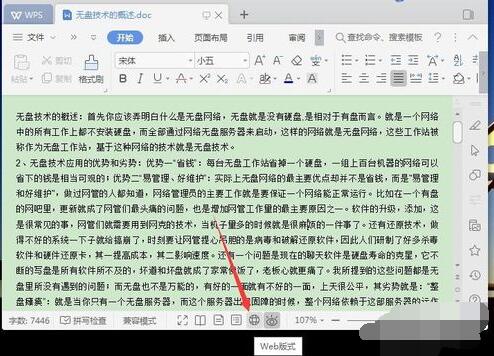
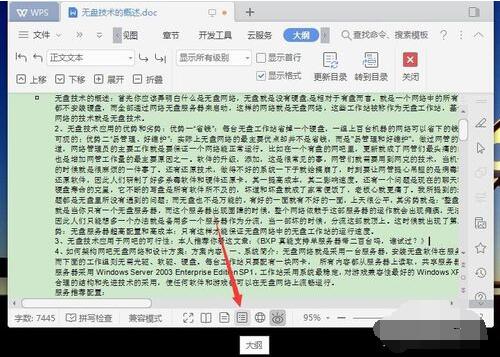
5. Click the globe-shaped button in the middle of the bottom to quickly switch to the Web layout view interface. Click the outline button to quickly switch to the outline view interface.
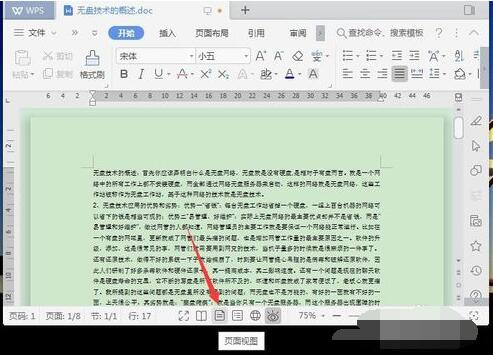
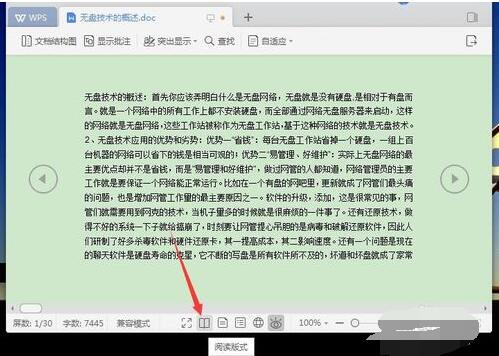
6. Click the page view button to immediately switch to the page state. Click the Read Layout button, and the interface will appear in a state that is convenient for reading, with page-turning buttons appearing on the left and right of the document.
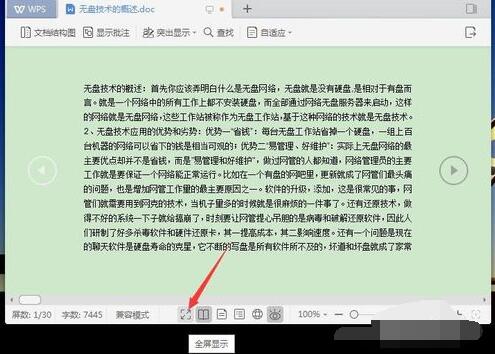
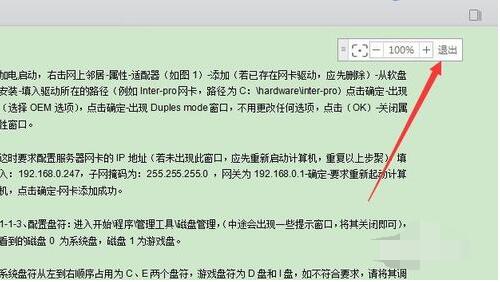
7. Click the full screen display button to cover the entire screen area. Click Exit in the upper right corner to exit the full-screen interface.
The above is the detailed content of Introduction to the process of setting up the view interface in WPS2019. For more information, please follow other related articles on the PHP Chinese website!


