php editor Zimo will introduce you to the steps to enable boot logs in WIN10. In the WIN10 system, the boot log can record detailed information when the system starts, which is helpful for troubleshooting startup problems. To enable the boot log, you first need to enter the "Command Prompt" in the "Advanced Startup Options", then enter the command "bcdedit /set {default} bootlog yes", and finally restart the computer to take effect. After enabling the boot log, you can find the "ntbtlog.txt" file in the root directory of the C drive to view the log information at startup. I hope the above steps can help you solve WIN10 startup problems!
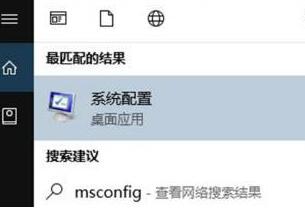
1. Search and run: msconfig in Microsoft Cortana.

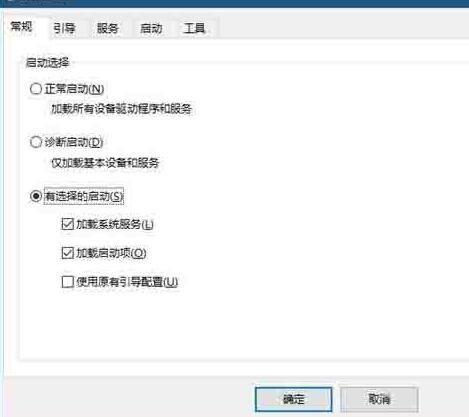
2. Switch to the boot tab.

3. Select the system where you want to record the boot log (no need to select a single system), and then check the check box in front of the boot log.

4. Click the OK button. If there is a dialog box prompting you to restart the system, you can restart it immediately. If you have unsaved work on Win10, you can also restart it manually later.
The above is the detailed content of Steps to enable boot log in WIN10. For more information, please follow other related articles on the PHP Chinese website!
 win10 bluetooth switch is missing
 Why do all the icons in the lower right corner of win10 show up?
 The difference between win10 sleep and hibernation
 Win10 pauses updates
 What to do if the Bluetooth switch is missing in Windows 10
 win10 connect to shared printer
 Clean up junk in win10
 How to share printer in win10


