
php Xiaobian Yuzai will introduce you in detail the steps to set the camera grid in OnePlus 6. In the camera settings of OnePlus 6, you can find the "Grid" option. By turning on the grid function, you can help users compose and take photos more accurately. When shooting, grid lines will divide the frame into nine equal parts, helping you better align and compose your shot. To set up the camera grid, open the camera app, click the settings icon, find the "Grid" option and turn it on. Such simple operations can make you more comfortable when shooting!
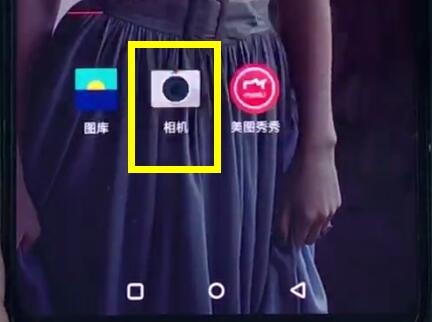
1. Open the desktop of the OnePlus 6 phone and click to enter [Camera].
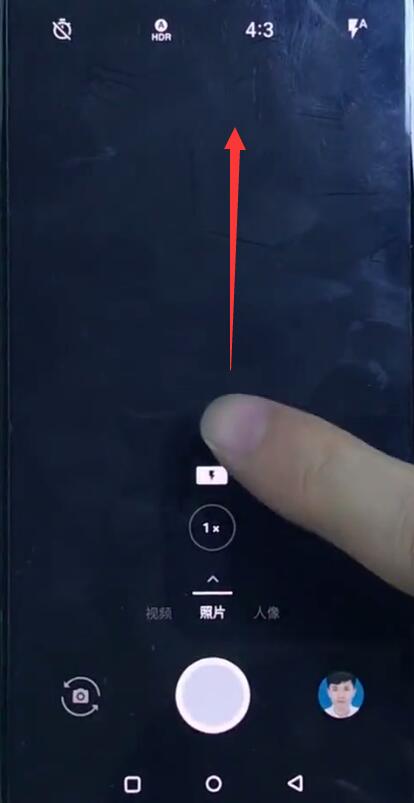
2. After entering the following interface, pull up from the bottom of the phone.
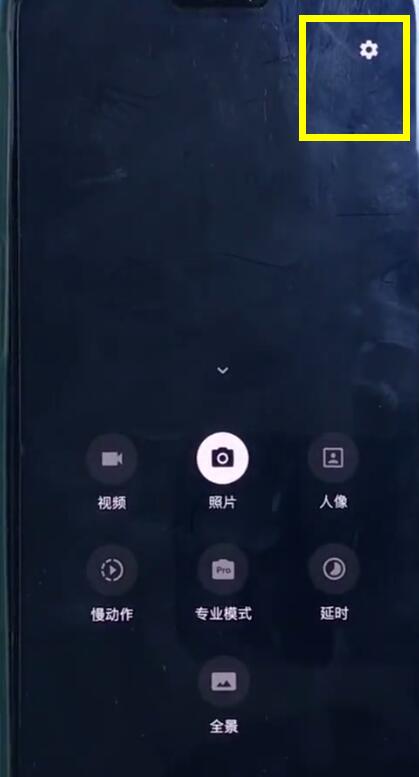
3. Click the [Settings] icon in the upper right corner.
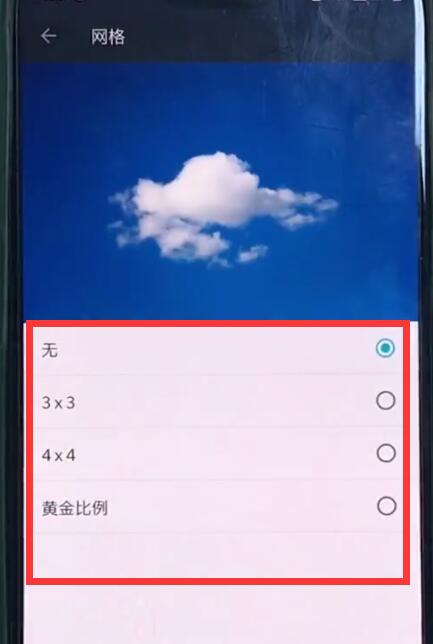
4. Click to open [Grid].
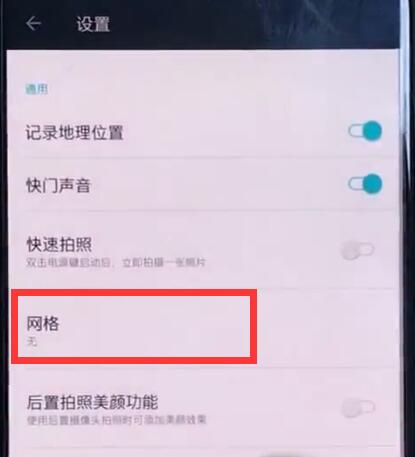
5. Click to select the grid ratio you like to set the camera grid.
The above is the detailed content of Detailed steps to set up camera grid in OnePlus 6. For more information, please follow other related articles on the PHP Chinese website!


