
In the PPT production process, quartered templates can make the slide content more organized and easier to present. PHP editor Xiaoxin introduces the operation process of making quarter templates to everyone. First, select the "Layout" option in PPT, then select "Slide Size" and set it to "Custom". Next, split the slide into quarters, adjust the size and position of each area, and finally add content and design elements. Through this simple process, you can create a beautiful quartered template, making your PPT more professional and visually impactful.
1. Draw a square. Method: Insert - Shape - Rounded Rectangle, hold down Shift, and release after the rounded rectangle changes to a square.
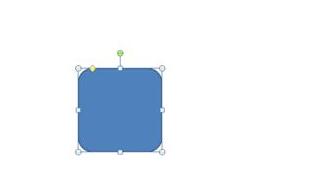
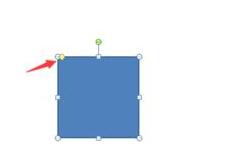
2. Select the rounded square and adjust the arc of the rounded corners. Method: Move the small yellow box in the corner.
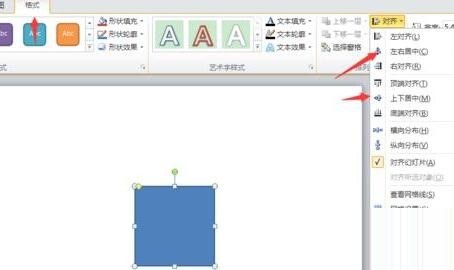
3. Adjust the position of the rounded rectangle and align it up, down, left, and center on the slide. Method: Format - Align - Center left and right - Align - Center top and bottom.
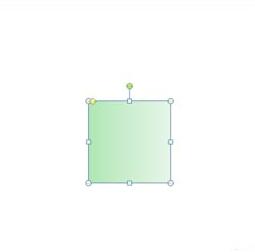
4. Adjust the rounded rectangle outline to None and set the gradient fill color. Method: Format - Shape Outline - No Outline; Format - Shape Fill - Select Color - Gradient - Select Gradient Effect.
5. Draw a straight line inclined at 45°. Method: Insert - Line - Hold down Shift and click the mouse.
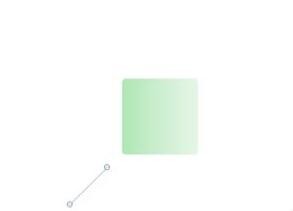
6. Move the straight line so that it connects with the lower left corner of the rounded square.
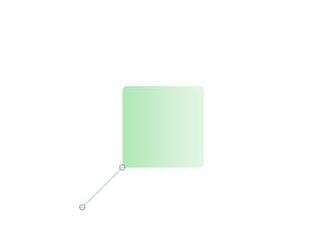
7. Set the gradient color for the straight line and adjust each attribute yourself. Method: Click the line-right-click-Format Shape-Line Color-Gradient Color.
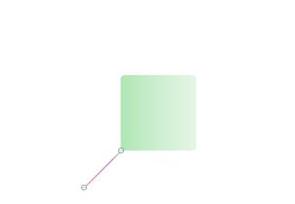
8. Copy the same line. Method: click on the line, press Ctrl C, press Ctrl V. That’s it.
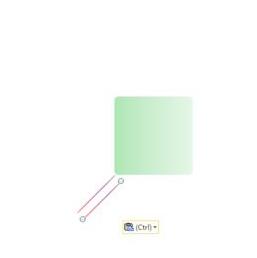
9. Rotate the copied straight line 90 degrees to the left and translate it to the lower right corner of the square. Method: Click on the straight line - Format - Rotate - Rotate 90 degrees to the left - Translate the straight line.
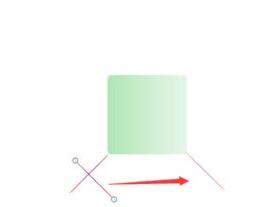
10. Copy and paste the other two straight lines and adjust their positions.
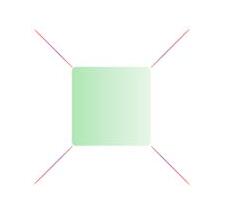
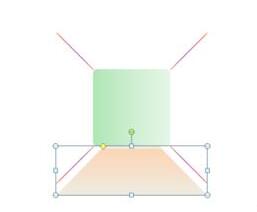
11. Draw a trapezoid and move it below to connect. Method: Insert - Shape - Trapezoid
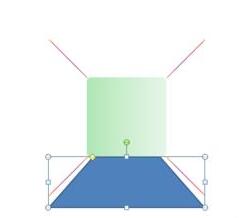
12. Select the trapezoid, adjust the yellow control point in the upper left corner, and make its left and right sides parallel to the straight line.
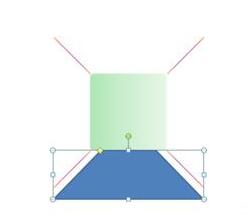
13. Set the trapezoid to have no outline and set an appropriate gradient fill color.
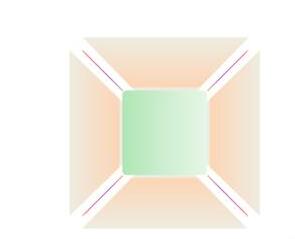
14. Copy the trapezoid and connect it to the other sides of the rounded square.
15. Insert a horizontal text box and add text. The font can be adjusted. Method: Insert - text box - horizontal text box,
16. Repeat steps 15, and you're done.
The above is the detailed content of The operation process of making a quartered template using PPT. For more information, please follow other related articles on the PHP Chinese website!