


In the Win10 system, transferring user folders to the D drive is a common operation requirement. This not only helps users optimize system disk space, but also better manage personal files and data. In this article, PHP editor Xinyi will introduce you to a detailed tutorial on how to transfer user folders to D drive in Win10 system, allowing you to easily transfer folders and improve system operating efficiency.
1. First, we need to open the user folder that we want to move and find the files that need to be moved.
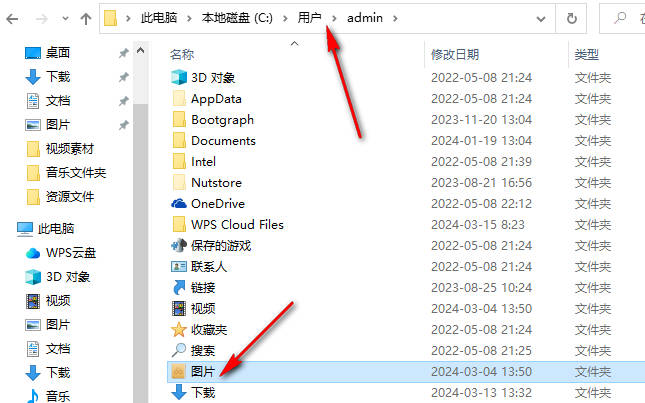
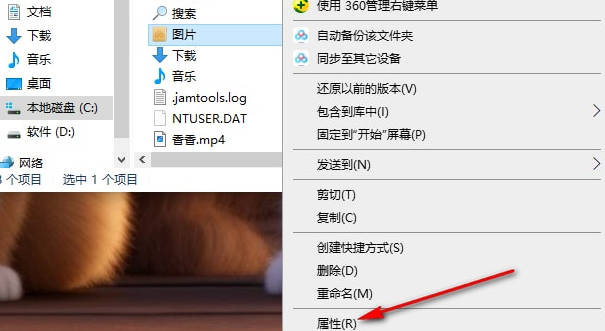
2. For example, we need to move the [Pictures] folder in the user folder, select it, right-click it, and select the [Properties] option to enter.
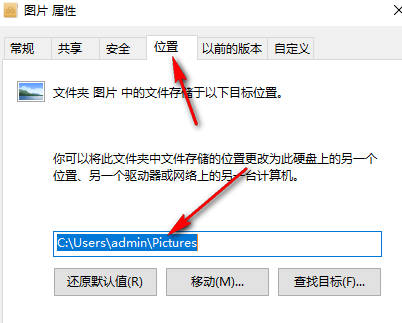
#3. At this time, in the page that opens, we need to click the [Location] option to view the storage location of the current picture folder.
#4. We need to click the [Move] option on the page.
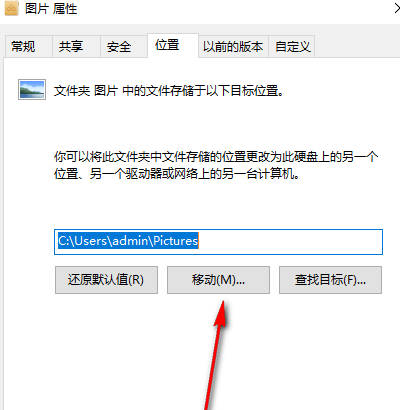
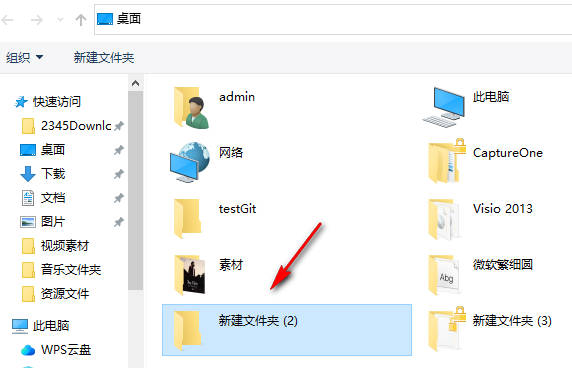
5. Then a folder window will pop up on the page. We need to select the d drive on the page and then create a new folder in the d drive. Used to store picture folders, then click the [Select Folder] button. Finally, return to the location properties window and click the [OK] button to save.
The above is the detailed content of How to transfer user folders to d drive in win10_Tutorial on transferring user folders to d drive in win10. For more information, please follow other related articles on the PHP Chinese website!
 win10 bluetooth switch is missing
 Why do all the icons in the lower right corner of win10 show up?
 The difference between win10 sleep and hibernation
 Win10 pauses updates
 What to do if the Bluetooth switch is missing in Windows 10
 win10 connect to shared printer
 Clean up junk in win10
 How to share printer in win10


![[Web front-end] Node.js quick start](https://img.php.cn/upload/course/000/000/067/662b5d34ba7c0227.png)


