If you have been using iPhone, your address book may contain a large number of contacts, and sometimes there may be some duplicates. Fortunately, Apple provides the function of merging duplicate contacts so that you can easily manage your address book and avoid duplicate contacts causing trouble when searching. By merging duplicate contacts, you can view and manage your address book more clearly, keeping information neat and organized.
In this article, we will explain all the methods to merge duplicate contacts on iPhone.
How to Merge Duplicate Contacts on iPhone [2 Methods]
- Requirements: iPhone running iOS 16 or later
You You can merge duplicate contacts on iPhone as follows.
Method 1: Merge all duplicates at once
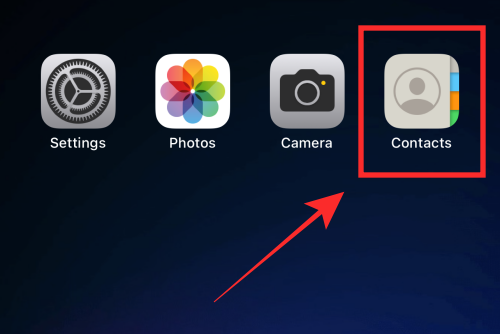
- Launch the Contacts app on your iPhone.
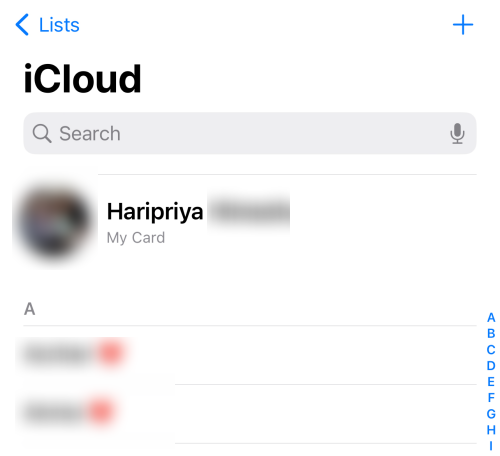
- Under List, tap All iCloud.
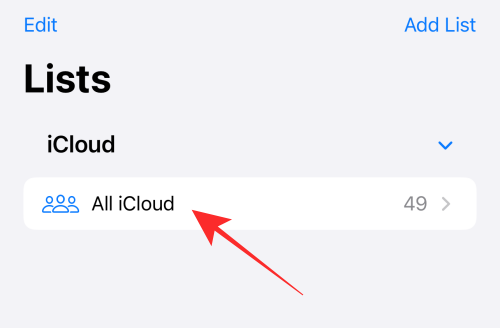
Note: If you have not synced your iPhone contacts to iCloud, you will see "All iPhone" under "List". Click "All iPhone" to go to Contacts.
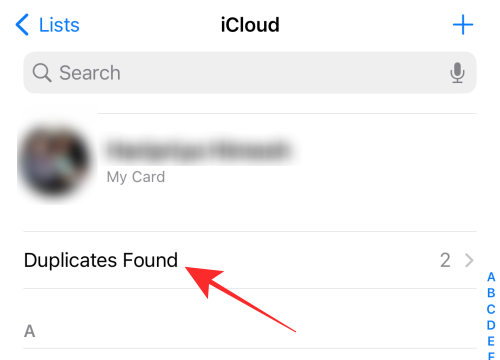
- If there are any duplicate contacts, you will see them right above the contact list as "Duplicates Found" along with the number of duplicate contacts.
- Click on the duplicate found.
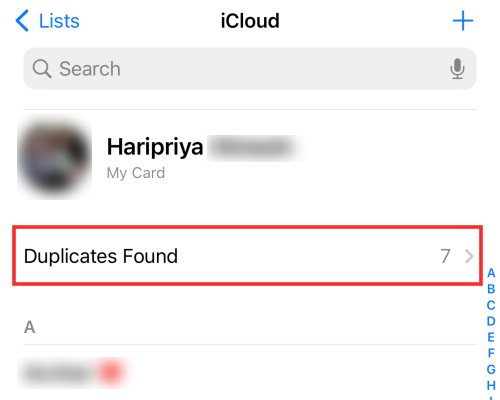
On the overflow menu you will see a list of duplicate contacts (containing the number of duplicate cards).
- To merge all duplicate contacts in one fell swoop, click Merge at the bottom of the overflow menu.
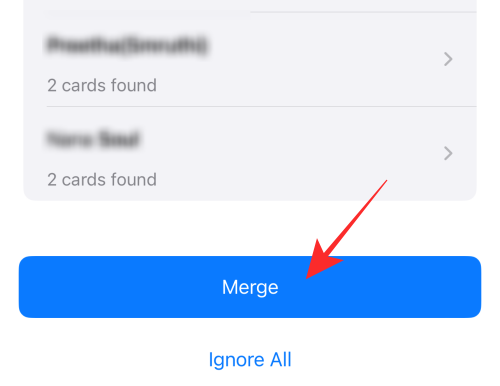
- That's it! All duplicate contacts will be merged into your Contacts and a flash message will appear - "Duplicates Resolved"!
- You will no longer see the "Duplicates Found" indicator above your contact list on the Contacts page.
Method 2: Select and merge contacts manually
- Launch the Contacts app on your iPhone.

- Under List, tap All iCloud.

Note: If you have not synced your iPhone contacts to iCloud, you will see "All iPhone" under "List". Click "All iPhone" to go to Contacts.
- If there are any duplicate contacts, you will see them right above the contact list as "Duplicates Found" along with the number of duplicate contacts.
- Click on the duplicate found.

On the overflow menu you will see a list of duplicate contacts (containing the number of duplicate cards).
- On the overflow menu, tap any duplicate contacts you want to resolve.
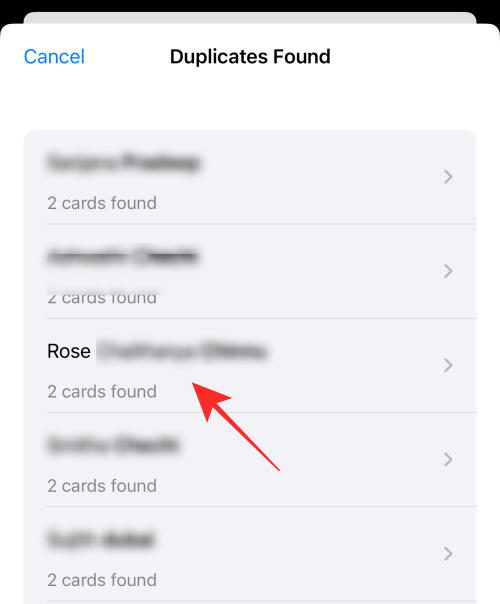
- The overflow menu will display the details of the selected duplicate contact. Click Merge at the bottom of the menu.
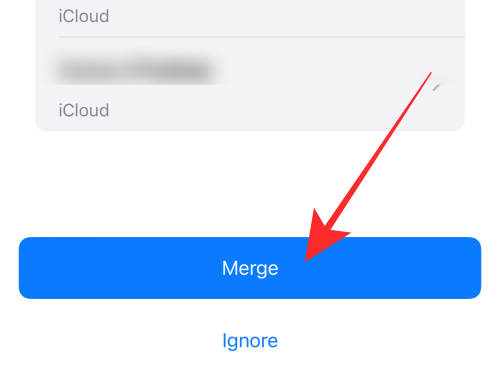
- Do! You've completed the steps of merging copies of selected contacts into copies in Contacts! Therefore, you can selectively merge any duplicates.
- Click Cancel in the upper left corner of the overflow menu when you finish merging the selected contacts.
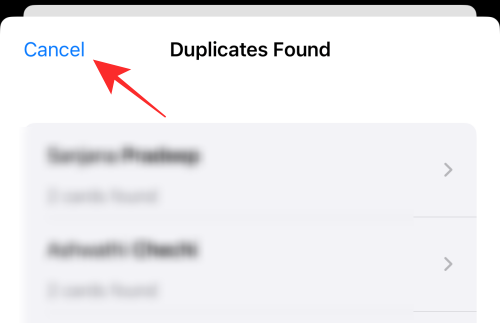
- Remaining unresolved duplicates will continue to appear as "Duplicates Found" on the Contacts page.
How to detect repeat contacts?
The Contacts app detects duplicates based on exact identical contact cards on iCloud or iPhone. Names and numbers must match for them to be duplicates. If you have a number saved under two different names or vice versa, they will not be detected as duplicate contacts and will not appear under the Duplicates Found list.
The above is the detailed content of 2 Ways to Delete Duplicate Contacts on iPhone. For more information, please follow other related articles on the PHP Chinese website!


