
php editor Xiaoxin brings you a method to insert pictures in Microsoft Excel 2020. Inserting pictures in Excel is a common task to make documents more vivid and intuitive. This tutorial will introduce in detail how to insert pictures in Excel 2020, allowing you to get started easily and improve work efficiency.
First, we open a Microsoft Excel document that needs to insert pictures. As shown in the picture:

Next, find the "Insert" option in the menu bar and find "Picture" under the insert option, as shown in the figure:

Then, in the pop-up file selection box, select the location and image we want to insert the picture. After the selection is completed, click "Insert" below. As shown in the picture:

Then, wait for the system to insert the image into the document, then select the image, hold down the shift key, and drag the mouse to resize the image. As shown in the picture:
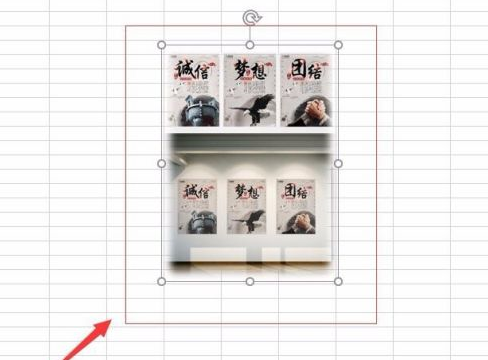
Next, resize the cells to fit within the image-sized borders. As shown in the picture:

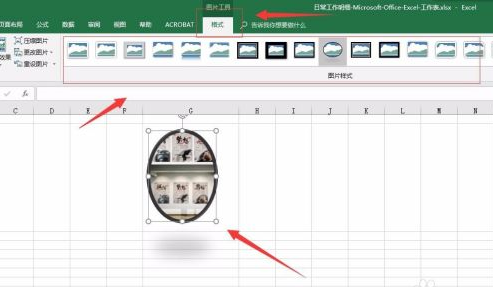
We can also set the style of the image. First, select the picture, select "Format" on the menu bar, and select the picture format you need under Format as needed.
The above is the detailed content of How to insert pictures in Microsoft Excel 2020-How to insert pictures in Microsoft Excel 2020. For more information, please follow other related articles on the PHP Chinese website!


