
When making PPT, how to insert different pictures into each slide is a common problem. PHP editor Apple introduces two possible methods for you: one is to use the "Slide Master" function, and the other is to achieve it through "Quick Part Switching". These two methods are not only simple and easy to operate, but also allow you to easily insert different pictures into each PPT, improving the visual effect and professional feel of the PPT.
1. Put all the pictures that need to be inserted into PowerPoint into a folder;
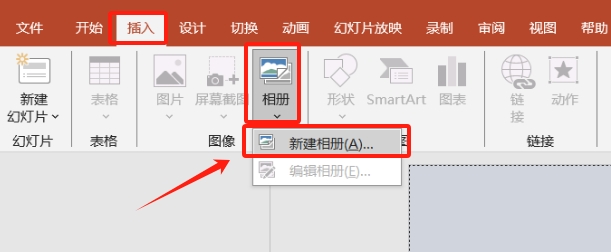
2. Open PowerPoint, and then click the menu tab [Insert] → [Album] - [New Album];
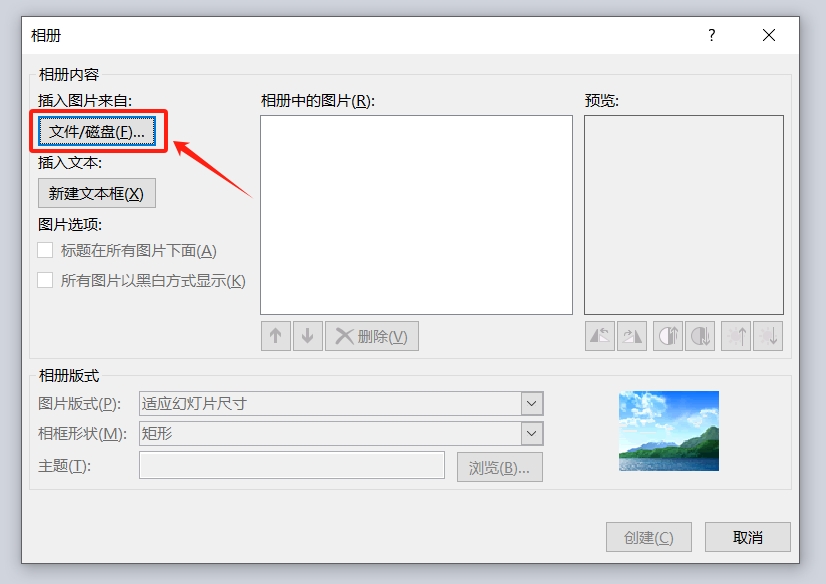
3. In the pop-up "Album" interface, click [File/Disk];
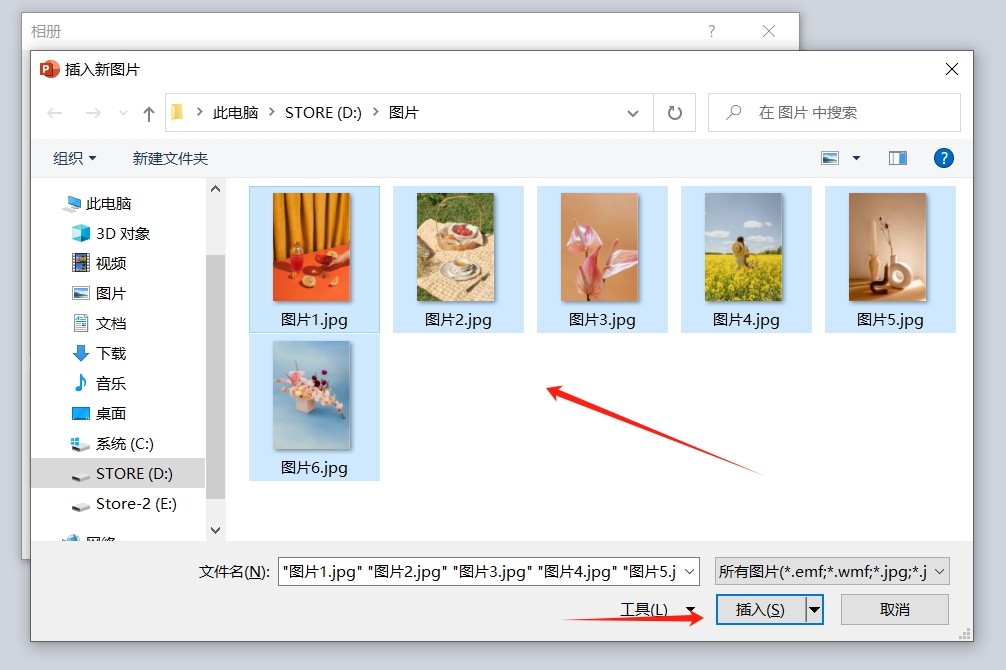
4. Then the "Insert New Picture" interface will pop up. Find and select all the pictures that need to be inserted into PowerPoint. For example, the editor needs to insert 6 pictures, and then click the [Insert] button;
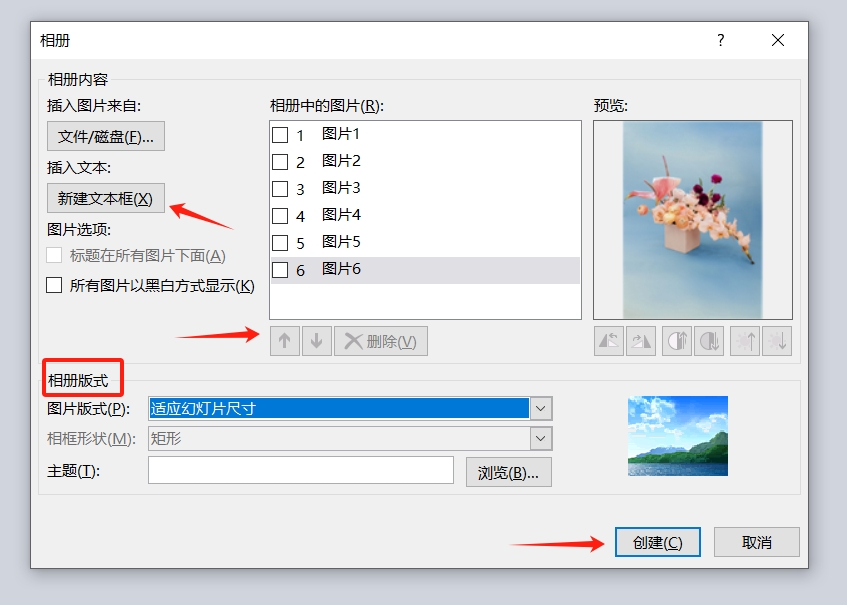
5. Return to the "Album" interface. If you need to insert a text box, you can select "New Text Box". You can also adjust the order of pictures and delete unnecessary pictures. The "Picture Layout" in the "Album Layout" list can be used separately. Adjust the shape of each picture, and click [Create] after selecting to import the pictures into PowerPoint in the form of an album.
After the operation is completed, you can see that each selected picture is inserted into each slide.
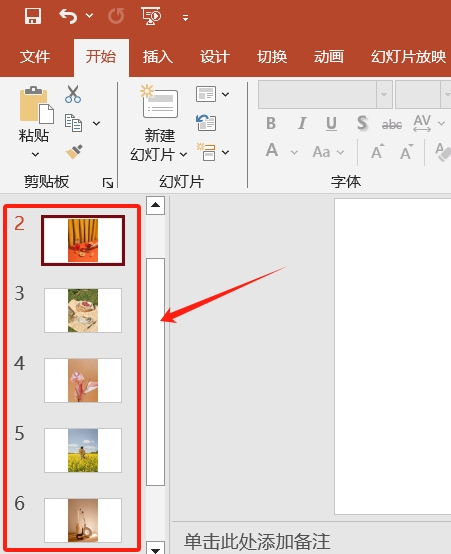
1. Put all the pictures that need to be inserted into PowerPoint into a folder, and name them uniformly according to the "file name serial number". For example, if I need to insert 6 pictures, name them as shown below. If I need to insert 100 pictures, name them from 1 to 100, and so on.
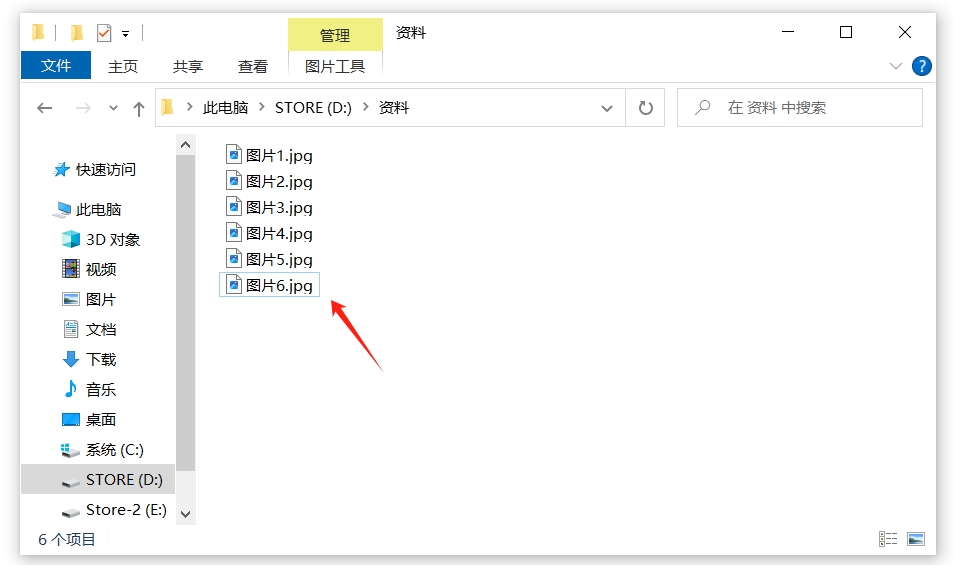
2. After opening PowerPoint, open the VBA editor through the shortcut key "Alt F11", and then click the menu tab [Insert] → [Module];
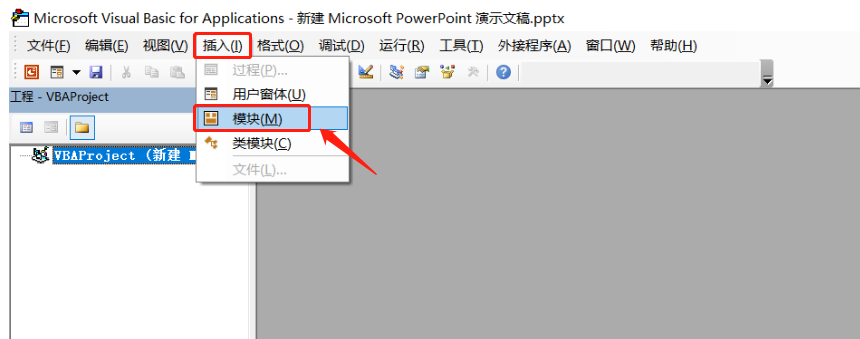
3. After a blank editor appears, enter the following code:
Sub InsertPic()
Dim i As Integer
For i = 1 To ActivePresentation.Slides.Count
ActivePresentation.Slides(i).Select
With ActiveWindow.Selection.SlideRange
.FollowMasterBackground = msoFalse
.Background.Fill.UserPicture “D: Profile picture” & i & “.jpg”
End With
Next
End Sub
Among them, "D: Data picture" represents the "file address and picture name" of the picture, which needs to be changed according to the file saving address and naming. i represents the file serial number.
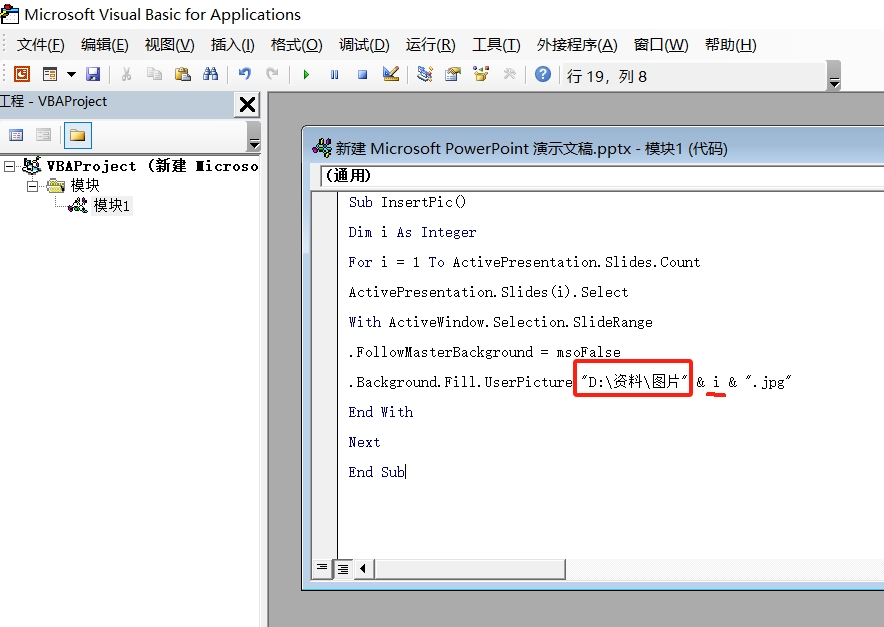
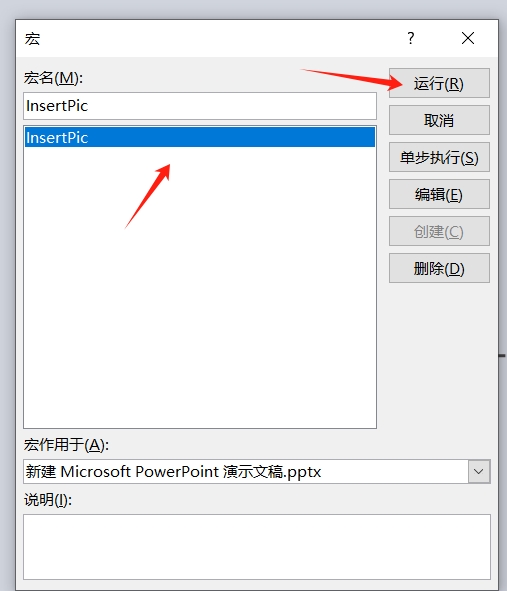
4. After entering the code, close the VBA editor, return to the PPT page, and use the shortcut key "Ctrl M" to create as many blank slides as the number of pictures that need to be inserted. For example, if the editor needs to insert 6 pictures, just Create 6 blank slides.
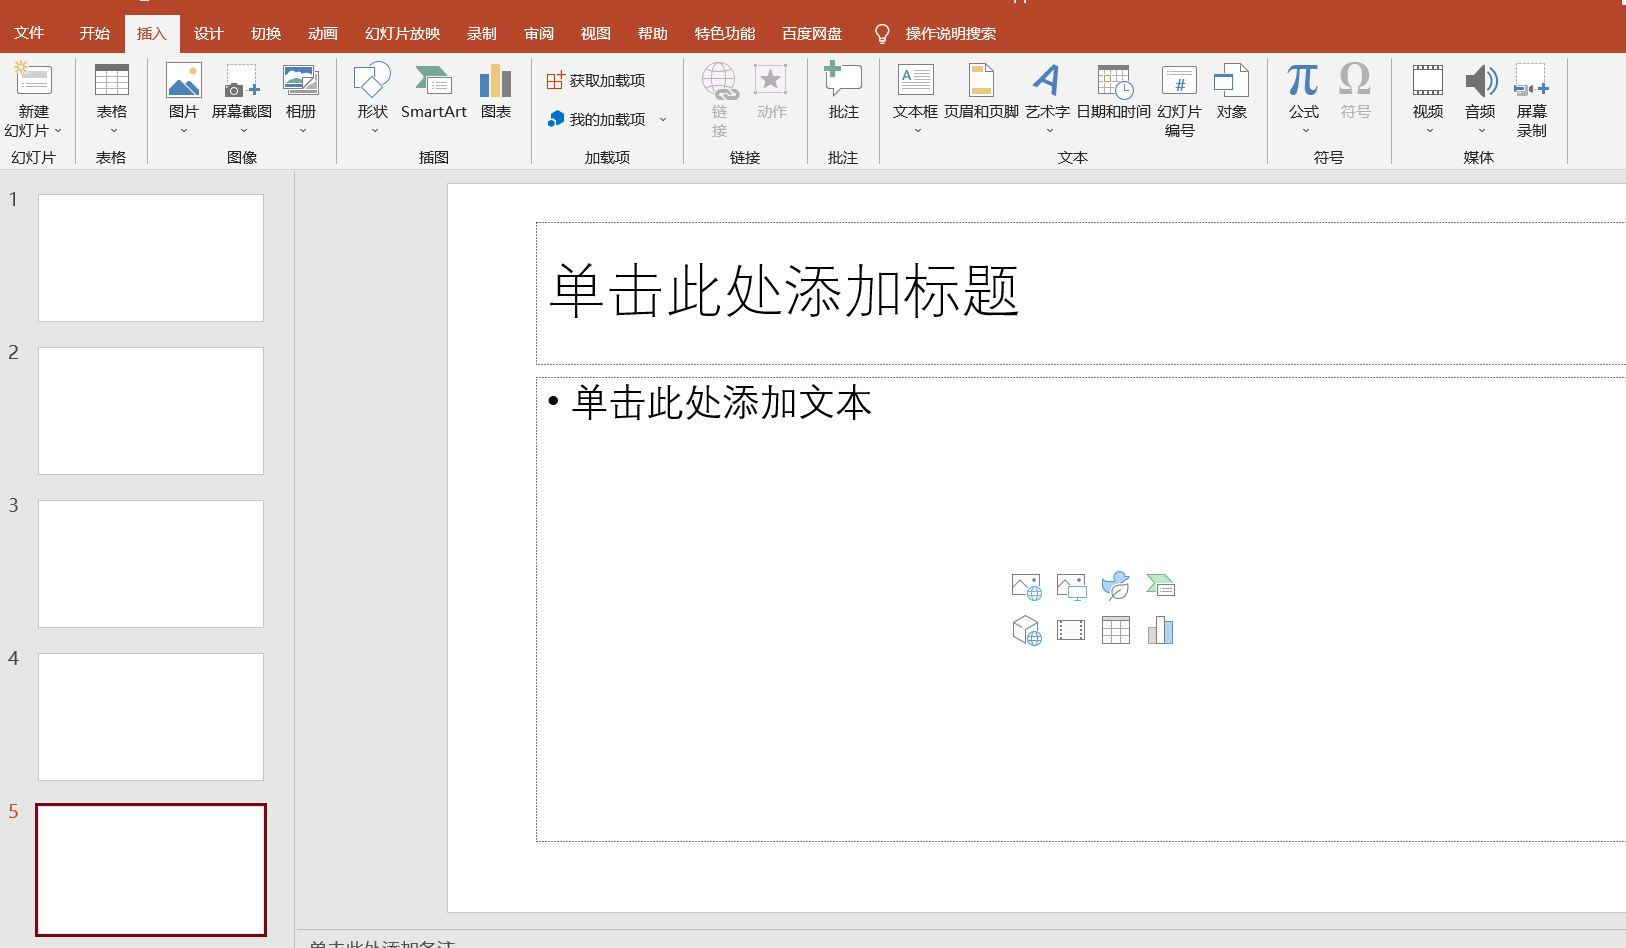
5. Use the shortcut key "Alt F8" to open the macro dialog box, then select the macro you just created, and click [Run] to start adding pictures automatically.
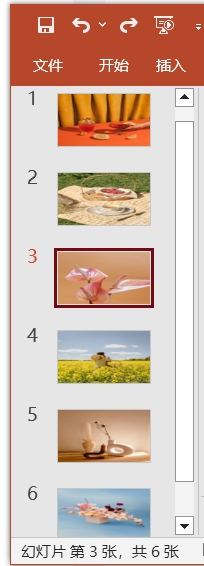
After completing the operation, you can see that the pictures in the folder are automatically added to each slide.
The above is the detailed content of How to insert different pictures into each PPT at the same time? These 2 methods work!. For more information, please follow other related articles on the PHP Chinese website!
 How to make charts and data analysis charts in PPT
 Android voice playback function implementation method
 AC contactor use
 The difference between vscode and visual studio
 The difference between Java and Java
 Introduction to hard disk interface types
 nagios configuration method
 How to delete a folder in linux


