
php editor Apple introduces you how to make a USB boot disk and install the ISO file. The USB boot disk is a convenient and fast way to install the system, and the ISO file is a CD image file. The process of making a USB bootable disk is very simple. You only need to prepare a USB flash drive and an available ISO file, and then use a professional USB bootable disk creation tool. When installing the system, you only need to insert the USB flash drive into the computer, enter the BIOS interface to set the USB flash drive as the startup item, and then follow the prompts to install. Through this method, you can easily install the operating system you need and enjoy a more convenient operating experience.
After preparing the USB flash drive, you need to write the system installation file to the USB flash drive on a computer that can run the Windows system normally. Please make sure that the computer cannot be an Apple system. After preparing the USB flash drive and computer, we can start the operation. It should be noted that there cannot be any files in the USB disk, because old files will be automatically cleared when downloading the Win10 installation package. It is recommended to use an empty USB flash drive without any files on it. The system installation package is a pure version of Win10, which only contains the recycle bin and browser.
Step 1, first we insert the USB flash drive into the computer used to make the boot disk.
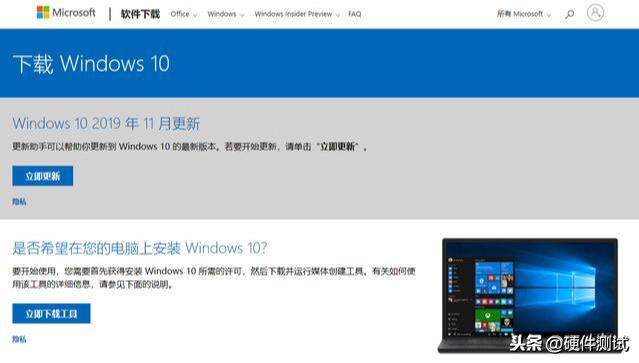
Step 2, go to Microsoft’s official website to download the Win10 installation package. First, we open Baidu browser and enter the keyword [Microsoft official website download Win10] in the search box to ensure that the input content is accurate to avoid searching for third-party advertising links. Usually, the number one ranking is the official Microsoft website. Be sure to check whether the domain name of the website is official Microsoft (Microsoft). Please refer to the diagram below.

Step 3: Next, we need to visit Microsoft’s official website and click [Download Tool Now] to get Win10 Startup disk creation tool. You can choose to save the downloaded file to your desktop or other disk location. If you find this too troublesome, just download it directly to your desktop. If you don't mind the hassle, you can also choose to save it to a different disk location. For better management, it's a good idea to create a new folder where you save it and create a shortcut on your desktop. (Please note, do not save the file to the USB flash drive). The pictures below show the exact steps.
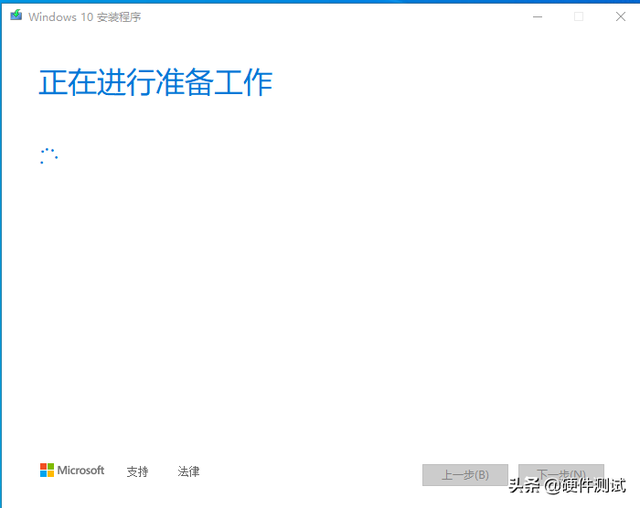
Step 4: After the download is complete, we click to open this (MediaCreationTool1909 ) software, the software is as shown in the figure below

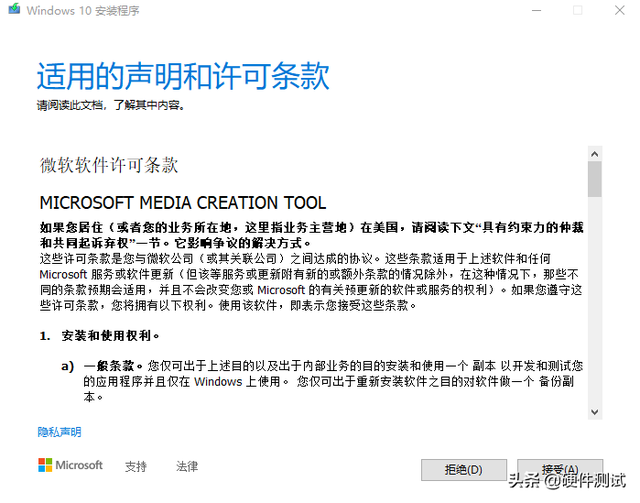
Step 5: Wait for a moment (Figure 1). After completion, enter the (Applicable Statement and License Terms) interface and click [Accept] (Figure 2), as shown in the figure below.
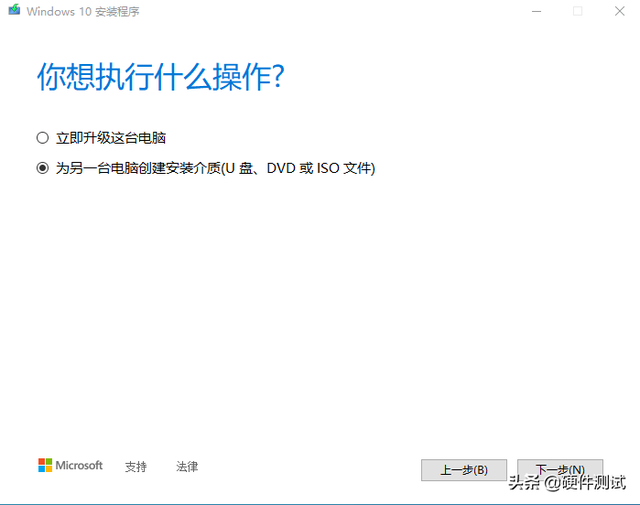 Step 7: Here we are. Select the language, architecture and version. Here is one (use the recommended option for this computer). We can change the language, version and architecture of the computer after removing the previous check mark. Generally, the default option is not selected here. Change, click [Next] as shown below
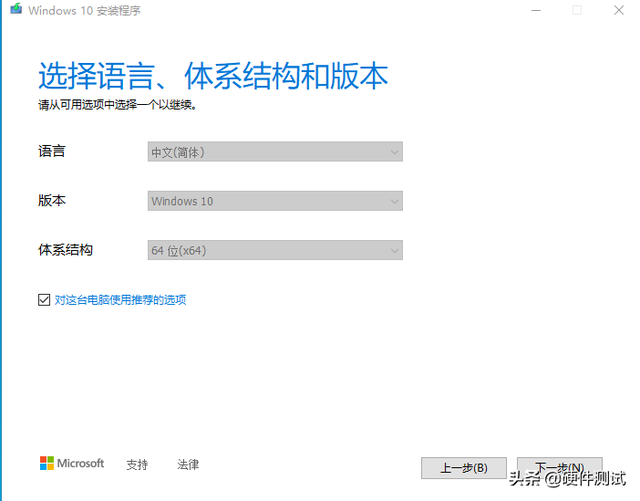
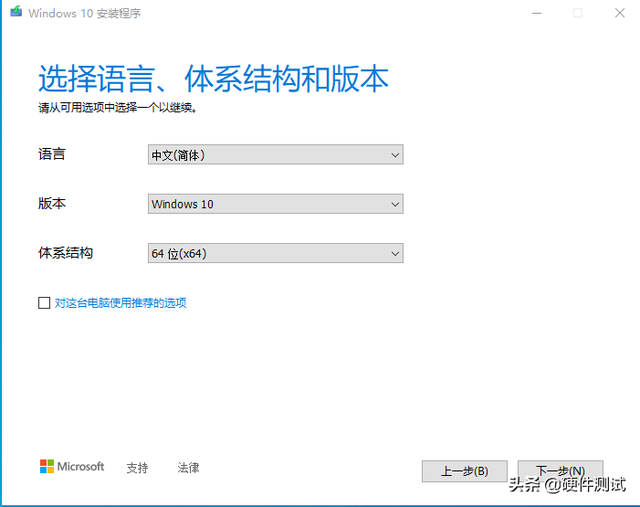
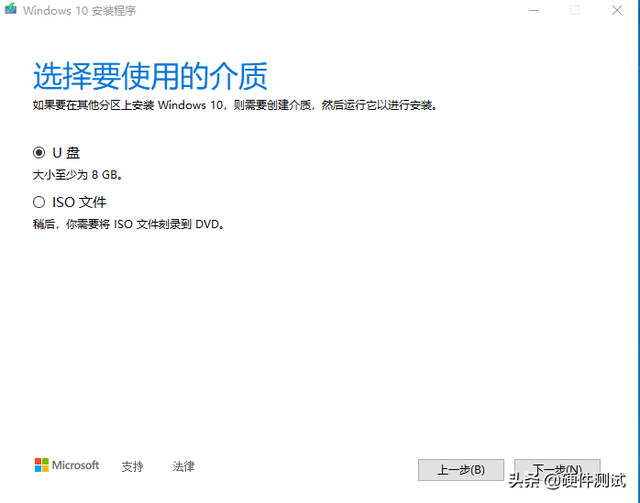
Step 9: (Select the U disk) Confirm here whether this drive letter is the one you want to write the system installation program to U disk. Note: (Everyone’s drive letter is different. This is my USB drive letter.) Some people have it F, some people have it E. Then click [Next] as shown below
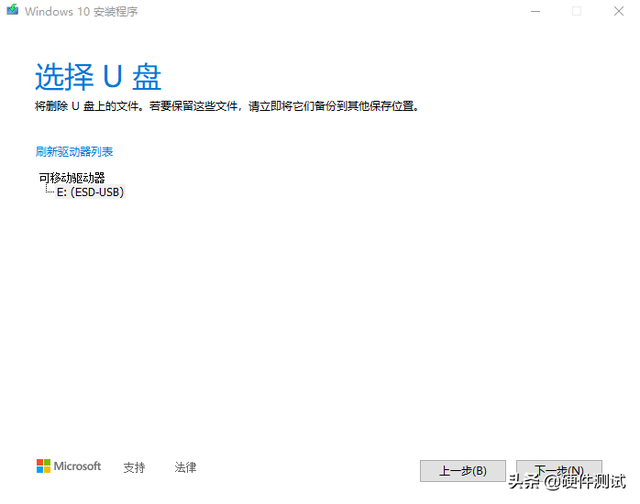
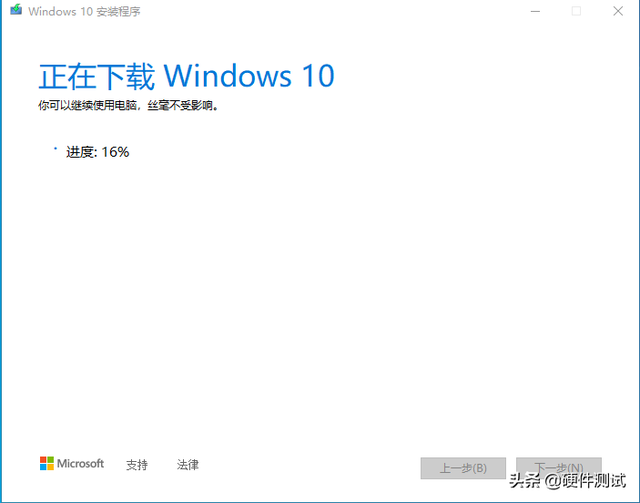
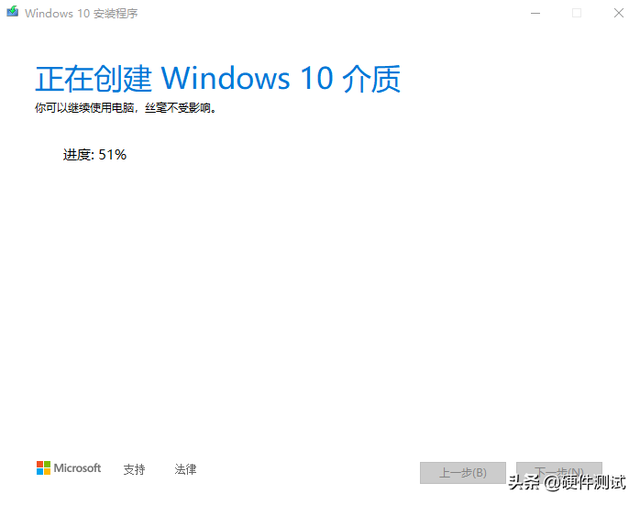
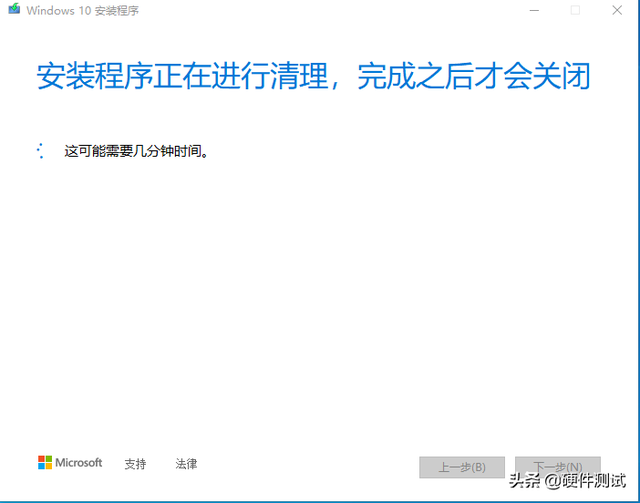
#Step 11: (Your USB flash drive is ready) Here we click Finish. Please wait patiently for the startup disk creation tool to clear cache files. After the cleaning is completed, it will be automatically saved to the USB flash drive. As shown below
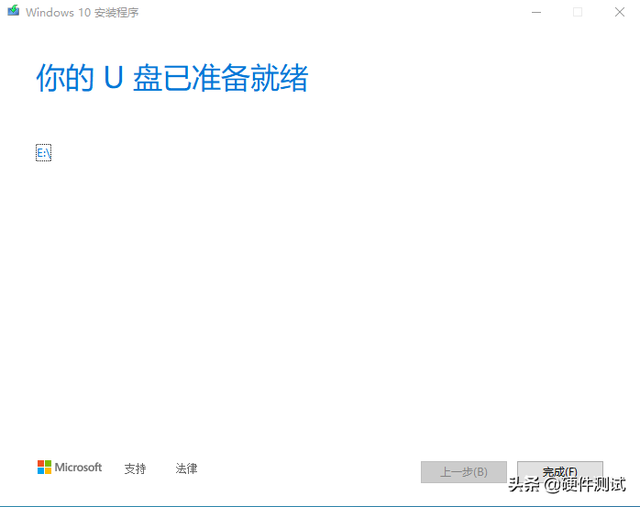


#As long as you don’t delete the files in the USB flash drive, you no longer need to download the installation package to install the system from now on. Just start from this step onwards.
How to install the system into the computer, we will see you in the next issue. Thank you for your support! ! !
The above is the detailed content of How to install iso file from USB boot disk. For more information, please follow other related articles on the PHP Chinese website!
 win10 bluetooth switch is missing
 Why do all the icons in the lower right corner of win10 show up?
 The difference between win10 sleep and hibernation
 Win10 pauses updates
 What to do if the Bluetooth switch is missing in Windows 10
 win10 connect to shared printer
 Clean up junk in win10
 How to share printer in win10


