In this article, we will show you how to enable nested virtualization in KVM on RHEL 8 / Rocky Linux 8.
Nested virtualization in KVM (Kernel-based Virtual Machine) is a feature that allows you to run virtual machines within other virtual machines. This means you can create a virtual environment within a virtual machine and run another virtual machine within it.
Nested virtualization is particularly useful for test and development scenarios where you may want to create multiple virtual machines with different configurations or operating systems without the need for separate physical hardware. For example, you can use nested virtualization to test the compatibility of applications running on multiple operating system versions.
I assume you have already configured a KVM virtualizer. If you are unfamiliar with how to install and configure a KVM virtualization program, please refer to the following article:
Without further ado, let’s get into the practical steps.
Verify that your KVM host has nested virtualization enabled.
For Intel processor-based machines, run the following cat command:
[root@kvm-hypervisor ~]# cat /sys/module/kvm_intel/parameters/nested
N
[root@kvm-hypervisor ~]#
For AMD processor-based machines, run the following command:
[root@kvm-hypervisor ~]# cat /sys/module/kvm_amd/parameters/nested
N
[root@kvm-hypervisor ~]#
In the above output, "N" means nested virtualization is not enabled. If the output we get is "Y", it means nested virtualization is enabled on your host.
Now to enable nested virtualization, create a file called "/etc/modprobe.d/kvm-nested.conf" with the following content:
[root@kvm-hypervisor ~]# vi /etc/modprobe.d/kvm-nested.conf
options kvm-intel nested=1
options kvm-intel enable_shadow_vmcs=1
options kvm-intel enable_apicv=1
options kvm-intel ept=1
Save and exit the file.
Next, please remove the kvm_intel module and add the same module using the modprobe command. Before removing the module, make sure the virtual machine is shut down, otherwise we will receive the following error message: "modprobe: FATAL: Module kvm_intel is in use".
[root@kvm-hypervisor ~]# modprobe -r kvm_intel
[root@kvm-hypervisor ~]# modprobe -a kvm_intel
[root@kvm-hypervisor ~]#
Now to verify that the nested virtualization feature is enabled, run the following command:
[root@kvm-hypervisor ~]# cat /sys/module/kvm_intel/parameters/nested
Y
[root@kvm-hypervisor ~]#
For AMD-based systems, run the following command:
[root@kvm-hypervisor ~]# rmmod kvm-amd
[root@kvm-hypervisor ~]# echo 'options kvm-amd nested=1'>>/etc/modprobe.d/dist.conf
[root@kvm-hypervisor ~]# modprobe kvm-amd
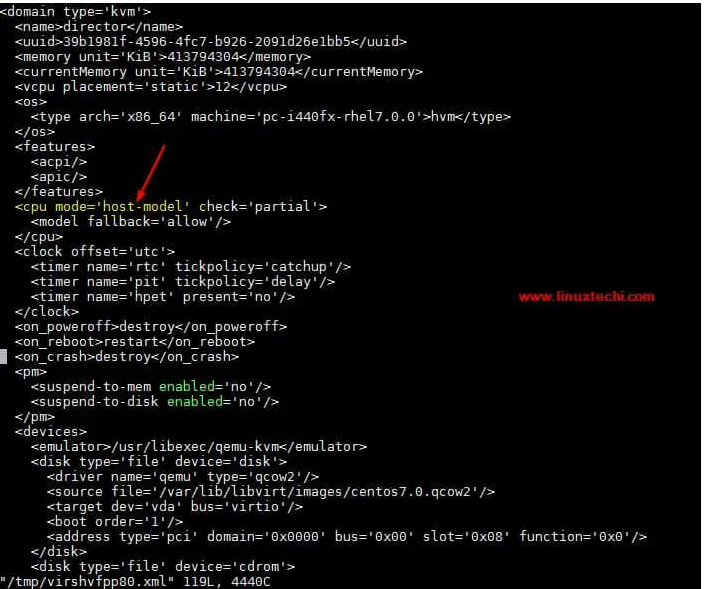
Suppose we have a virtual machine named "director" in the KVM virtualizer and I have enabled nested virtualization in it. Before testing, make sure the CPU mode of the virtual machine is "host-model" or "host-passthrough". You can use the Virt-Manager GUI or the virsh edit command to check the CPU mode of the virtual machine.
# virsh edit director

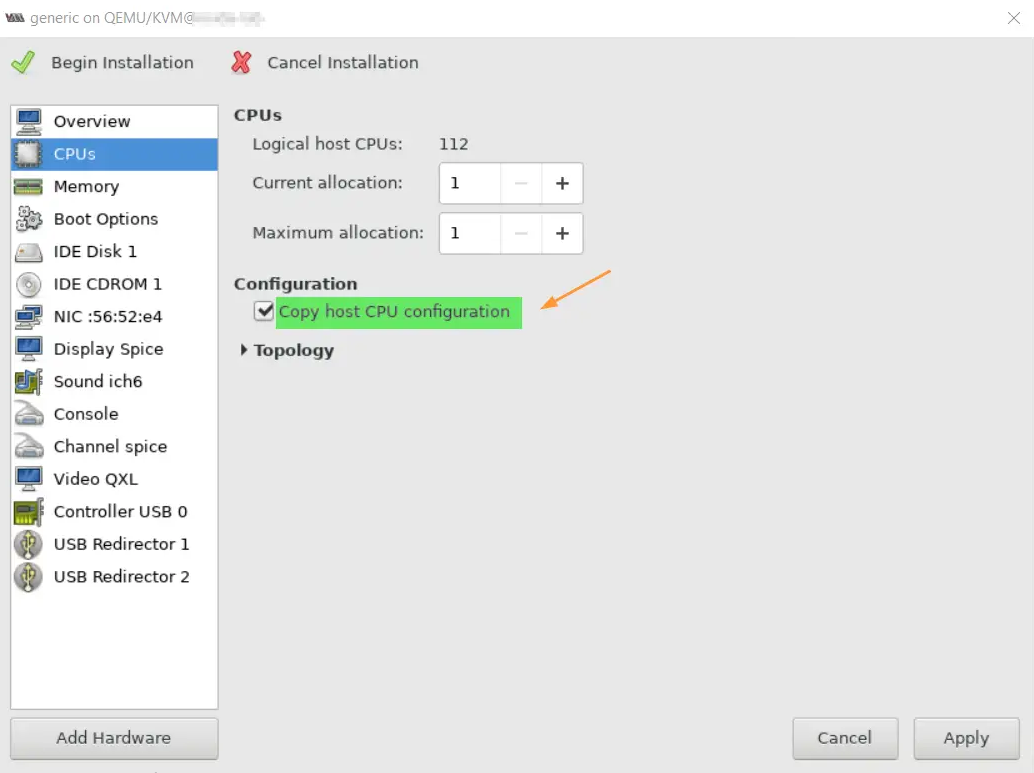
For new virtual machines that you want to use nested virtualization, check the "Copy host CPU configuration" option under CPU settings in virt-manager.

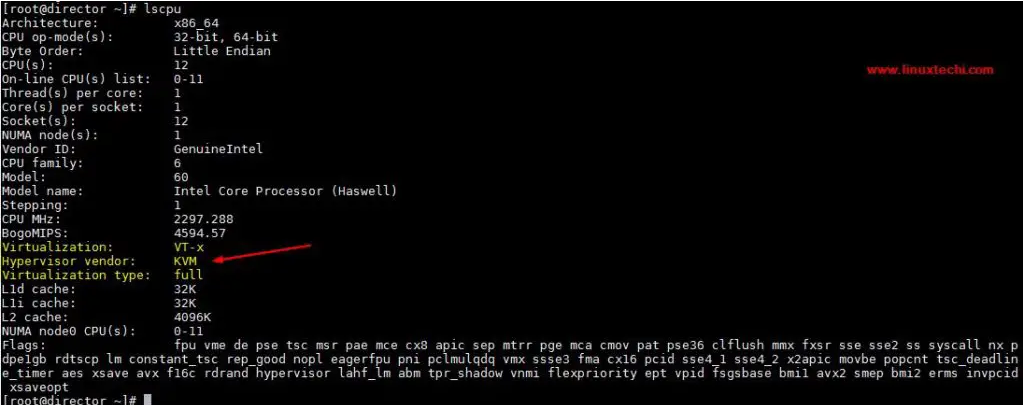
Now log in to the director VM and run the lscpu and lsmod commands.
[root@kvm-hypervisor ~]# ssh 192.168.126.1 -l root
root@192.168.126.1's password:
Last login: Sun Dec 10 07:05:59 2017 from 192.168.126.254
[root@director ~]# lsmod | grep kvm
kvm_intel             170200  0
kvm                   566604  1 kvm_intel
irqbypass              13503  1 kvm
[root@director ~]#
[root@director ~]# lscpu

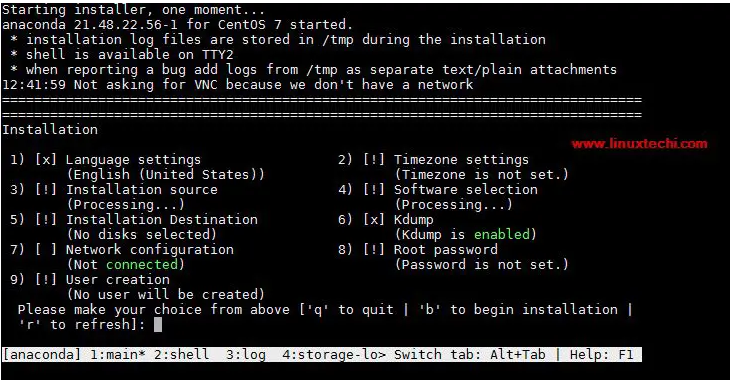
让我们尝试在 director vm 中创建虚拟机,可以使用 virt-manager GUI 或 virt-install 命令。在我的测试中,我使用了 virt-install 命令。
[root@director ~]# virt-install  -n Nested-VM  --description "Test Nested VM" \
 --os-type=Linux  --os-variant=rhel7  --ram=2048  --vcpus=2 --disk \
 path=/var/lib/libvirt/images/nestedvm.img,bus=virtio,size=10 --graphics \
 none --location /var/lib/libvirt/images/CentOS-7-x86_64-DVD-1511.iso\
 --extra-args console=ttyS0
Starting install...
Retrieving file .treeinfo...                            | 1.1 kB  00:00:00
Retrieving file vmlinuz...                              | 4.9 MB  00:00:00
Retrieving file initrd.img...                           |  37 MB  00:00:00
Allocating 'nestedvm.img'                               |  10 GB  00:00:00
Connected to domain Nested-VM
Escape character is ^]
[    0.000000] Initializing cgroup subsys cpuset
[    0.000000] Initializing cgroup subsys cpu
[    0.000000] Initializing cgroup subsys cpuacct
[    0.000000] Linux version 3.10.0-327.el7.x86_64
………………………………………………

这证实了嵌套虚拟化已成功启用,因为我们能够在虚拟机中创建虚拟机。
The above is the detailed content of Enable KVM Nested Virtualization on RHEL 8 / Rocky Linux 8. For more information, please follow other related articles on the PHP Chinese website!


