While you may not do it often, inverting colors on a photo can have some interesting effects. By inverting the colors of your image, you might end up with a spooky or interesting photo. Whatever the result, inverting colors can give you a deeper understanding of how colors work. In addition, inverting colors can help people with visual impairments and color blindness better understand and distinguish objects in pictures. So while it may not be a technique you use often, trying inverting colors can still be a fun and rewarding way to explore the possibilities of photo editing.
In this article, we will explain to you all the ways to temporarily and permanently invert the colors of pictures on iPhone.
How to Color Invert Photos on iPhone
We provide the following guides for two scenarios: temporary and permanent inversion of photos.
Case A: Temporarily Invert Photo Colors
If you just want to view the image with the inverted colors without actually inverting the original picture, then you can use the classic invert feature on your iPhone . Class Inversion is an accessibility feature that you can access from iOS Settings.
When you turn this feature on, your iPhone will invert the colors of everything on the screen, including pictures and other UI elements in view. This simply applies an inverted color layer at the top of the screen, so in effect, the original image remains unedited. Since you're just viewing the screen content in inverted colors, screenshots taken using classic invert mode won't show a color-inverted photo.
Step 1: Enable Classic Inversion on iOS
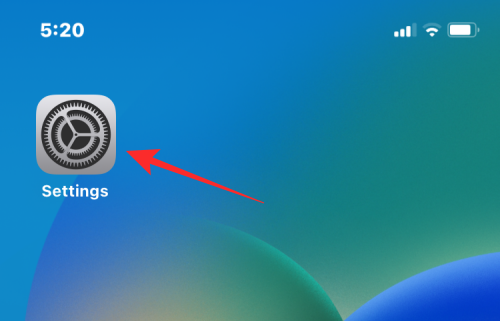
- To enable Classic Inversion on iPhone, open the Settings app on your iPhone.

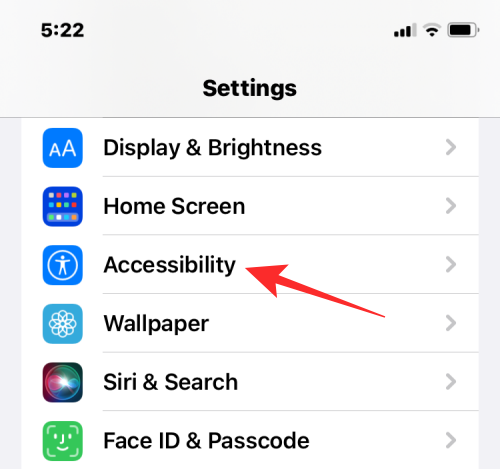
- In Settings, select Accessibility.

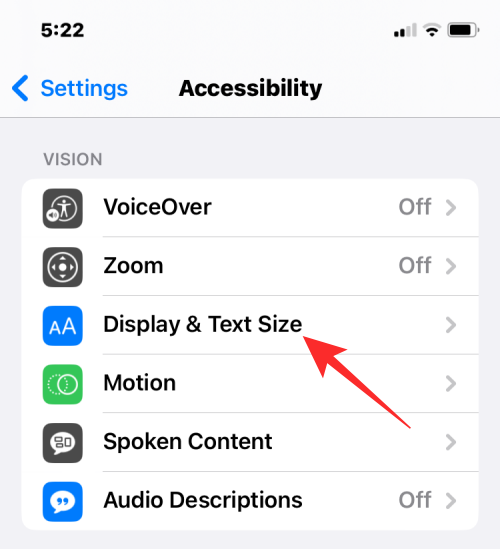
- Here, click Display and Text Size.

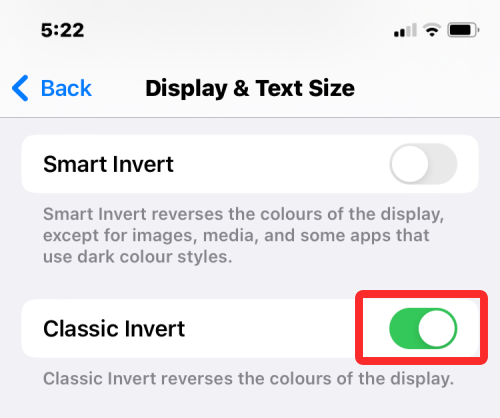
- On the next screen, scroll down and turn on the Classic Inversion toggle switch.

#The color of the content on your iPhone screen will be instantly inverted. With this mode enabled, you can open any picture in the Photos app to view with inverted colors.
Step 2: Activate Classic Inversion using Accessibility Shortcut
The above steps will help you enable Classic Inversion from iOS Settings at any time, but if you wish to avoid having to apply Inversion every time When entering the Settings app, you can enable a shortcut that lets you switch to classic inversion from any screen. iOS allows you to add any number of accessibility features using its Accessibility shortcut menu, which also includes Classic Inversion.
- To enable this shortcut, open the Settings app on your iPhone.

- In Settings, select Accessibility.

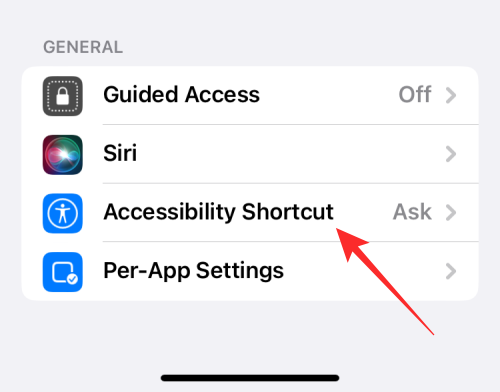
- On this screen, scroll down to the bottom and tap Accessibility shortcuts.

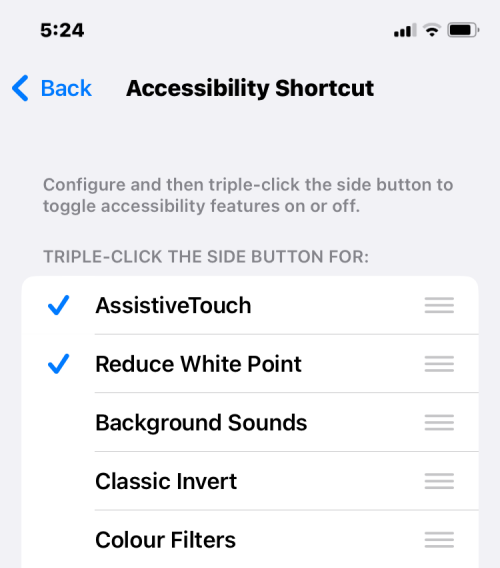
- Here you will see a list of accessibility features available on your iPhone. The functions for which you have used this shortcut will be indicated by tick marks.

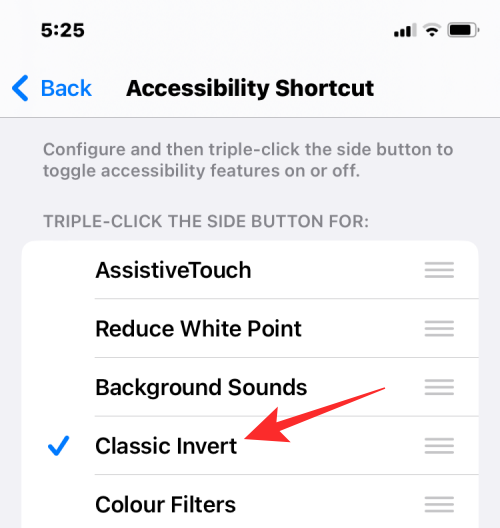
- To add Classic Invert as an accessibility shortcut, click Classic Invert from this list. When you select this option, you will see a tick mark to the left of it.

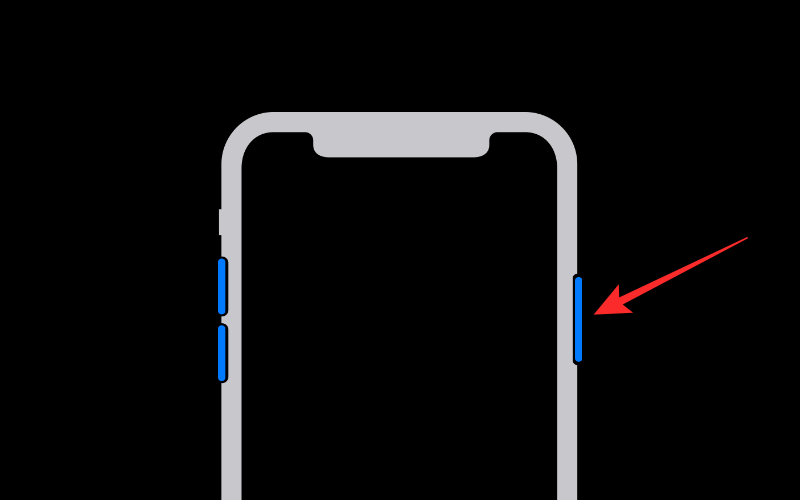
- To activate Classic Invert using this shortcut, press your iPhone’s side button (the button on the right edge) three times.

- If Classic Inversion is the only accessibility feature for which you have Accessibility Shortcuts configured, it will be enabled immediately. If you selected More accessibility features in Accessibility Shortcuts, you'll see a menu at the bottom.

- From here, you can select Classic Invert to apply an inverted color on the screen.
Case B: Permanently Invert the Colors of a Photo
If you wish to permanently invert the colors of a photo, you may need to edit it so that the edited picture is not just for you Visible and can be shared with others. While there are many apps that claim to offer invert options for pictures, we stick with Adobe's Photoshop Express and Lightroom apps because they're both free and easy to use on the iPhone.
Method 1: Use Photoshop Express
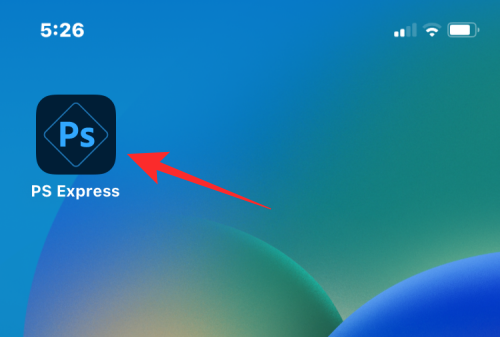
- To invert the colors of your image, open the Photoshop Express app on your iPhone.

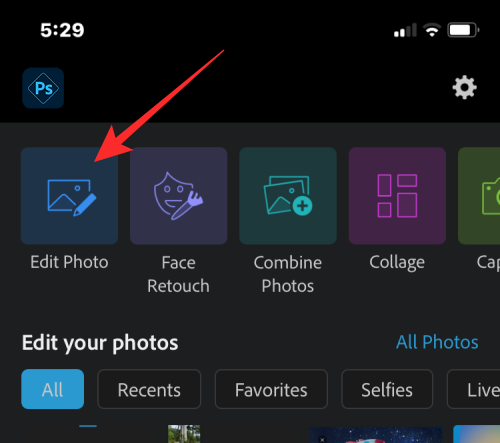
- When the app opens, tap Edit Photos among the stack of tools at the top.

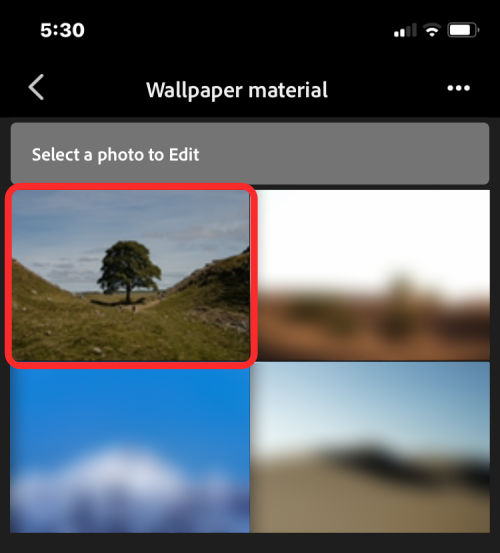
- On the next screen, select the picture you want to edit from the gallery.

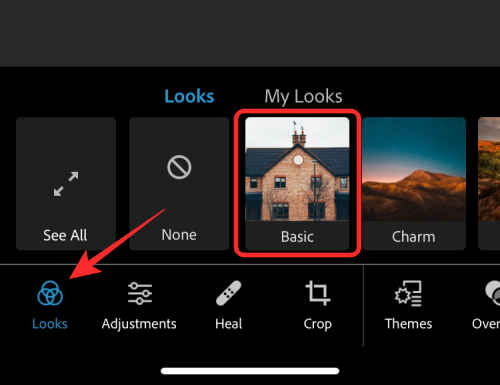
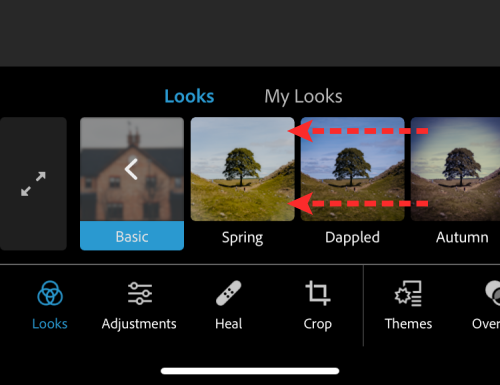
- After the selected image loads, click the Appearance tab in the lower left corner and select Basic.

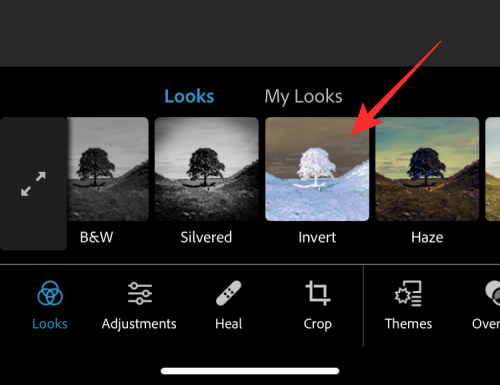
- The Basics section will now expand to show more filters you can apply. Swipe right in Basic to see more options.

- When you scroll to the right, tap Invert.

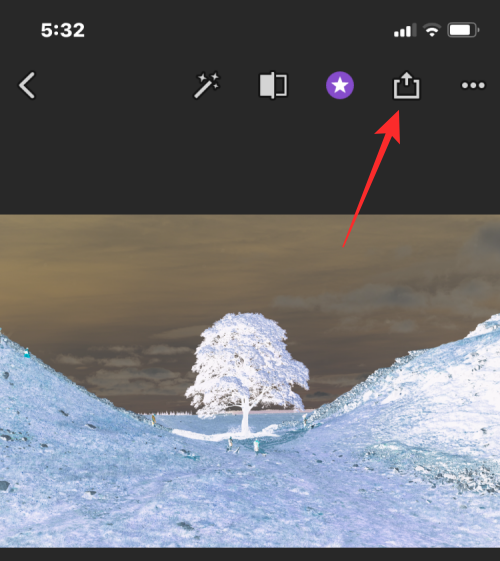
- The app will now apply invert colors to your selected photos. To increase or decrease the intensity of the color transition, drag the slider to the right or left respectively.

- If you are satisfied with the result, click the Share icon at the top to save the image.

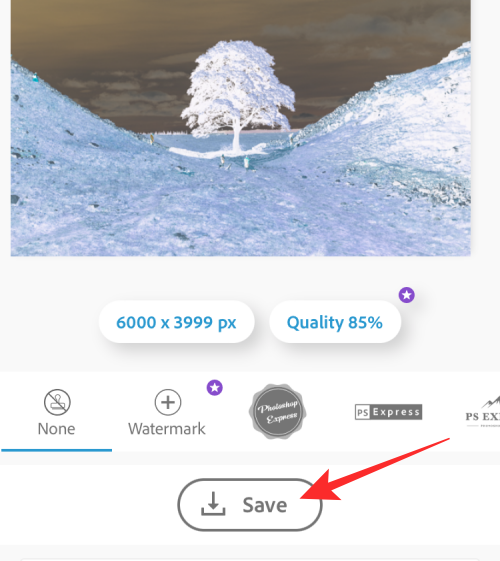
- On the next screen, click Save to save the edited file in your library.

- Color-inverted images can be accessed in the Photos app > Albums > PSExpress.

Method 2: Using Lightroom
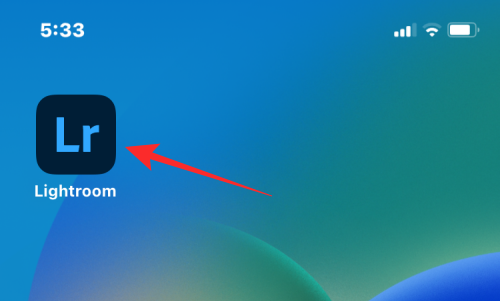
- To invert the colors of your image, open the Lightroom app on your iPhone.

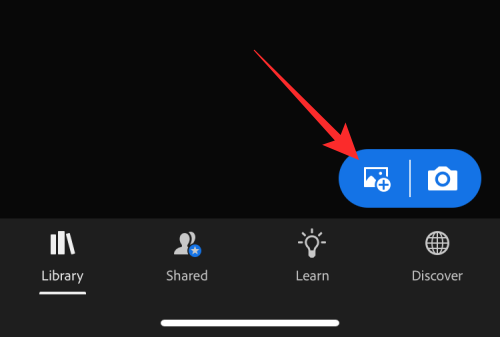
- When the app opens, tap the picture icon in the lower right corner.

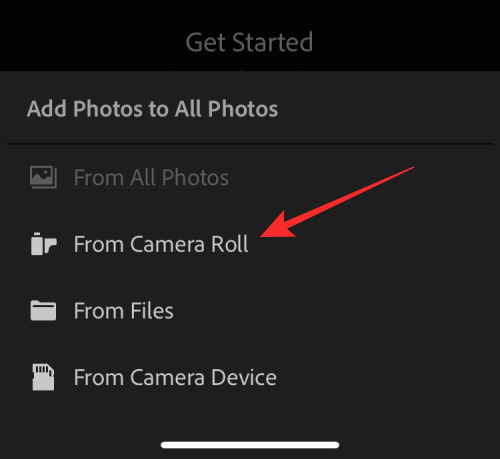
- In the menu that appears, select From Camera Roll.

- On the next screen, select the picture you want to edit from the gallery.

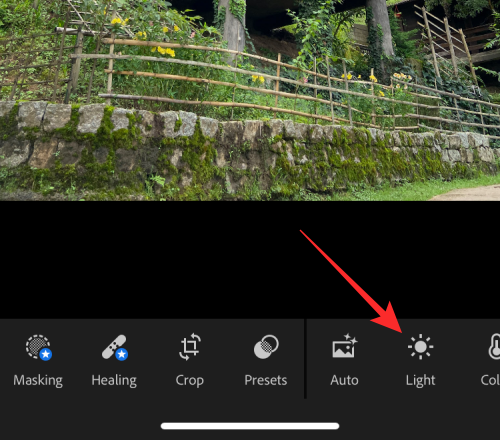
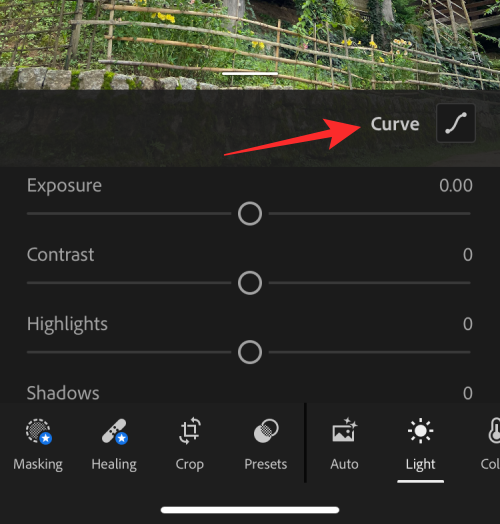
- When the selected image opens, click on the "Lights" tab at the bottom.

- In the menu that appears, click Curves.

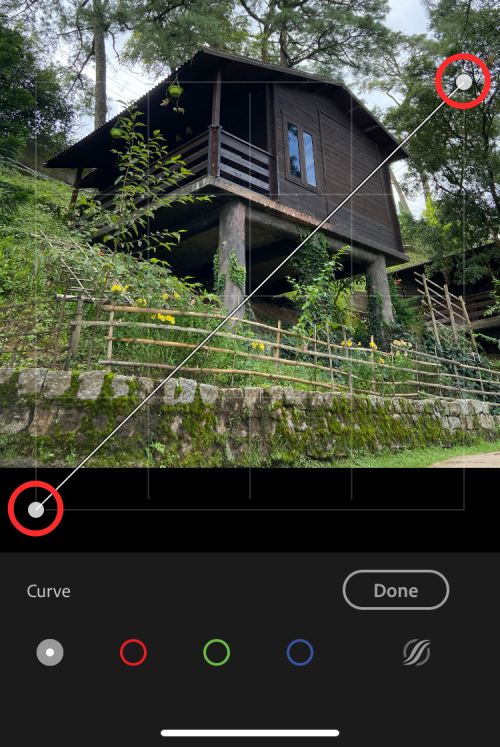
- You will see the tone curve, which appears as a diagonal line across the top of the image.

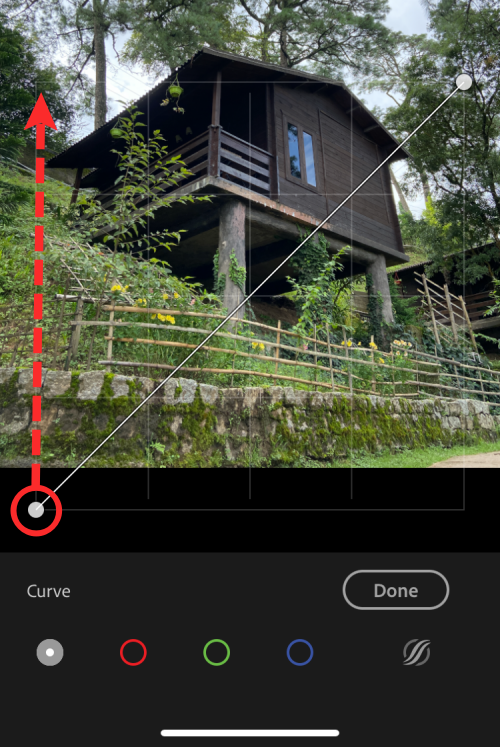
- To color invert the image, drag the lower left point to the upper left corner.

- Your image will now be converted to a completely white background. Likewise, drag the upper right point to the lower right corner.

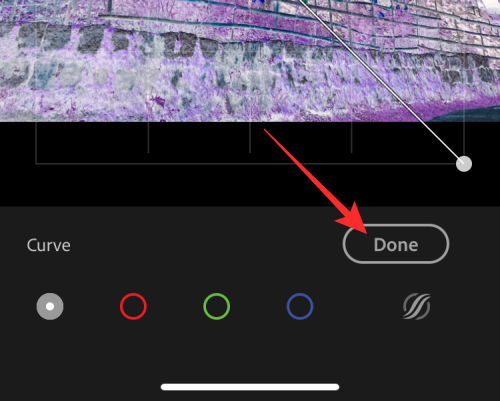
- When you do this, the selected image will now have inverted colors. The final curve with the inverted image will look like this.

- To confirm the changes, click Done.

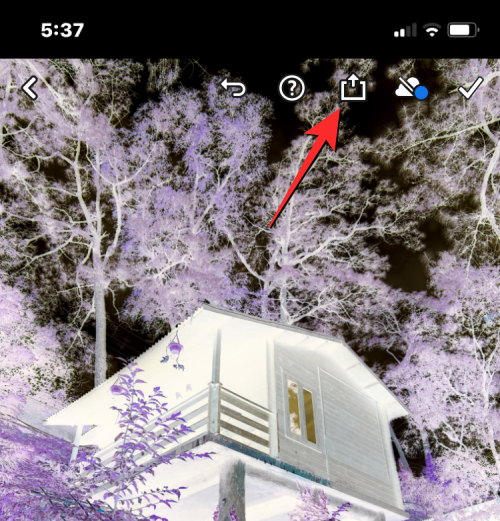
- You can now save your inverted image by clicking the Share icon at the top.

- In the menu that appears, select "Export to Camera Roll" to store the picture in your iPhone library.

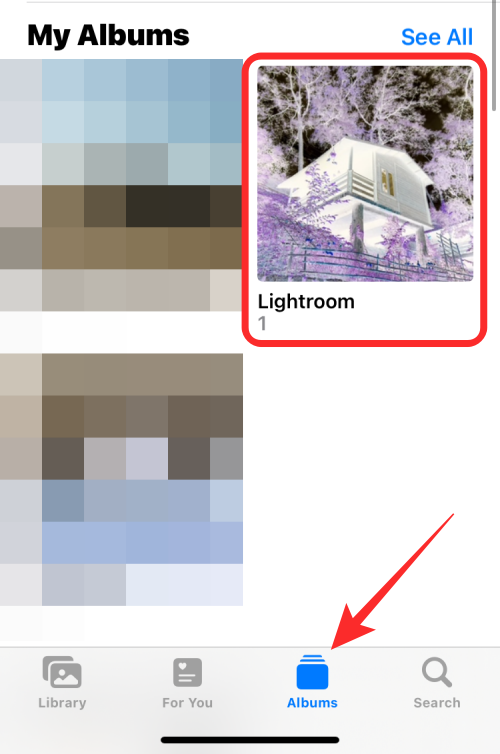
- The color-inverted image will be saved in Photos. You can access it by going to the Photos app > Albums > Lightroom.

#That’s all you need to know to invert the colors of a picture on iPhone.
The above is the detailed content of How to color invert photos on iPhone. For more information, please follow other related articles on the PHP Chinese website!

