
Many friends have the experience of reinstalling the system by themselves, but some users cannot operate it after downloading the image file. This article will share with you a one-click method to install the win7 system on the computer. The operation is simple. Just look at it.
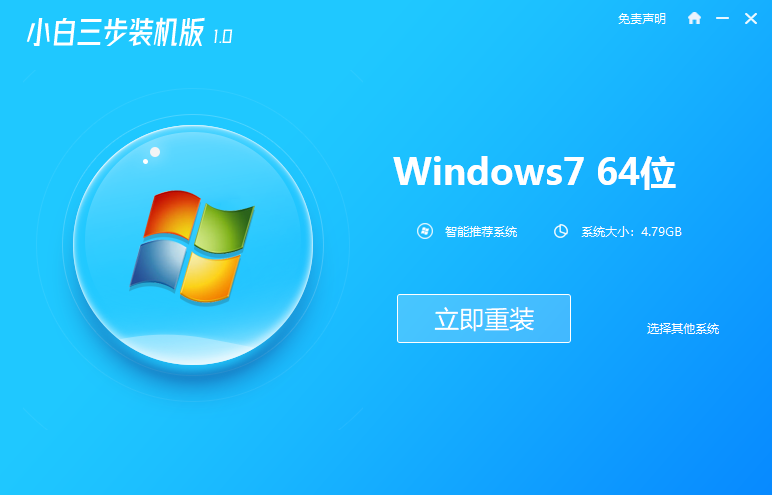
1. Download the Xiaobai three-step installation software from the Xiaobai one-click system reinstallation official website and open it. The software will automatically help us match the appropriate system, and then click Reinstall Now.
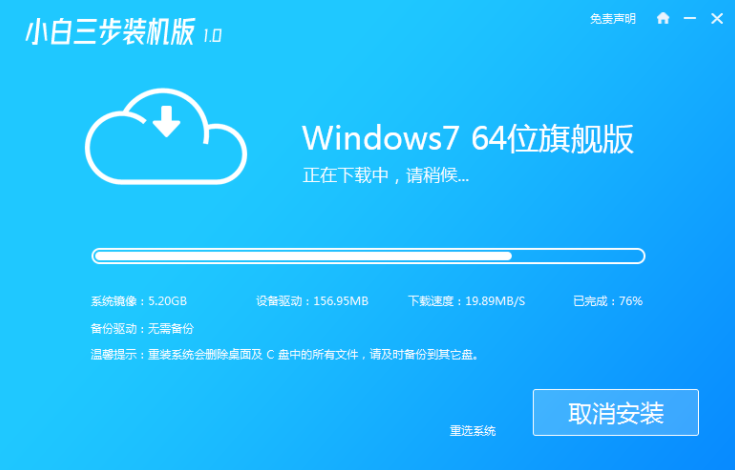
#2. Next, the software will help us download the system image directly, we just need to wait patiently.
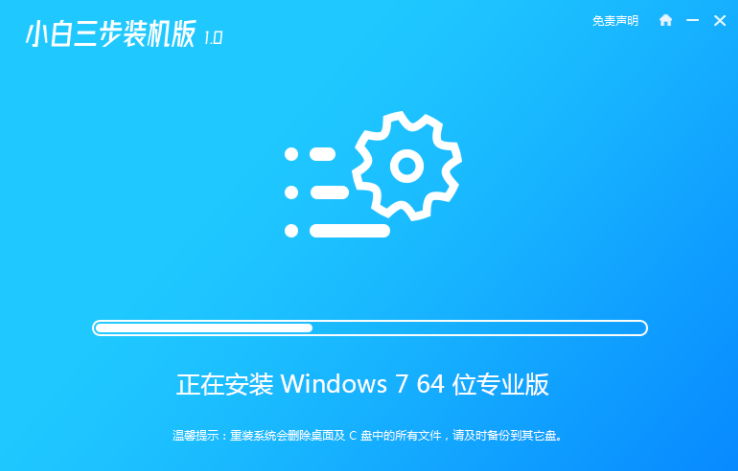
#3. After the download is complete, the software will help us directly reinstall the Windows system online. Please follow the prompts.
#4. After the installation is completed, we will be prompted to restart, choose to restart immediately.

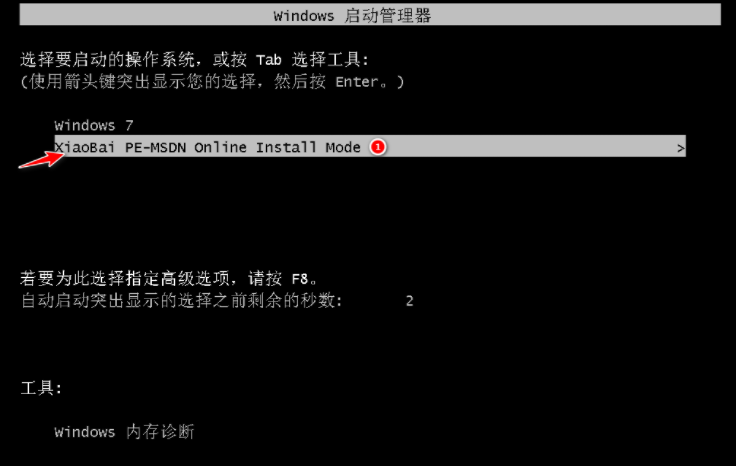
5. After restarting, select XiaoBai PE-MSDN Online Install Mode menu in the PE menu to enter the Windows PE system.
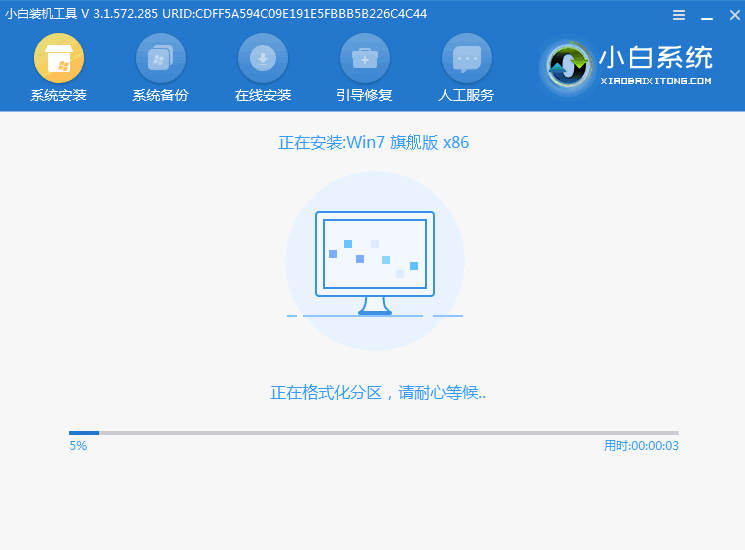
#6. In the PE system, the Xiaobai installation tool will help us install the system. We only need to follow the prompts.
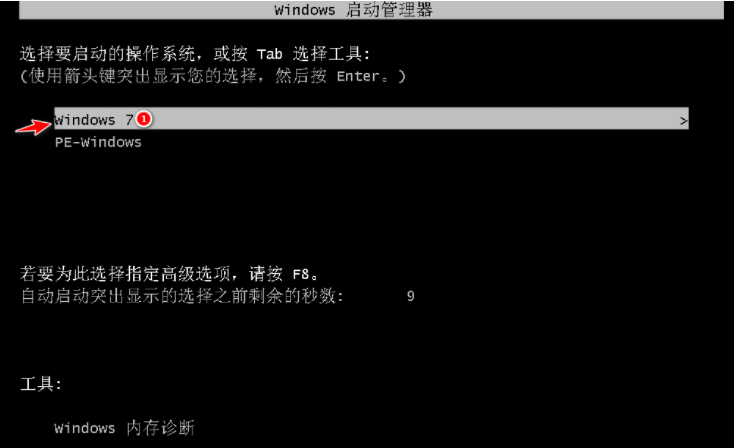
#7. After restarting, select the Windows 7 menu.
#8. After a period of installation, your Windows 7 system will be installed successfully.
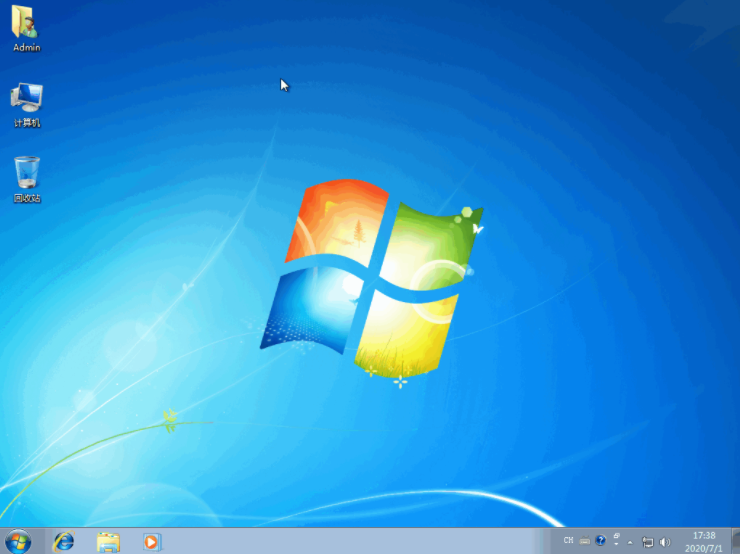
The above is the win7 system reinstallation tutorial shared with you. If you want to install the win7 system, just follow the above steps.
The above is the detailed content of Win7 system image file installation tutorial. For more information, please follow other related articles on the PHP Chinese website!


