


In the same company, there is a public LAN. Sometimes it is necessary to share some folders, etc. At this time, you need to set up the LAN shared folder operation for the computer. Some netizens want to know how to set up shared folders in win7win10. Let me teach you how to set up shared folders in win7win10.
1. Prepare a win7 or win10 machine. Since the number of users of xp is getting smaller and smaller, and the configurations are not exactly the same, if you have an xp system, please refer to other articles.
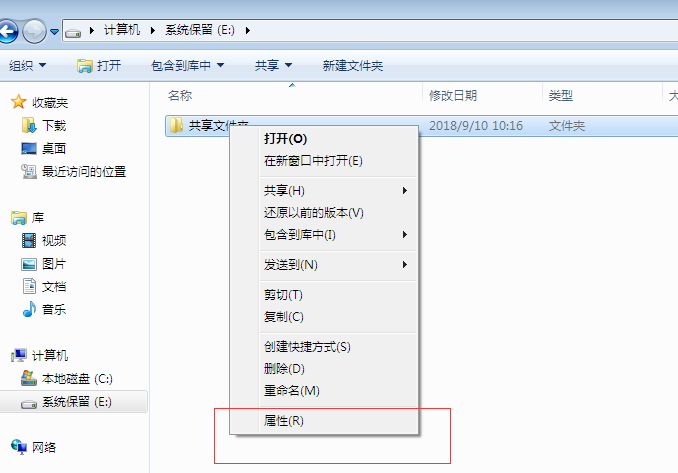
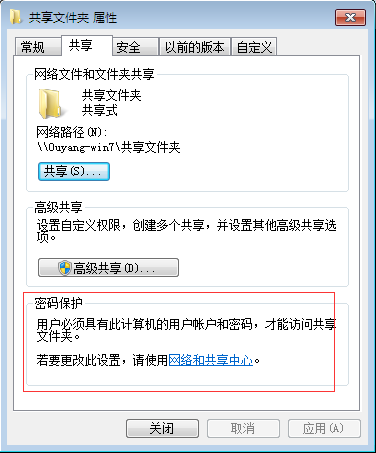
2. Right-click the folder that needs to be shared and click Properties.
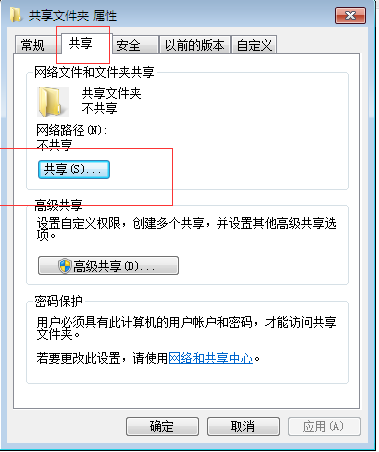
3. Switch to the sharing tab and click Share.
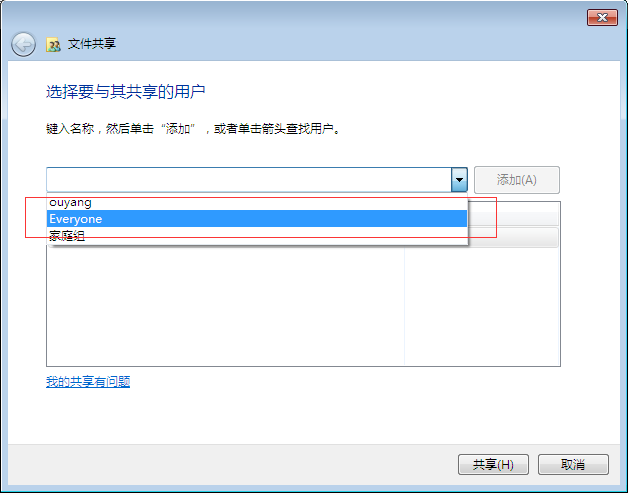
#4. Select Everyone. Select Everyone here. Others do not need a password to access, which is more convenient. If others need to enter a password, just select the corresponding user here.
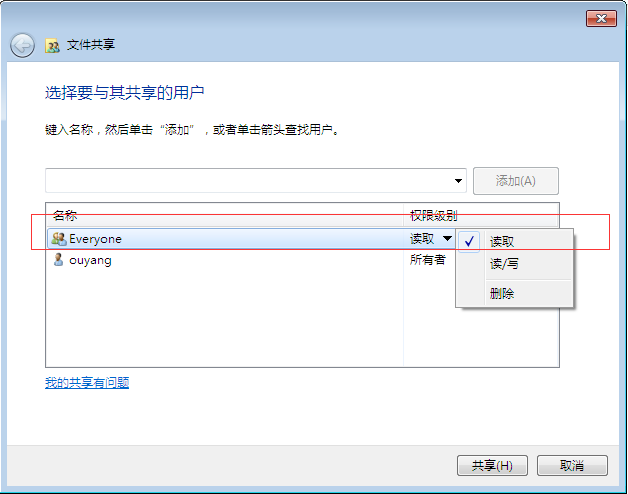
5. Click Add. You can modify the permissions. If you only need to read, just give read permissions.
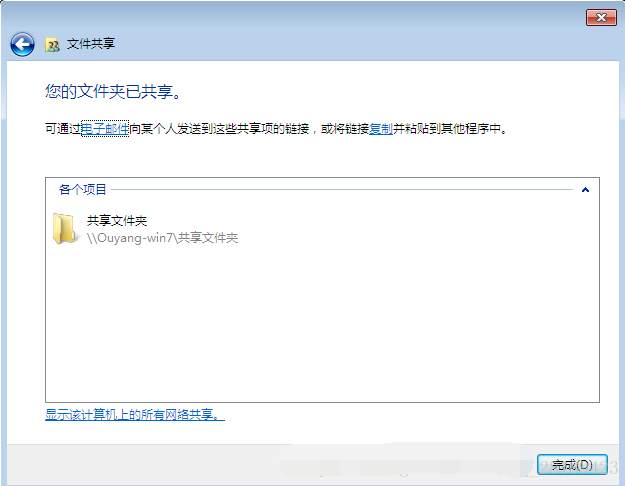
6. Click Share.
#7. Open the cmd window and enter ipconfig to view the local area network address of the machine.
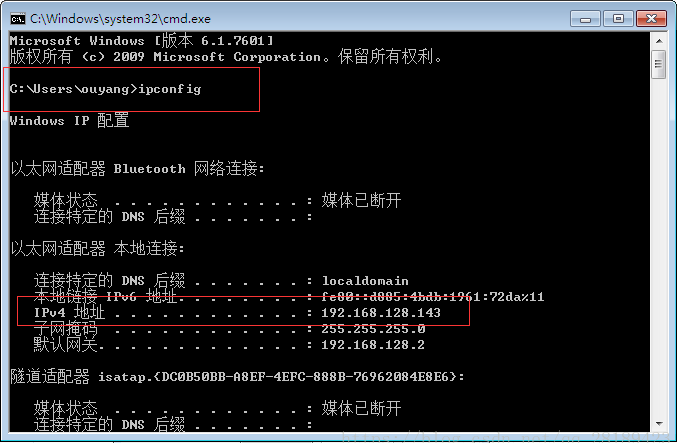
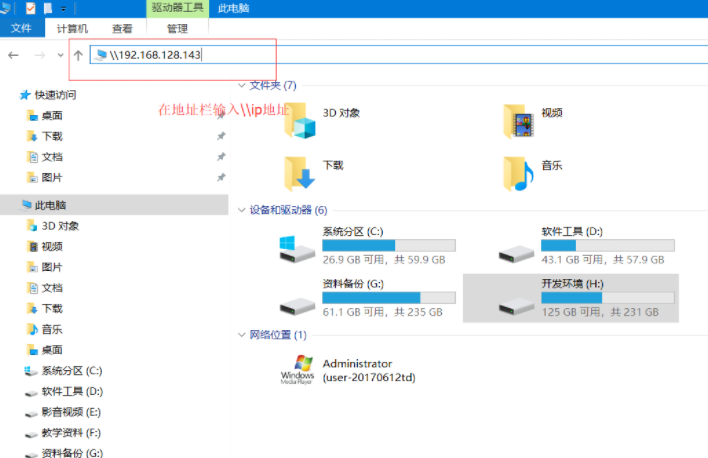
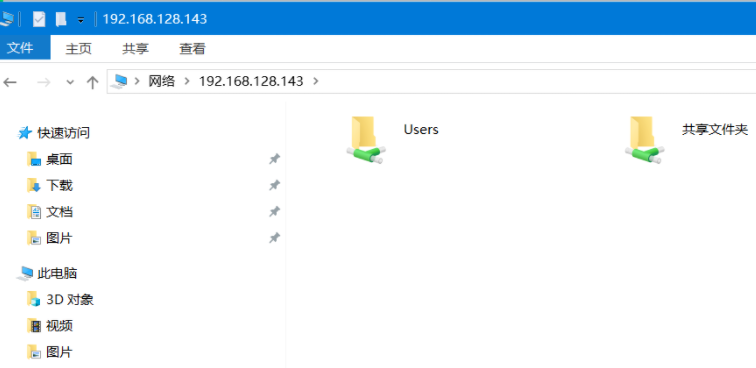
#8. Open the computer on other machines in the LAN to access this address. We can see that the local IP address is 192.168.128.143, then we enter \\192.168.128.143 in the address bar and press Enter.
#9. You need to enter your username and password.
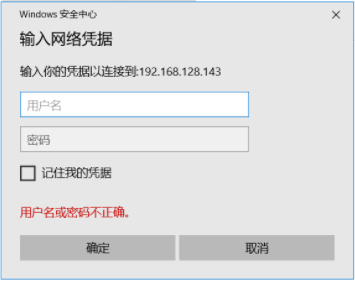
#10. Configure to cancel username and password authentication. After pressing Enter, you are prompted to enter your username and password because there is a missing step in our initial configuration. We will complete it now.
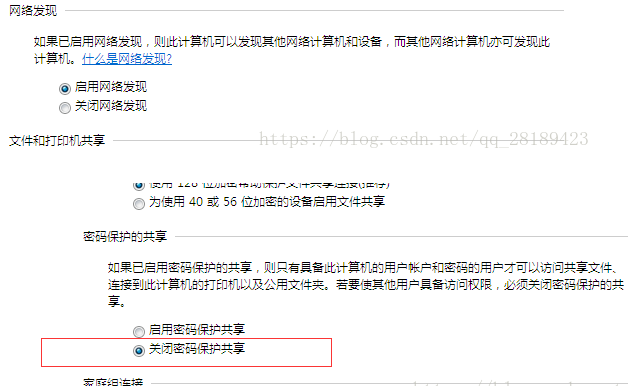
Click on Network and Sharing Center.
Enable network discovery, turn off password-protected sharing, and save changes.
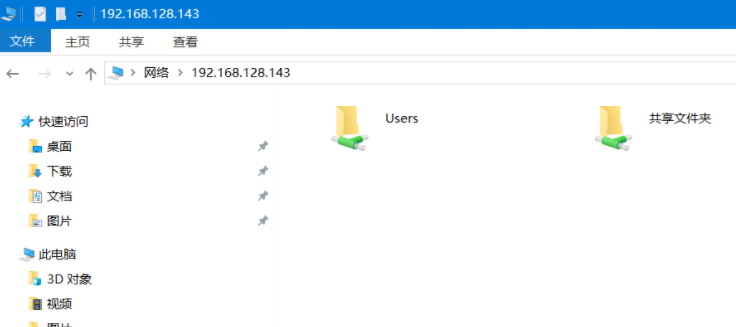
11. Visit again and you can access it. If the password and username verification still appears, just enter it casually for verification. You will not need to verify again in the future.
#12. If you still need to enter your username and password. Click Start->Control Panel->User Accounts->Manage other accounts and enable the guest account.

The above is how to set up shared folders in win7win10. Friends who use win7 and win10 systems can refer to this tutorial to set up shared folders.
The above is the detailed content of Detailed explanation of how to set up shared folders in win7win10. For more information, please follow other related articles on the PHP Chinese website!
 Solution to computer black screen prompt missing operating system
 Commonly used codes in html language
 SQL statement to backup database
 git undo submitted commit
 How to deal with blocked file downloads in Windows 10
 How pycharm runs python files
 How to turn off automatic updates in win10
 Which platform is better for virtual currency trading?


![[Web front-end] Node.js quick start](https://img.php.cn/upload/course/000/000/067/662b5d34ba7c0227.png)


