


Some Windows 10 users have set a pin code to log in to their computers, but in fact, most computers are only used by themselves, and it is not necessary to set a pin code. How to cancel the Windows 10 pin code? You first open the settings control panel, click Account to enter, then click the login option on the left, then click "I forgot my PIN", enter the account password in the startup dialog box, and then enter the Set PIN dialog box, blank yourself and save the settings That's it.
How to cancel the Windows 10 pin code:
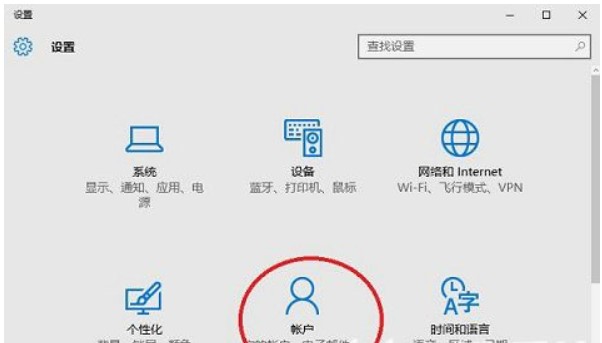
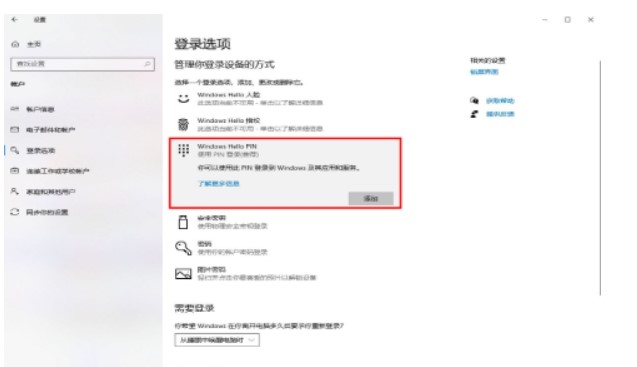
1. First use the keyboard shortcut "win I" to open Windows 10 settings, find "Account" and click on it.
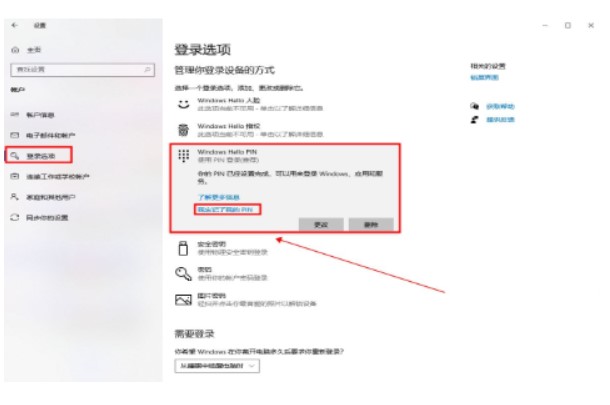
2. Find "Login Options" in the left dialog box, find the pin option in the right dialog box, and click "I forgot my PIN".
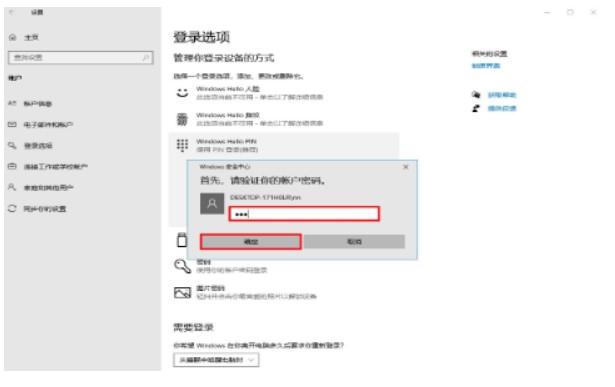
#3. The authentication dialog box will pop up, just enter your account and password clearly.
#4. Enter the Set PIN dialog box. Click Cancel immediately without entering a new PIN.
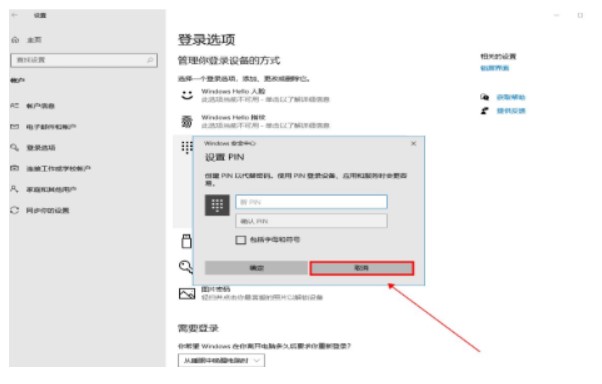
#5. When you return to the page for query, the PIN login password will be cancelled.
The above is the specific content of the tutorial on how to cancel the Windows 10 pin code. If you are the only one who has access to the computer, then there is no need to set a password.
The above is the detailed content of How to cancel windows10 pin code. Example tutorial of canceling windows10 pin code.. For more information, please follow other related articles on the PHP Chinese website!


![[Web front-end] Node.js quick start](https://img.php.cn/upload/course/000/000/067/662b5d34ba7c0227.png)


