How to set the mouse dpi value in Win10 Professional Edition? The mouse is one of the commonly used office hardware. We usually need to adjust the sensitivity of the mouse to a value suitable for our use. However, many users are unfamiliar with mouse dpi. They don’t know where to adjust the mouse dpi and how to adjust it. Many users Friends don’t know how to operate in detail. The editor has compiled the tips for adjusting the mouse dpi in Win10. If you are interested, follow the editor and take a look below!

##
Tips for adjusting mouse dpi in Win10
1. Enter Windows Settings and select Open Backup

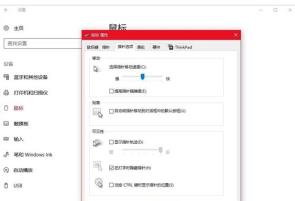
2. Switch to the mouse in the option bar on the left, and select other mouse options under the relevant settings on the right

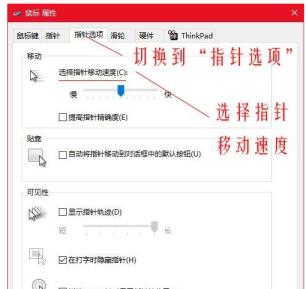
3. In the mouse properties window, select Switch to the needle option in the upper tab and select the pointer movement speed at the bottom & adjust the mouse movement speed #f#.


Modify the Dpi value:
1. Open the cloud driver;

2. Switch to the upper tab to adjust the Dpi value in Performance and Sensitivity, and adjust it to your own suitable Dpi. The adjustment here is 2000dpi;

The above is the entire content of [How to set the mouse dpi value in Win10 Professional Edition - Tips for adjusting mouse dpi in Win10]. More exciting tutorials are on this site!
The above is the detailed content of How to set the mouse dpi value in Win10 Professional Edition. For more information, please follow other related articles on the PHP Chinese website!


