


How to configure FreeIPA client on Ubuntu 22.04 / 20.04


FreeIPA is a powerful open source identity management system that provides centralized authentication, authorization and accounting services.
In our previous post, we have discussed the installation steps of FreeIPA server on RHEL8/Rokcy Linux 8/AlmaLinux 8.
Create a user on the FreeIPA server for centralized authentication
Log in to your FreeIPA server and create a user named sysadm and run the following command:
$ sudo kinit adminPassword for admin@LINUXTECHI.LAN:$$ sudo ipa config-mod --defaultshell=/bin/bash$ sudo ipa user-add sysadm --first=System --last=Admin --passwordPassword:Enter Password again to verify:-------------------Added user "sysadm"-------------------User login: sysadmFirst name: SystemLast name: AdminFull name: System AdminDisplay name: System AdminInitials: SAHome directory: /home/sysadmGECOS: System AdminLogin shell: /bin/bashPrincipal name: sysadm@LINUXTECHI.LANPrincipal alias: sysadm@LINUXTECHI.LANUser password expiration: 20230415073041ZEmail address: sysadm@linuxtechi.lanUID: 464600003GID: 464600003Password: TrueMember of groups: ipausersKerberos keys available: True$
The first command is to obtain Kerberos credentials, the second command sets the default login shell for all users to /bin/bash, and the third command is used to create a file named sysadm User.
Steps to configure FreeIPA client on Ubuntu 22.04/20.04
Perform the following steps to configure FreeIPA client for centralized authentication.
1. Add the DNS record of the Ubuntu system on the FreeIPA server
Log in to your FreeIPA server and run the following command to add a DNS record for the FreeIPA client (i.e. Ubuntu 22.04/20.04):
$ sudo ipa dnsrecord-add linuxtechi.lan app01.linuxtechi.lan --a-rec 192.168.1.106Record name: app01.linuxtechi.lanA record: 192.168.1.106$
In the above command, app01.linuxtechi.lan is my Ubuntu system, and the IP address is 192.168.1.106.
Note: Make sure your FreeIPA server and client are in the same time zone and get the time from an NTP server.
2. Install the FreeIPA client package
Run the following command from your Ubuntu system to install freeipa-client and dependencies:
$ sudo apt install freeipa-client oddjob-mkhomedir -y
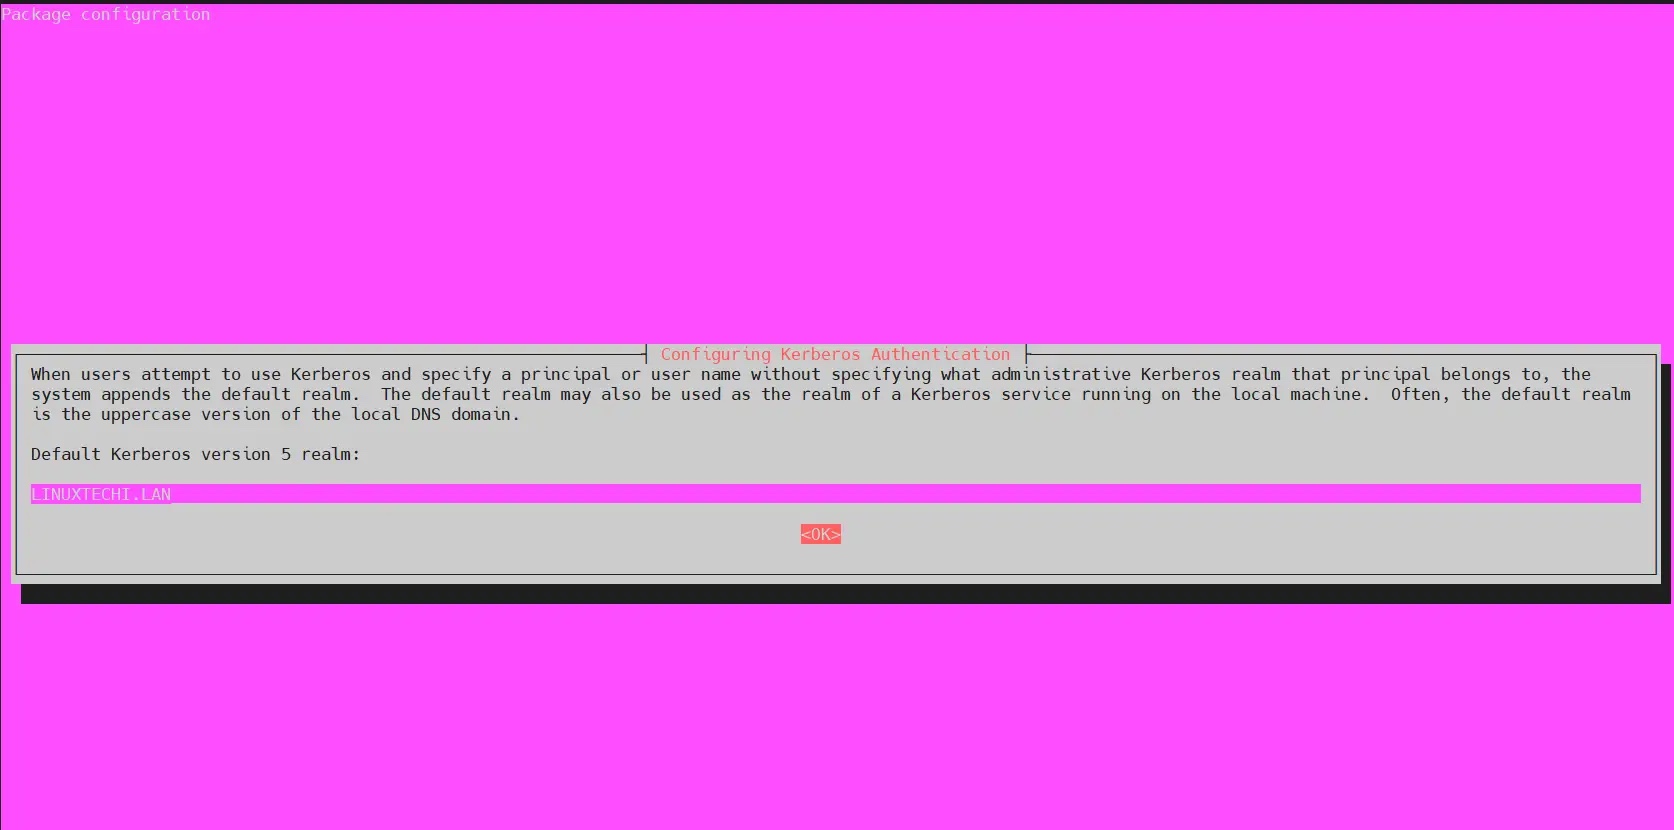
in When installing freeipa-client, we will see the following page, select OK and press Enter.
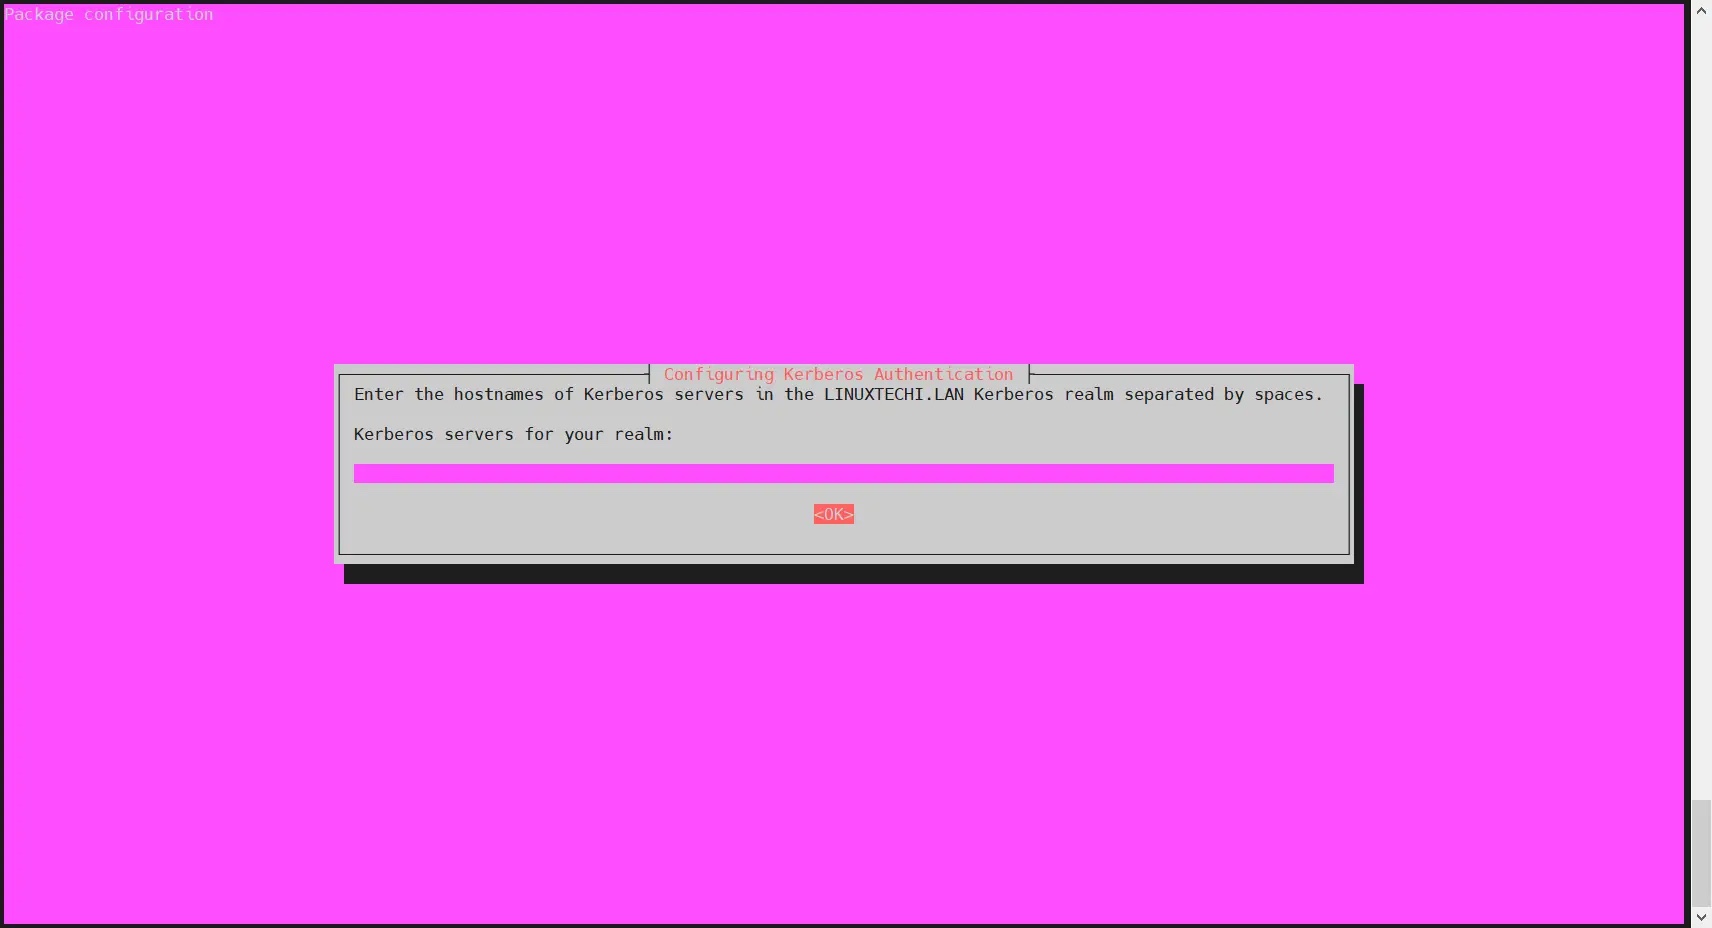
In the next screen, press Enter to skip.
3. Add the FreeIPA server IP and host name in the host file
Add the following FreeIPA in the /etc/hosts file Server Entry:
$ echo "192.168.1.102 ipa.linuxtechi.lan ipa" | sudo tee -a /etc/hosts$ echo "192.168.1.106 app01.linuxtechi.lan app01" | sudo tee -a /etc/hosts
Change the IP address and hostname as appropriate for your setup.
4. Use ipa-client-install to configure the FreeIPA client
Now run the following ipa-client-install command to configure the FreeIPA client on your Ubuntu system:
$ sudo ipa-client-install --hostname=`hostname -f` --mkhomedir --server=ipa.linuxtechi.lan --domain linuxtechi.lan --realm LINUXTECHI.LAN
Change the FreeIPA server address, domain name, and realm to suit your settings.
The output of the above command is as follows:
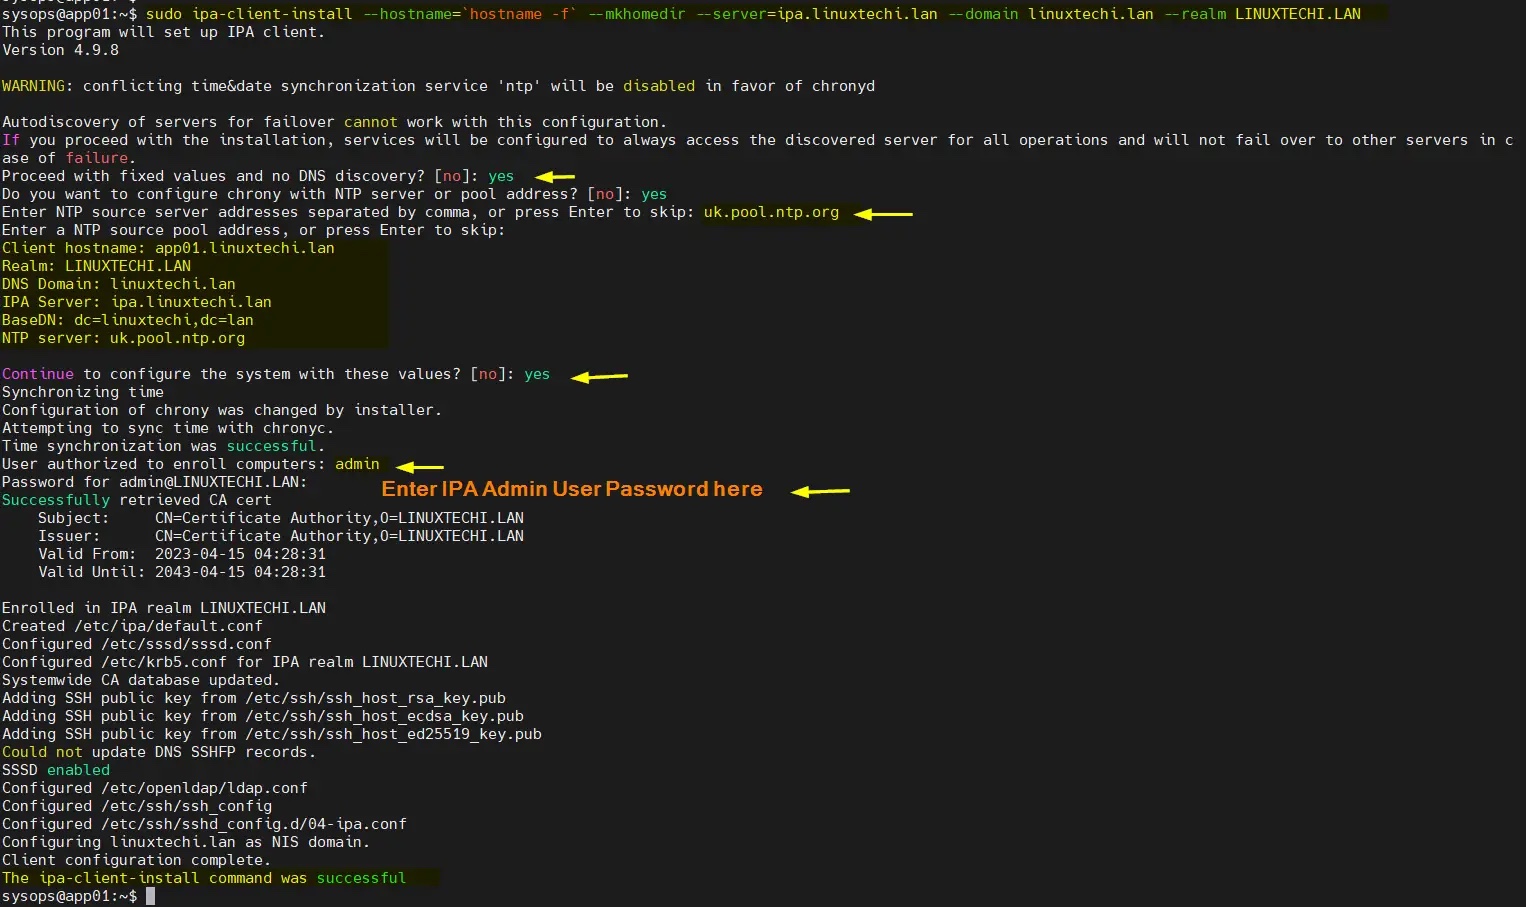
Perfect, the above output confirms that the FreeIPA client is installed successfully.
Now allows automatic creation of a user's home directory when the user first authenticates with the FreeIPA server.
Add the following lines in the file /usr/share/pam-configs/mkhomedir:
required pam_mkhomedir.so umask=0022 skel=/etc/skelrrree
To make the above changes take effect, run the following command:
$ echo "required pam_mkhomedir.so umask=0022 skel=/etc/skel" | sudo tee -a /usr/share/pam-configs/mkhomedir
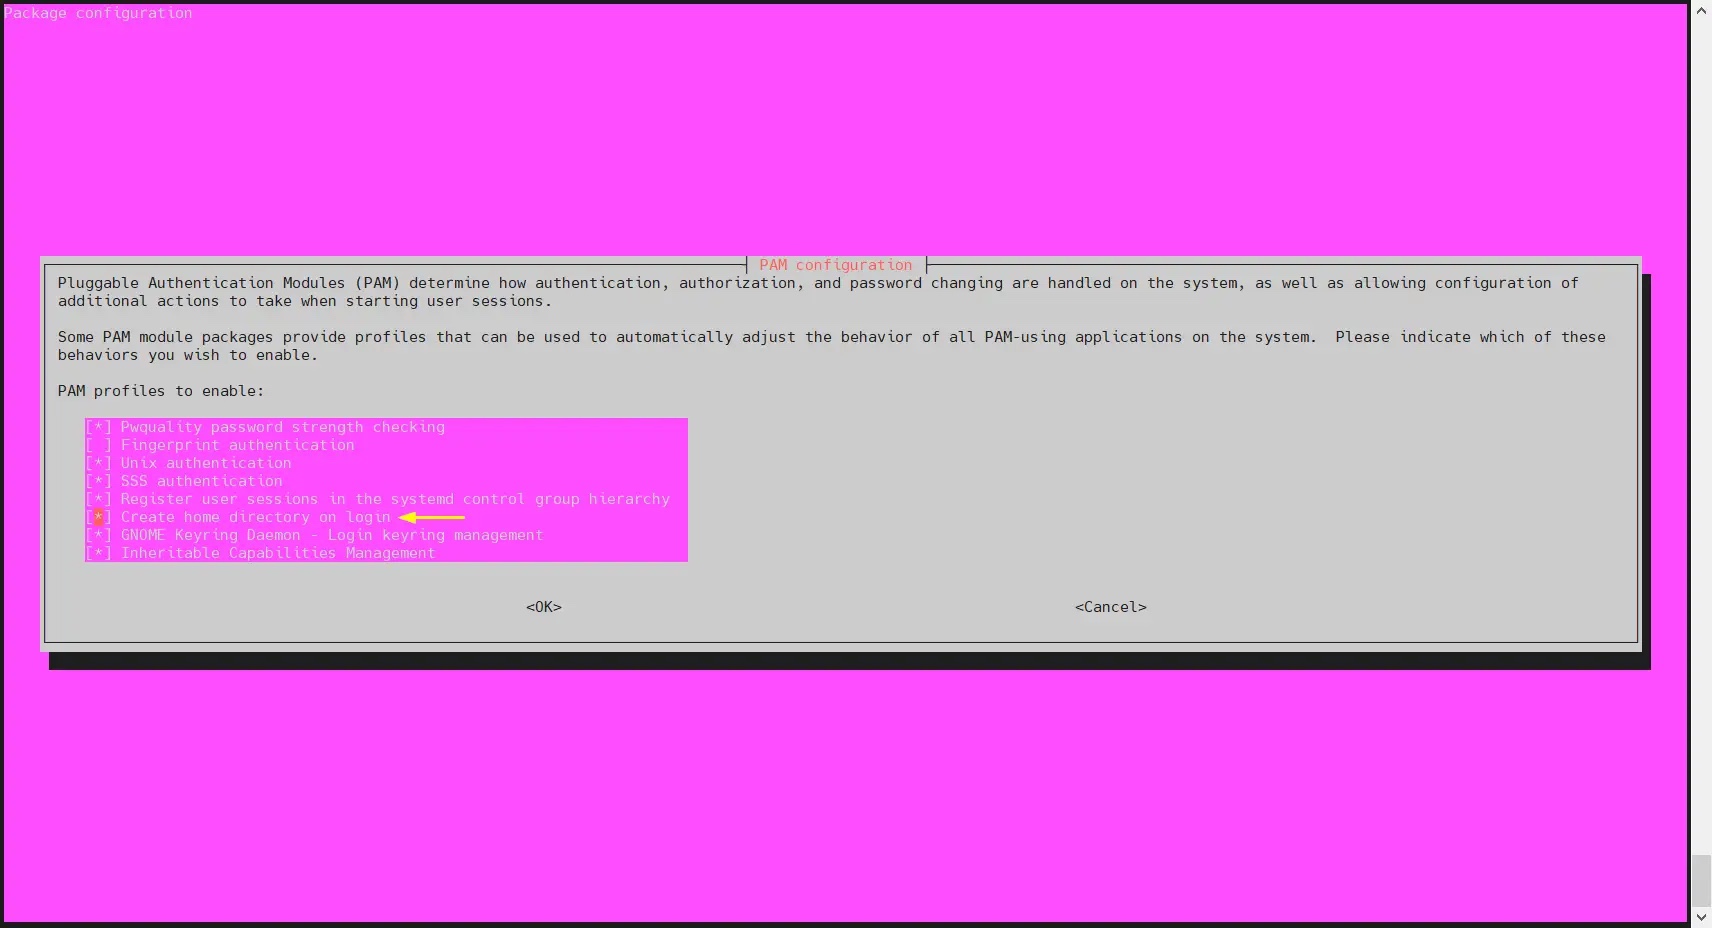
#Select OK and press Enter.
5、尝试使用 sysadm 用户登录到你的 Ubuntu 系统
尝试使用 sysadm 用户通过 SSH 登录到你的 Ubuntu 系统,
$ ssh sysadm@192.168.1.106
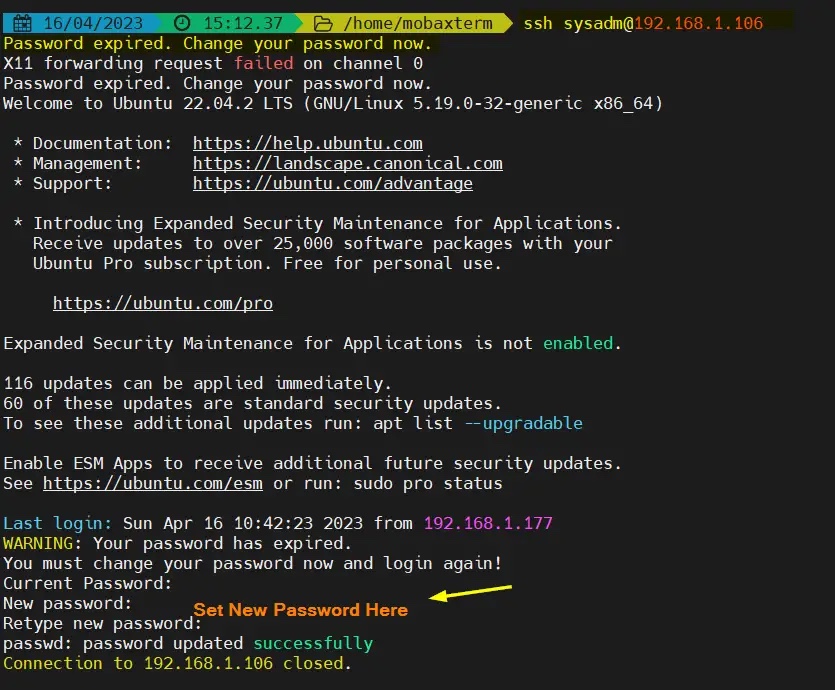
正如你在上面看到的,当我们第一次登录时,它说密码已过期。它将提示我们设置新密码并断开会话。
更新密码后,尝试 SSH 登录 Ubuntu 系统,这次我们应该可以登录了。
$ ssh sysadm@192.168.1.106
输出:
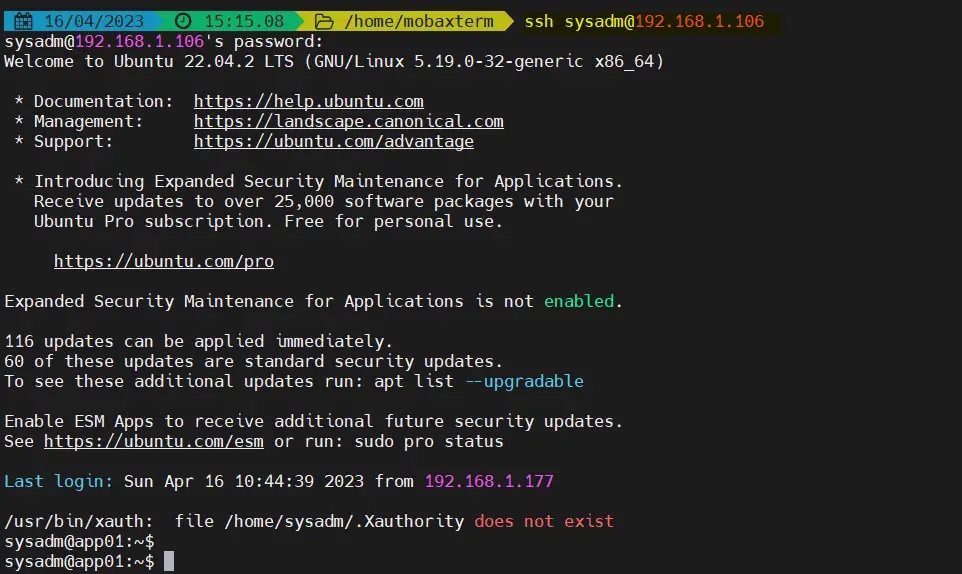
我们已经成功使用集中管理的用户登录到了 Ubuntu 系统,这一点在输出信息中得到了确认,非常令人欣慰。这也说明我们已经成功配置了 FreeIPA 客户端。
如果你想从 ubuntu 系统中卸载 FreeIPA,然后运行以下命令集:
$ sudo ipa-client-install --uninstall$ sudorm -rf /var/lib/sss/db/*$ sudo systemctl restart sssd.service
The above is the detailed content of How to configure FreeIPA client on Ubuntu 22.04 / 20.04. For more information, please follow other related articles on the PHP Chinese website!

Hot AI Tools

Undress AI Tool
Undress images for free

Undresser.AI Undress
AI-powered app for creating realistic nude photos

AI Clothes Remover
Online AI tool for removing clothes from photos.

Clothoff.io
AI clothes remover

Video Face Swap
Swap faces in any video effortlessly with our completely free AI face swap tool!

Hot Article
Hot Tools

Notepad++7.3.1
Easy-to-use and free code editor

SublimeText3 Chinese version
Chinese version, very easy to use

Zend Studio 13.0.1
Powerful PHP integrated development environment

Dreamweaver CS6
Visual web development tools

SublimeText3 Mac version
God-level code editing software (SublimeText3)


 How to run SUDO commands in Windows 11/10
Mar 09, 2024 am 09:50 AM
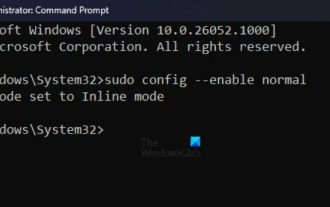
How to run SUDO commands in Windows 11/10
Mar 09, 2024 am 09:50 AM
The sudo command allows users to run commands in elevated privilege mode without switching to superuser mode. This article will introduce how to simulate functions similar to sudo commands in Windows systems. What is the Shudao Command? Sudo (short for "superuser do") is a command-line tool that allows users of Unix-based operating systems such as Linux and MacOS to execute commands with elevated privileges typically held by administrators. Running SUDO commands in Windows 11/10 However, with the launch of the latest Windows 11 Insider preview version, Windows users can now experience this feature. This new feature enables users to
 How to check the MAC address of the network card in Win11? How to use the command to obtain the MAC address of the network card in Win11
Feb 29, 2024 pm 04:34 PM
How to check the MAC address of the network card in Win11? How to use the command to obtain the MAC address of the network card in Win11
Feb 29, 2024 pm 04:34 PM
This article will introduce readers to how to use the command prompt (CommandPrompt) to find the physical address (MAC address) of the network adapter in Win11 system. A MAC address is a unique identifier for a network interface card (NIC), which plays an important role in network communications. Through the command prompt, users can easily obtain the MAC address information of all network adapters on the current computer, which is very helpful for network troubleshooting, configuring network settings and other tasks. Method 1: Use "Command Prompt" 1. Press the [Win+X] key combination, or [right-click] click the [Windows logo] on the taskbar, and in the menu item that opens, select [Run]; 2. Run the window , enter the [cmd] command, and then
 How to delete win11 widgets? One command to uninstall Windows 11 widgets function tips
Apr 11, 2024 pm 05:19 PM
How to delete win11 widgets? One command to uninstall Windows 11 widgets function tips
Apr 11, 2024 pm 05:19 PM
Widgets are a new feature of the Win11 system. They are turned on by default. However, it is inevitable that some users do not use widgets very much and want to disable them because they take up space. So how should they do this? The editor below will teach you how to operate it, and you can try it out. What are widgets? Widgets are small cards that display dynamic content from your favorite apps and services on your Windows desktop. They appear on the widget board, where you can discover, pin, unpin, arrange, resize, and customize widgets to reflect your interests. The widget board is optimized to display relevant widgets and personalized content based on usage. Open the widget panel from the left corner of the taskbar, where you can see live weather
 Where is hyperv enhanced session mode? Tips for enabling or disabling Hyper-V enhanced session mode using commands in Win11
Feb 29, 2024 pm 05:52 PM
Where is hyperv enhanced session mode? Tips for enabling or disabling Hyper-V enhanced session mode using commands in Win11
Feb 29, 2024 pm 05:52 PM
In Win11 system, you can enable or disable Hyper-V enhanced session mode through commands. This article will introduce how to use commands to operate and help users better manage and control Hyper-V functions in the system. Hyper-V is a virtualization technology provided by Microsoft. It is built into Windows Server and Windows 10 and 11 (except Home Edition), allowing users to run virtual operating systems in Windows systems. Although virtual machines are isolated from the host operating system, they can still use the host's resources, such as sound cards and storage devices, through settings. One of the key settings is to enable Enhanced Session Mode. Enhanced session mode is Hyper
 Super practical! Sar commands that will make you a Linux master
Mar 01, 2024 am 08:01 AM
Super practical! Sar commands that will make you a Linux master
Mar 01, 2024 am 08:01 AM
1. Overview The sar command displays system usage reports through data collected from system activities. These reports are made up of different sections, each containing the type of data and when the data was collected. The default mode of the sar command displays the CPU usage at different time increments for various resources accessing the CPU (such as users, systems, I/O schedulers, etc.). Additionally, it displays the percentage of idle CPU for a given time period. The average value for each data point is listed at the bottom of the report. sar reports collected data every 10 minutes by default, but you can use various options to filter and adjust these reports. Similar to the uptime command, the sar command can also help you monitor the CPU load. Through sar, you can understand the occurrence of excessive load
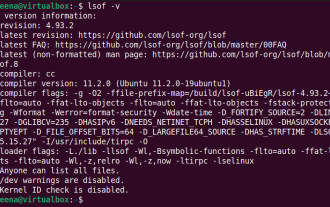 How to use LSOF to monitor ports in real time
Mar 20, 2024 pm 02:07 PM
How to use LSOF to monitor ports in real time
Mar 20, 2024 pm 02:07 PM
LSOF (ListOpenFiles) is a command line tool mainly used to monitor system resources similar to Linux/Unix operating systems. Through the LSOF command, users can get detailed information about the active files in the system and the processes that are accessing these files. LSOF can help users identify the processes currently occupying file resources, thereby better managing system resources and troubleshooting possible problems. LSOF is powerful and flexible, and can help system administrators quickly locate file-related problems, such as file leaks, unclosed file descriptors, etc. Via LSOF Command The LSOF command line tool allows system administrators and developers to: Determine which processes are currently using a specific file or port, in the event of a port conflict
 Artifact in Linux: Principles and Applications of eventfd
Feb 13, 2024 pm 08:30 PM
Artifact in Linux: Principles and Applications of eventfd
Feb 13, 2024 pm 08:30 PM
Linux is a powerful operating system that provides many efficient inter-process communication mechanisms, such as pipes, signals, message queues, shared memory, etc. But is there a simpler, more flexible, and more efficient way to communicate? The answer is yes, that is eventfd. eventfd is a system call introduced in Linux version 2.6. It can be used to implement event notification, that is, to deliver events through a file descriptor. eventfd contains a 64-bit unsigned integer counter maintained by the kernel. The process can read/change the counter value by reading/writing this file descriptor to achieve inter-process communication. What are the advantages of eventfd? It has the following features
 What is the correct way to restart a service in Linux?
Mar 15, 2024 am 09:09 AM
What is the correct way to restart a service in Linux?
Mar 15, 2024 am 09:09 AM
What is the correct way to restart a service in Linux? When using a Linux system, we often encounter situations where we need to restart a certain service, but sometimes we may encounter some problems when restarting the service, such as the service not actually stopping or starting. Therefore, it is very important to master the correct way to restart services. In Linux, you can usually use the systemctl command to manage system services. The systemctl command is part of the systemd system manager
