1. Search redis online and find the download link 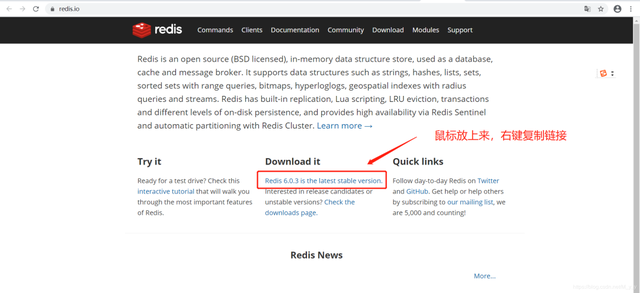
The connection is http://download.redis.io/releases/redis-6.0.3.tar.gz
2. Use wget to download the gz package. The installation is successful as shown in the figure
wget http://download.redis.io/releases/redis-6.0.3.tar.gz
3. After downloading, decompress
tar -zxvf redis-6.0.3.tar.gz

4. After decompression Compile in the redis directory
make
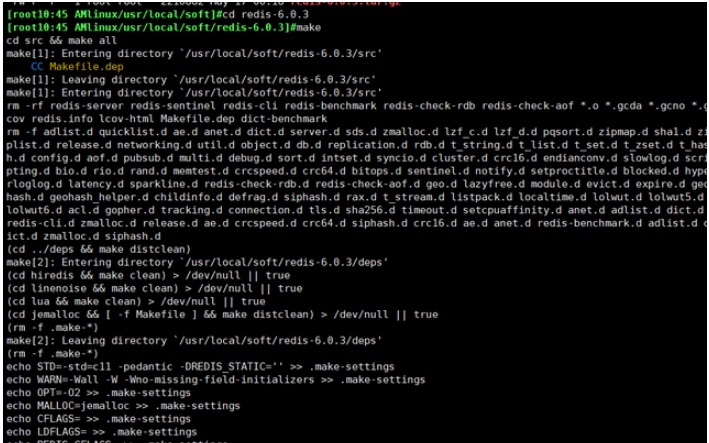
5. If the following prompt appears during compilation, don’t be angry if the error is reported for the first time. There are also errors below
This error only means that gcc is not installed, we can just install it

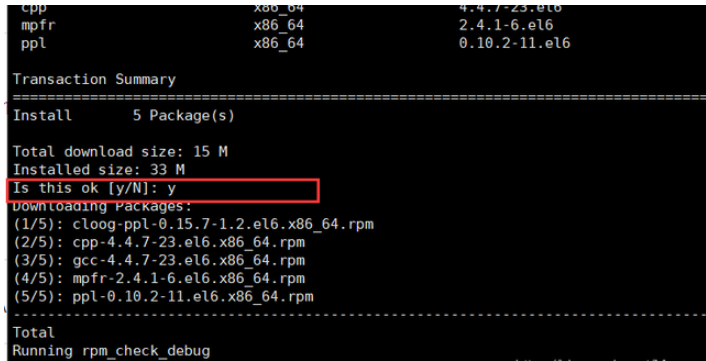
6. Install gcc, then use the command yum install gcc

You will be asked during the installation of gcc if you want to install this. Enter y and press Enter to continue the installation.
After installing gcc, recompile happily. What the hell, an error occurred again, it’s different from before
Stay steady, don’t panic. After checking the relevant resources, I found that CentOS7 is installed with 4.8.5 by default, and redis6.0 only supports versions 5.3 and above. , it turns out that the version is not supported, upgrade version, upgrade

7, CentOS7 is installed by default 4.8.5, and redis6.0 only supports version 5.3 or above, here will Upgrade gcc to 9
yum -y install centos-release-scl
yum -y install devtoolset-9-gcc devtoolset-9-gcc-c devtoolset-9-binutils


8. Gcc has finally been upgraded. At this time, don’t forget to switch the version. If you upgrade to a new version, you must use the new version.
I still recommend a permanent switch. Don’t reconnect to the server and then drop gcc back after the temporary switch is completed, which will be very troublesome.
Temporary switch: scl enable devtoolset-9 bash
Permanent switch: echo "source /opt/rh/devtoolset-9/enable" >> /etc/profile
After the switch is completed, reconnect to the server to take effect, check the gcc version
gcc -v
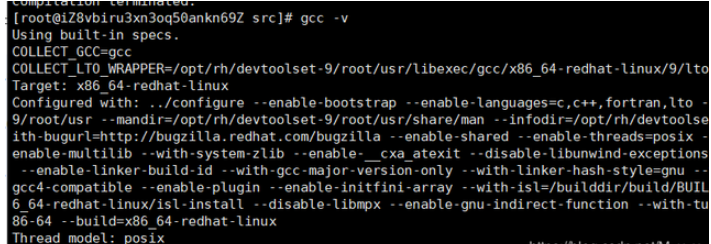
9. After the version switch is successful, enter the redis directory and recompile make install
Hey, no error is reported. Now let’s test whether redis is installed successfully. The following interface appears to indicate successful installation (I like this graphic very much, hahahaha) 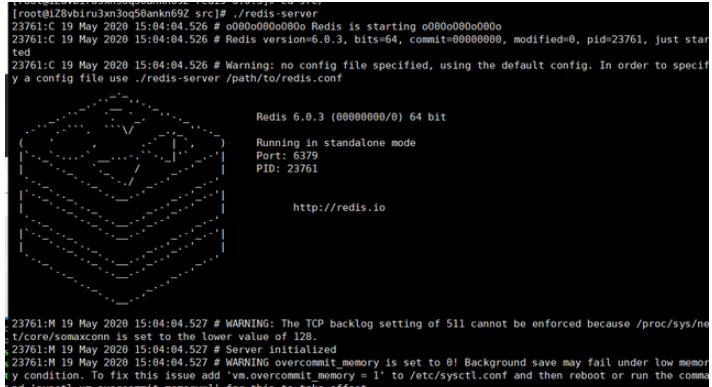
Configuration after installation
After successful installation, here It is recommended that you modify the port. The default port of redis is vulnerable to hacker attacks for mining operations. So, for the security of the server, it is better to modify the port number (don’t ask me why I know, just follow the modification silently. I will not lie to you. )
Download redis.conf locally for modification, it is simple and convenient
1. Change the default port
from port 6379 to your own defined port
2. Start as a background process
Modify daemonize no to daemonize yes
3. Set up redis remote connection
(1), first release the port number you set
(2), comment out bind 127.0.0.1
(3), set the redis connection password: change requirepass foobard to requirepass mzy1314520
mzy1314520 is the set password, Try to make this password as complex as possible
4. Start redis. If your redis has already been started, shut it down first and shut it down as follows (close the default port)
Stop redis (close the default port) ):
./redis-cli shutdown
Find the process number and kill the process:
ps -aux|grep redis kill -9 13985
5. Startup of redis
Specify the configuration file to start, enter the src directory, and enter the command
./redis-server /usr/local/redis-6.0.3/redis.conf
Local connection test
Cracked version of RedisDesktopManager2019.04: https://pan .baidu.com/s/1C2WLnhXqiS3wuJKzPqJdkQ Extraction code: a6s9
(foolish installation)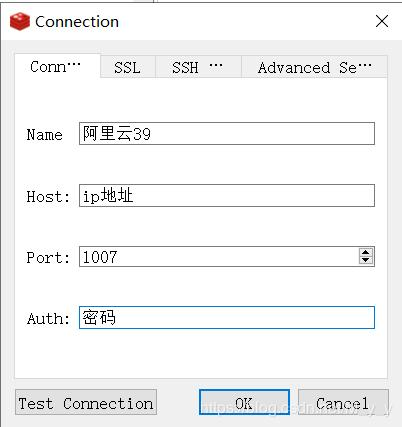
The connection is successful, there are 16 default libraries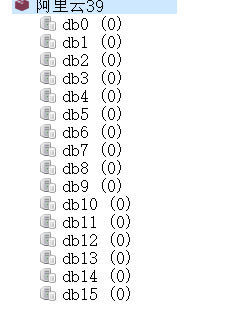
The above is the detailed content of How to install and deploy Redis in CentOS7 environment. For more information, please follow other related articles on the PHP Chinese website!


