Today I will share with you the specific application of Python in image processing. Since it is image processing, we must mention the opencv module. This module supports many algorithms related to computer vision and machine learning. And the application fields are expanding day by day, and there are roughly the following fields.
Of course, this time the editor does not intend to cover such advanced content. Today, I will start with the most basic opencv module and the basics of images. Let’s start with the operation.
We all install modules through the pip command.
pip install opencv-python
pip install opencv-contrib-python
Having learned linear algebra, it is not unfamiliar to the matrix matrix. An image is essentially a matrix. A grayscale image is an ordinary matrix, while a color image is a multidimensional matrix. Our operations on images can be naturally converted into operations on matrices.
First we read the image, calling the cv2.imread() method, its syntax format is as follows:
cv2.imread(filename, flag=1)
The flag parameter It is used to set the format of reading images. The default is 1, which means reading in RGB three-channel format. If set to 0, it means reading in grayscale single-channel format.
import cv2
import numpy as np
img=cv2.imread('1.jpg', 0)After reading the image, we hope to display it. The function method used here is cv2.imshow(), and its syntax format is as follows
cv2.imshow(name, img)
The parameter explanations are as follows:
us Try to display the picture read above. The code is as follows
cv2.imshow("grey_img", img)
## 如果使用了cv2.imshow()函数,下面一定要跟着一个摧毁窗口的函数
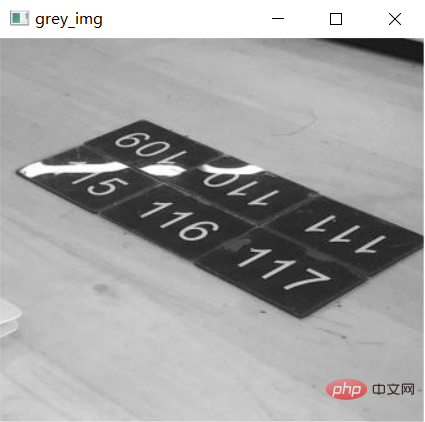
cv2.destroyAllWindows()After we run the above code, we can find that the picture pops up in a moment, but before we can see what the picture looks like clearly It is closed directly. The reason is that the cv2.imshow() function method does not have a delay effect. We add a delay function. The code is as follows
import cv2
import numpy as np


img = cv2.imread('1.jpg')
cv2.imshow("grey_img", img)
cv2.waitKey(0)
cv2.destroyAllWindows()output

Finally we save the picture. The function used here is cv2.imwrite(), its syntax format is as follows
cv2.imwrite(imgname, img)
The parameter explanations are as follows:
The sample code is as follows:
import cv2
import numpy as np


img = cv2.imread('1.jpg')
cv2.imshow("grey_img", img)
cv2.waitKey(0)
cv2.imwrite('1.png', img)
cv2.destroyAllWindows()Sometimes we want to know the pixel size of the picture, and the essence of the picture is a matrix. For example, a picture of 1024 pixels * 960 pixels means that the number of rows in the matrix is 960 The number of rows and columns is 1024. The shape() function method called in the opencv module, the code is as follows:
import cv2


img = cv2.imread('1.jpg')
print(img.shape[0]) # 行数
print(img.shape[1]) # 列数
print(img.shape[2]) # 通道数output
308
340
3
You can see that the pixels of the image are 340*380 , the number of channels is 3, and for grayscale images, let’s take a look at the properties of the image. The code is as follows:
img = cv2.imread('1_grey.png', 0)
print(img.shape)output
(308, 340)
You can see that for grayscale images, We don’t see the number of channels, only the number of rows and columns.
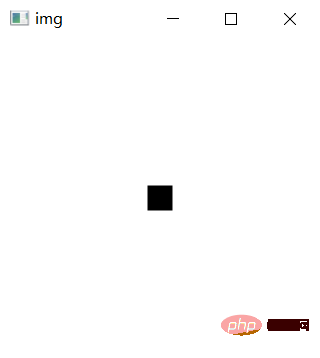
Finally, let’s perform some basic operations on the image, which is nothing more than changing some pixel values. We import a blank image and add a black point to it by modifying the pixel value. The code is as follows
import cv2
import numpy as np


img = cv2.imread('2.jpg')
(x, y, z) = img.shape


for i in range(-10, 10):
for j in range(-10, 10):
# When Python was used as a photo editing tool, I found that it was really easy to use! !的正中心的位置来改变像素值,
img[int(x/2) + i, int(y/2) + j] = (0, 0, 0)


cv2.imshow("img", img)
cv2.waitKey(0)
cv2.destroyAllWindows()output

The above is the detailed content of When Python was used as a photo editing tool, I found that it was really easy to use! !. For more information, please follow other related articles on the PHP Chinese website!


