


This article brings you relevant knowledge about UI components. It mainly talks about how to build a UI component library from scratch. There are code examples. Friends who are interested can take a look below. I hope everyone has to help.

Before we write the components of our component library, we first need an environment, including the following items:
Our current project is based on the vue2 version, so this component library project will also be created using the vue cli version 2.0.
// 全局安装 vue-cli

npm install --global vue-cli


// 基于 webpack 创建一个的新项目

vue init webpack my-project


// 安装依赖

npm install


// 运行

npm run dev
The relevant options during the installation process are as follows:
We install jest by default as the unit testing framework for our component library, and the code inspection tool defaults to eslint
After successfully creating the project, the directory structure of our new project should now be like this:
We need to Make some adjustments to the existing directory. First of all, we have come into contact with some mainstream UI component libraries such as vant/ant. We know that the official websites of these component libraries provide very intuitive sample pages. At this time, our component library will rename the src directory. for examples, as our official examples directory.
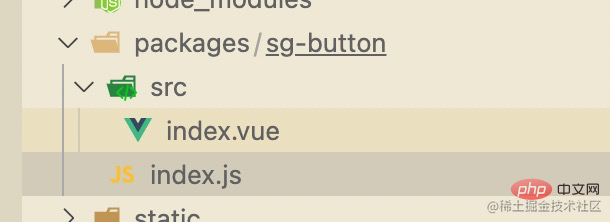
In addition, we add a new packages directory to store our components.
Now our directory structure becomes as follows:

#If you rerun the project at this time, you will find an error, because our src directory name has changed, and the webpack configuration The default entry file is still src/main.js. We need to change the configuration and replace src with examples in the build/webpack.base.conf file. At the same time, we need to add the new packages directory to the webpack compilation queue.
The changed webpack.base.conf should look like this.
'use strict'

const path = require('path')

const utils = require('./utils')

const config = require('../config')

const vueLoaderConfig = require('./vue-loader.conf')


function resolve (dir) {

  return path.join(__dirname, '..', dir)

}


const createLintingRule = () => ({

  test: /.(js|vue)$/,

  loader: 'eslint-loader',

  enforce: 'pre',

  include: [resolve('examples'), resolve('packages'),resolve('test')],

  options: {

    formatter: require('eslint-friendly-formatter'),

    emitWarning: !config.dev.showEslintErrorsInOverlay

  }

})


module.exports = {

  context: path.resolve(__dirname, '../'),

  entry: {

    app: './examples/main.js' // 打包入口

  },

  output: {

    path: config.build.assetsRoot,

    filename: '[name].js',

    publicPath: process.env.NODE_ENV === 'production'

      ? config.build.assetsPublicPath

      : config.dev.assetsPublicPath

  },

  resolve: {

    extensions: ['.js', '.vue', '.json'],

    alias: {

      'vue$': 'vue/dist/vue.esm.js',

      '@': resolve('examples'),

    }

  },

  module: {

    rules: [

      ...(config.dev.useEslint ? [createLintingRule()] : []),

      {

        test: /.vue$/,

        loader: 'vue-loader',

        options: vueLoaderConfig

      },

      {

        test: /.js$/,

        loader: 'babel-loader',

        include: [resolve('examples'), resolve('test'), resolve('node_modules/webpack-dev-server/client')]

      },

      {

        test: /.(png|jpe?g|gif|svg)(?.*)?$/,

        loader: 'url-loader',

        options: {

          limit: 10000,

          name: utils.assetsPath('img/[name].[hash:7].[ext]')

        }

      },

      {

        test: /.(mp4|webm|ogg|mp3|wav|flac|aac)(?.*)?$/,

        loader: 'url-loader',

        options: {

          limit: 10000,

          name: utils.assetsPath('media/[name].[hash:7].[ext]')

        }

      },

      {

        test: /.(woff2?|eot|ttf|otf)(?.*)?$/,

        loader: 'url-loader',

        options: {

          limit: 10000,

          name: utils.assetsPath('fonts/[name].[hash:7].[ext]')

        }

      }

    ]

  },

  node: {

    // prevent webpack from injecting useless setImmediate polyfill because Vue

    // source contains it (although only uses it if it's native).

    setImmediate: false,

    // prevent webpack from injecting mocks to Node native modules

    // that does not make sense for the client

    dgram: 'empty',

    fs: 'empty',

    net: 'empty',

    tls: 'empty',

    child_process: 'empty'

  }

}Rerun and the compilation passes.
After setting up the basic coding environment, we need to consider how to write the component documentation for our new components.
We recommend using markdown to write component documents. Then how do we use markdown to write our component documents in vue? Here we recommend a useful tool.
# vue1版本

npm i vue-markdown-loader@0 -D


# vue2版本

npm i vue-markdown-loader -D

npm i  vue-loader vue-template-compiler -D
const VueLoaderPlugin = require('vue-loader/lib/plugin');


  module: {

    rules: [

      ...,

      {

        test: /.md$/,

        use: [

          {

            loader: 'vue-loader'

          },

          {

            loader: 'vue-markdown-loader/lib/markdown-compiler',

            options: {

              raw: true

            }

          }

        ]

      },

      ...

      ]

      },

plugins: [new VueLoaderPlugin()]# hello world
const docs = [

 {

 path: '/test',

 name: 'test',

 component: r => require.ensure([], () => r(require('../docs/test.md')))

 }

 ]

export default docs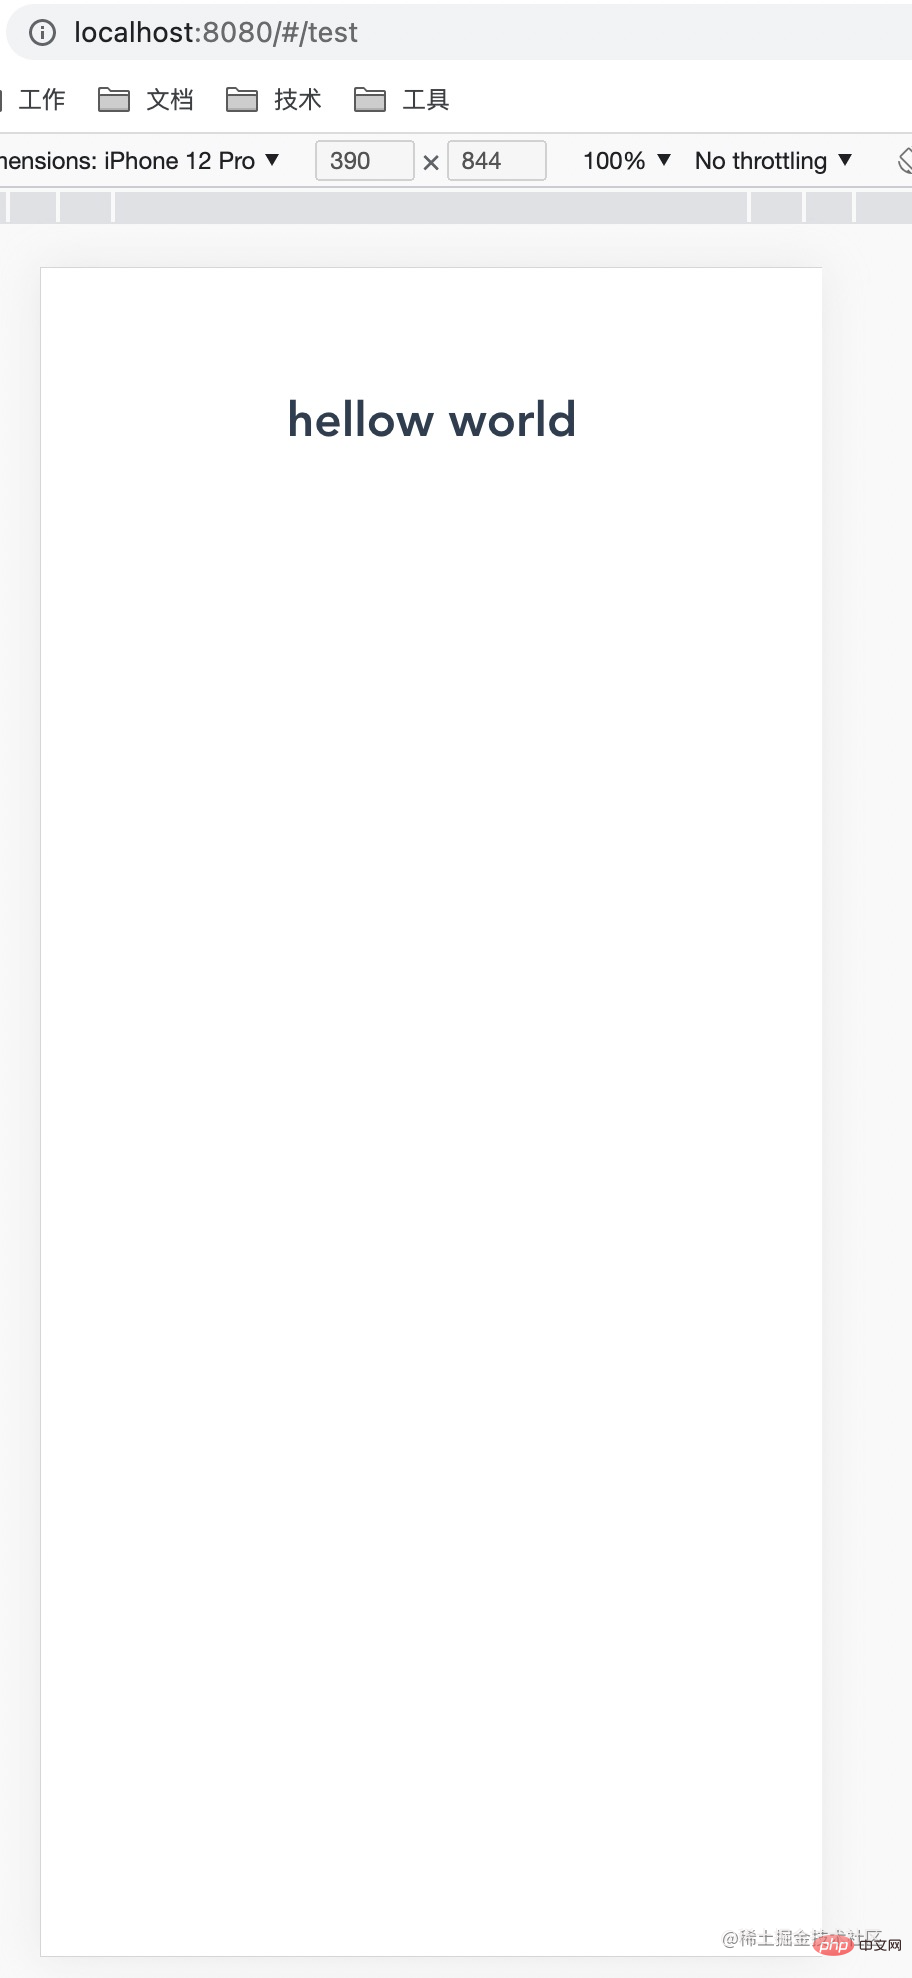
<template>
<div :class="[size]" @click="click()">
<span><slot></slot></span>
</div>
</template>
<script>
/**
* 全局统一弹窗
*/
export default {
name: 'sgButton',
props: {
size: {
type: String,
default: ''
} // 按钮大小 :small large
},
methods: {
click () {
this.$emit('click')
}
}
}
</script>
<style scoped>
.container{
height: 50px;
display: flex;
justify-content: center;
align-items: center;
border: 1px solid #ccc;
}
.container.small{
height: 40px;
}
.container.large{
height: 60px;
}
</style> // 导入组件,组件必须声明 name
import sgButton from './src'
// 为组件提供 install 安装方法,供按需引入
sgButton.install = function (Vue) {
Vue.component(sgButton.name, sgButton)
}
// 导出组件
export default sgButton // 导入button组件
import sgButton from './sg-button'
// 组件列表
const components = [
sgButton
]
// 定义 install 方法,接收 Vue 作为参数。如果使用 use 注册插件,那么所有的组件都会被注册
const install = function (Vue) {
// 判断是否安装
if (install.installed) return
// 遍历注册全局组件
components.map(component => Vue.component(component.name, component))
}
// 判断是否是直接引入文件
if (typeof window !== 'undefined' && window.Vue) {
install(window.Vue)
}
export default {
// 导出的对象必须具有 install,才能被 Vue.use() 方法安装
install,
// 以下是具体的组件列表
sgButton
}import sgUi from '../packages/index' Vue.use(sgUi.sgButton)
import sgUi from '../packages/index'


Vue.use(sgUi)
我们在examples目录的入口文件中全局引入了组件库
// The Vue build version to load with the `import` command
// (runtime-only or standalone) has been set in webpack.base.conf with an alias.
import Vue from 'vue'
import App from './App'
import router from './router'
import sgUi from '../packages/index'
Vue.config.productionTip = false
Vue.use(sgUi)
/* eslint-disable no-new */
new Vue({
el: '#app',
router,
components: { App },
template: '<App/>'
})然后我们编写一个vue页面来看看是否引入成功。
首先examples中新增pages目录,存放我们以后为每个组件单独编写的示例页面,新增examples/pages/buttonExample/index.vue 页面
<template>
<div class="container">
<sg-button>默认按钮</sg-button>
<sg-button :size="'large'">大按钮</sg-button>
<sg-button :size="'small'">小按钮</sg-button>
</div>
</template>
<script>
/**
* button 示例
*/
export default {
name: 'buttonExample',
methods: {
}
}
</script>在这里我们直接调用了三种尺寸的button,运行看下效果:
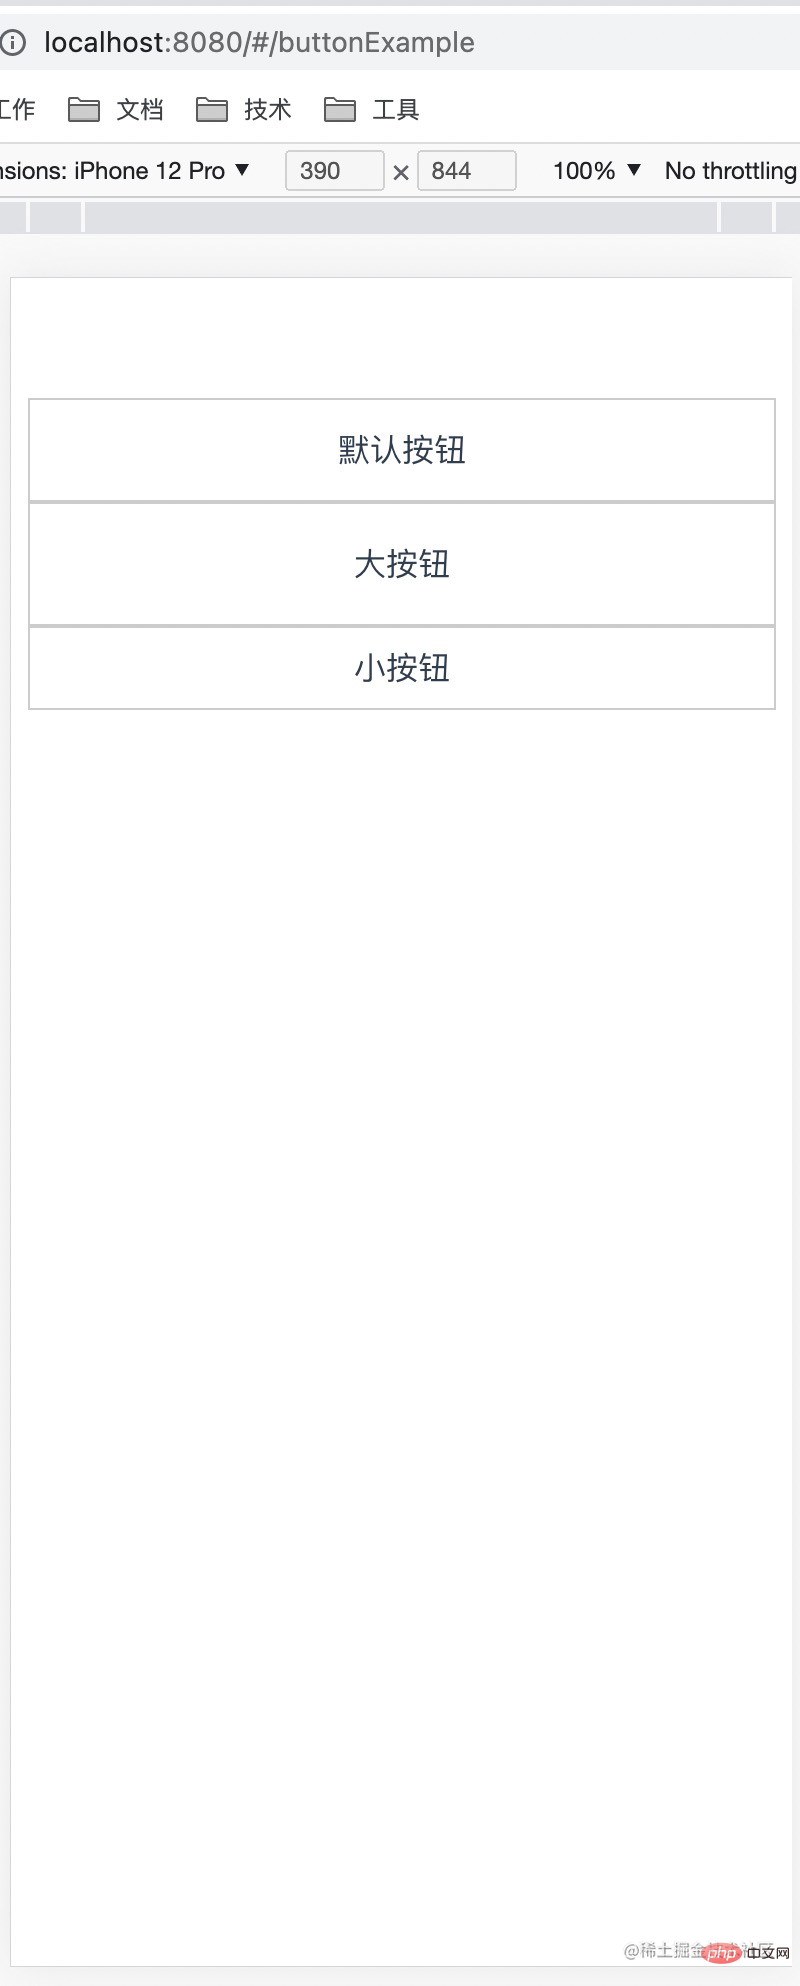
效果完美,代表我们组件库第一个组件以及整体流程打通!
之前的环节,我们成功实现了我们组件库的第一个组件,但考虑到这只是组件库,组件库内能调用肯定是不够的,类似 vant/ant 这些组件库,我们怎么让其他用户可以使用我们的组件库组件内?
我们可以考虑发布到npm上,后续项目需要的话,我们直接通过npm安装引入的方式来调用。
发布到npm的方法也很简单, 首先我们需要先注册去npm官网注册一个账号, 然后控制台登录即可,最后我们执行npm publish即可.具体流程如下:
// 本地编译组件库代码

yarn lib

// 登录

 npm login

 // 发布

 npm publish

 // 如果发布失败提示权限问题,请执行以下命令

 npm publish --access public
The above is the detailed content of Teach you step by step how to build a UI component library from scratch. For more information, please follow other related articles on the PHP Chinese website!


![[Web front-end] Node.js quick start](https://img.php.cn/upload/course/000/000/067/662b5d34ba7c0227.png)


