


5 Easy Ways to Format USB to NTFS Windows 11

USB drives are a great way to transfer data easily and efficiently. However, over time, your USB drive may lose its performance due to bad sectors or leftover data. If you have been facing performance issues with your USB drive, then formatting it can help you improve the same.
NTFS is a widely supported format type in Windows and can help you transfer large amounts of data compared to FAT32. Here are all the ways to format a USB drive to NTFS on Windows 11.
How to Format USB to NTFS in 5 Easy Methods
You can use various methods to format a USB drive to NTFS in Windows 11. Select any of the options mentioned below to help you with the process.
NOTE: Formatting a USB drive will permanently delete all data it contains. We recommend that you back up your data before proceeding with any of the following tutorials.
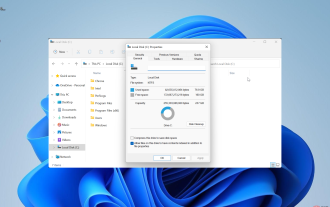
Method 1: Use Format
in Filer Explorer’s context menu Make sure you have inserted the USB drive correctly.
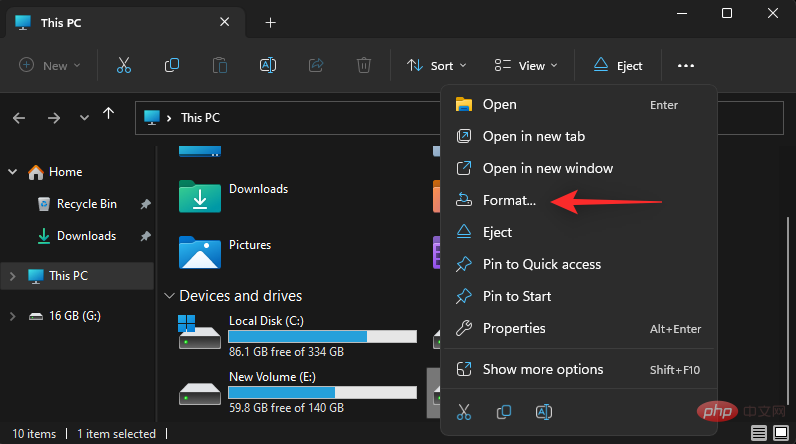
Press Windows E to start File Explorer. Now, find your USB drive here and right-click on it.

Click Format.
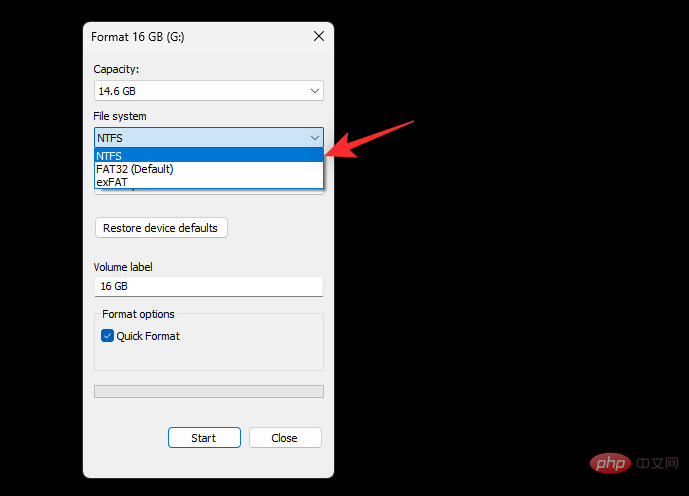
Click the drop-down menu for File System and select NTFS.
Select and enter the volume label of the USB drive as needed.
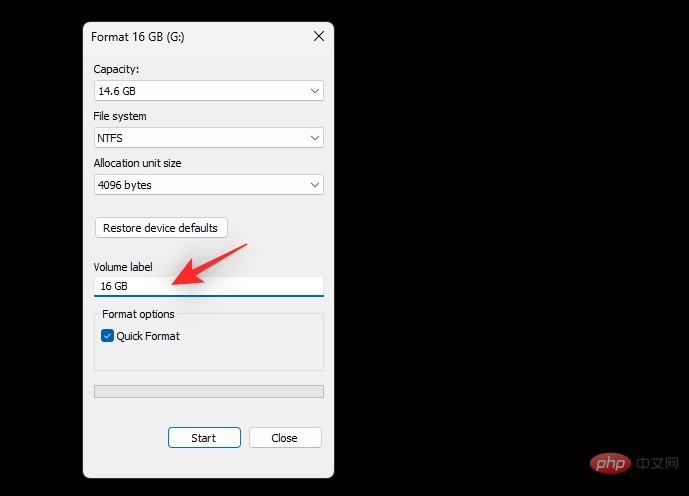
Select the Quick Format checkbox.

Click Start.

Click OK to confirm your choice.
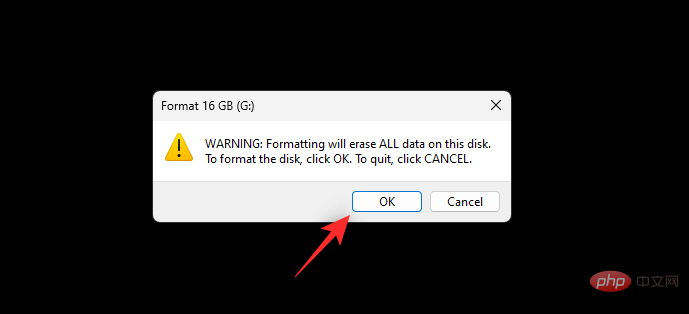
That's it! Now, you will format the USB drive to NTFS on Windows 11.
Method 2: Use Diskpart
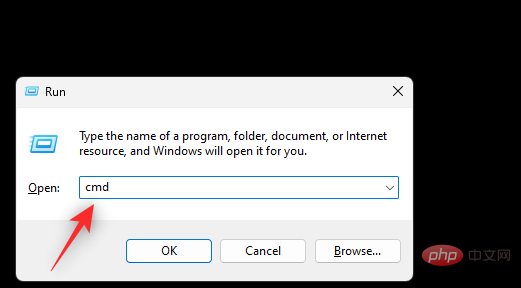
Press Windows R to start Run.

Enter the following and press Ctrl Shift Enter.
cmd
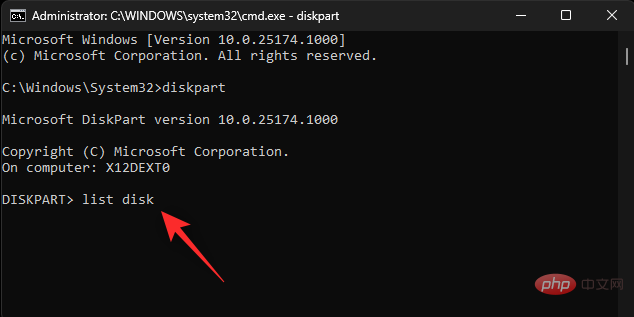
Execute the following command to start Diskpart.
diskpart

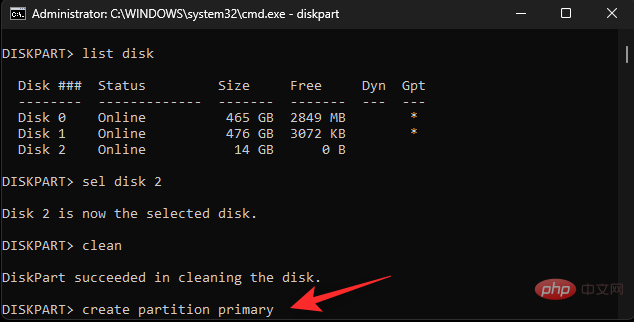
Now use the following command to list the current drives on your PC.
list disk
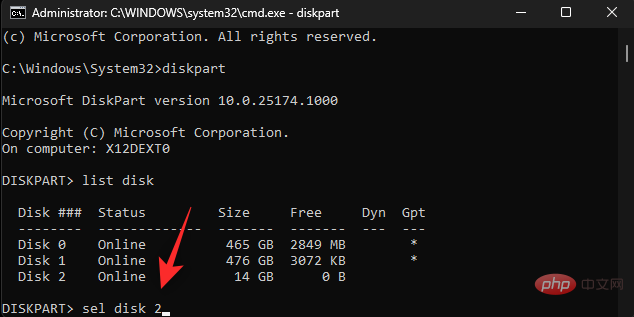
Find and identify your USB drive in this list. Use the following command to select your USB drive. Replace NUM with the disk number of the USB drive.
sel disk <strong>NUM</strong>
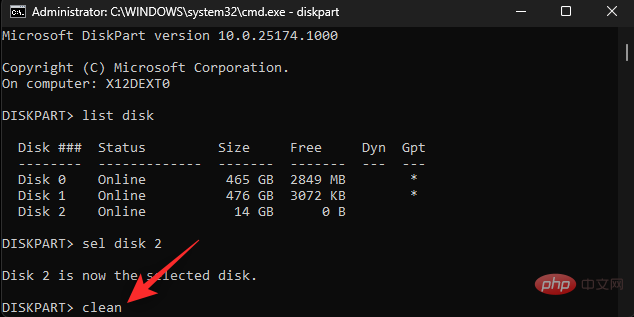
clean
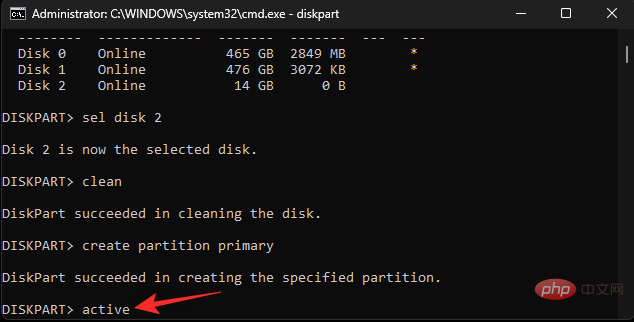
create partition primary
Active.
active
NAME with the label you wish to give the USB drive.
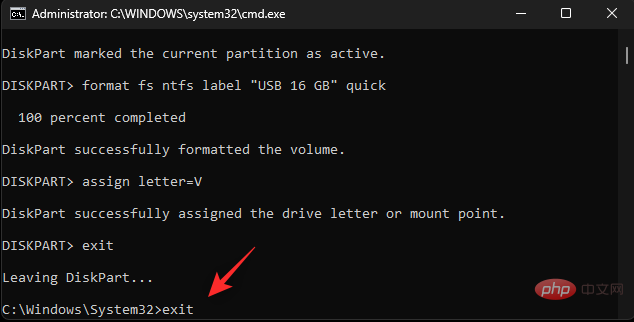
format fs ntfs label "NAME<strong>" quick</strong>
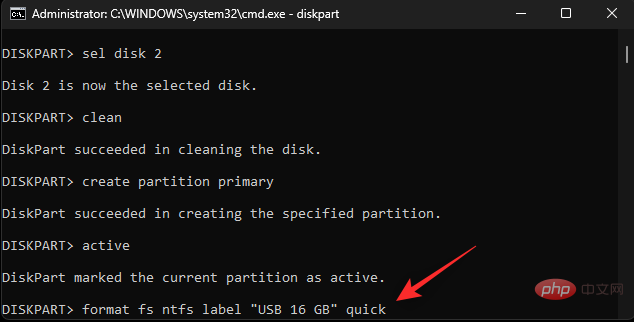
Note: Do not remove the quotation marks ("") when executing this command.
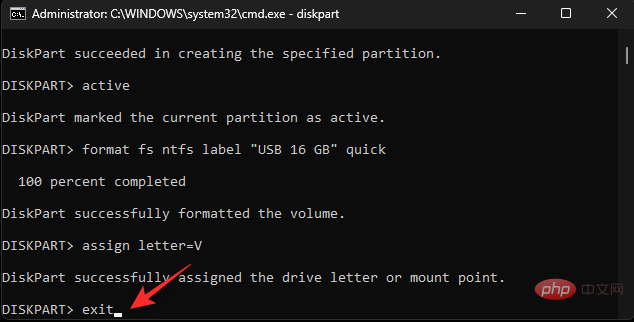
Now use the command below to assign a letter to your USB drive. Replace X with the drive letter of your choice.
assign letter=<strong>X</strong>

exit
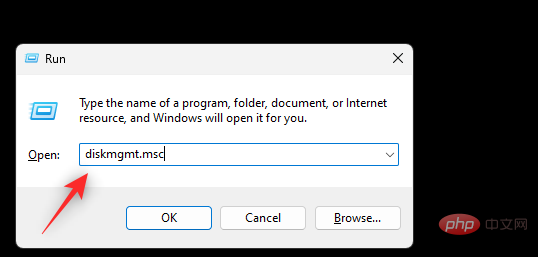
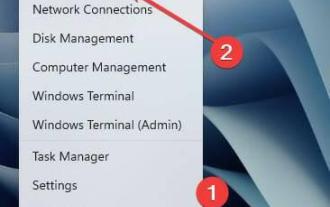
Windows RStartRun.
diskmgmt.msc
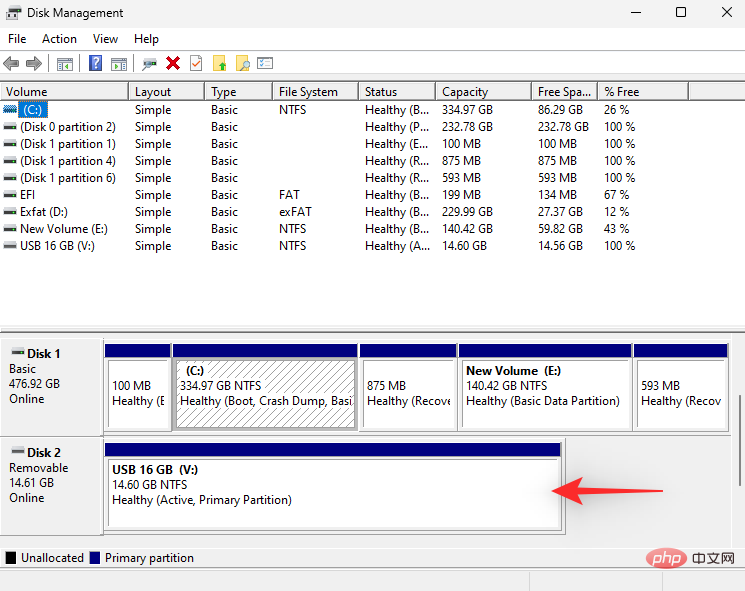
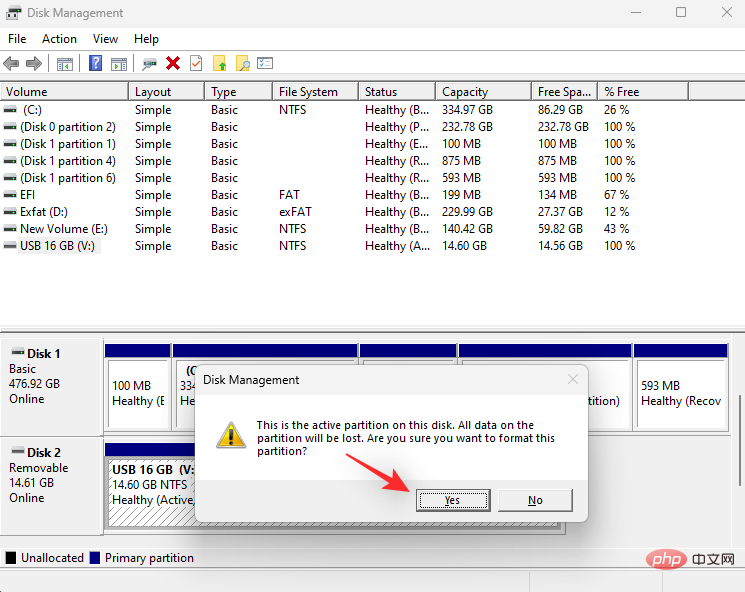
Format.
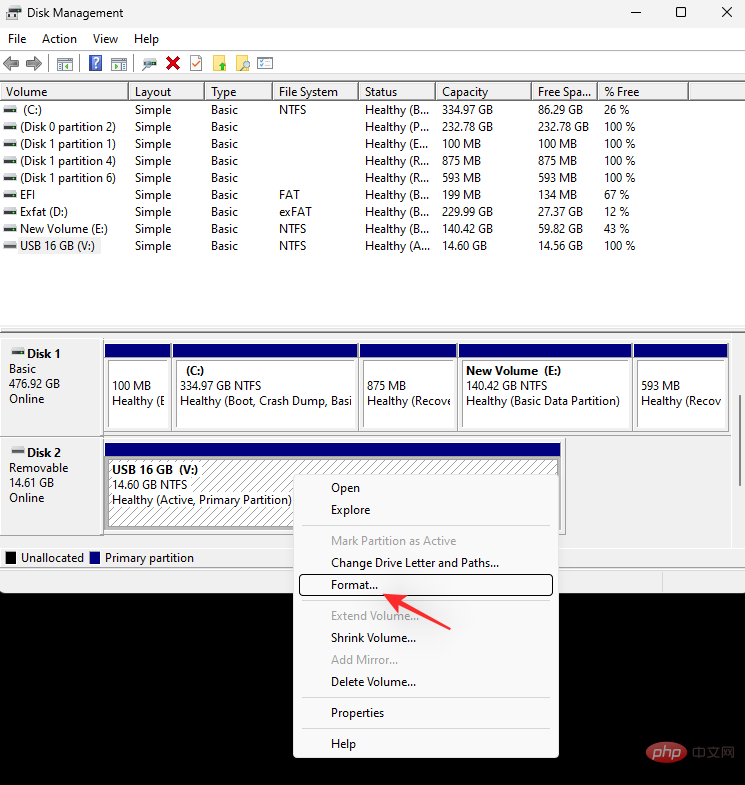
Yes to confirm your choice.
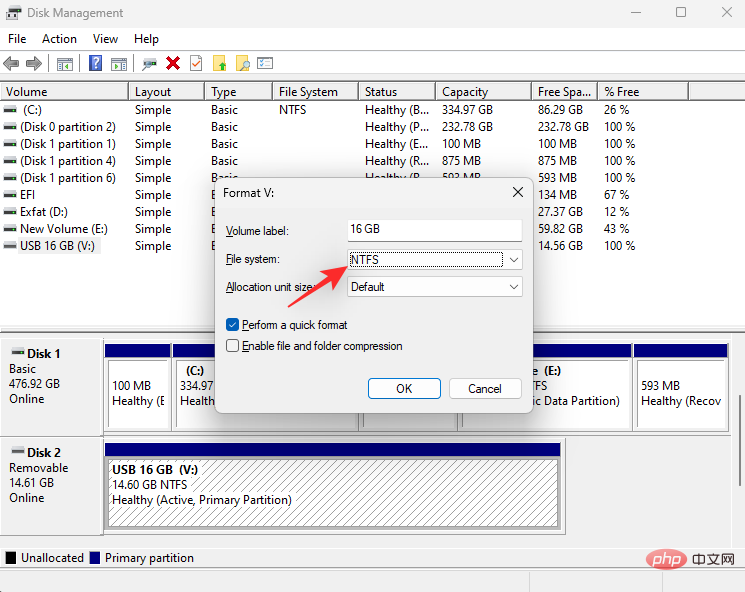
Choose a name for your USB drive next to the Volume label.

Click the drop-down menu for File System and select NTFS.
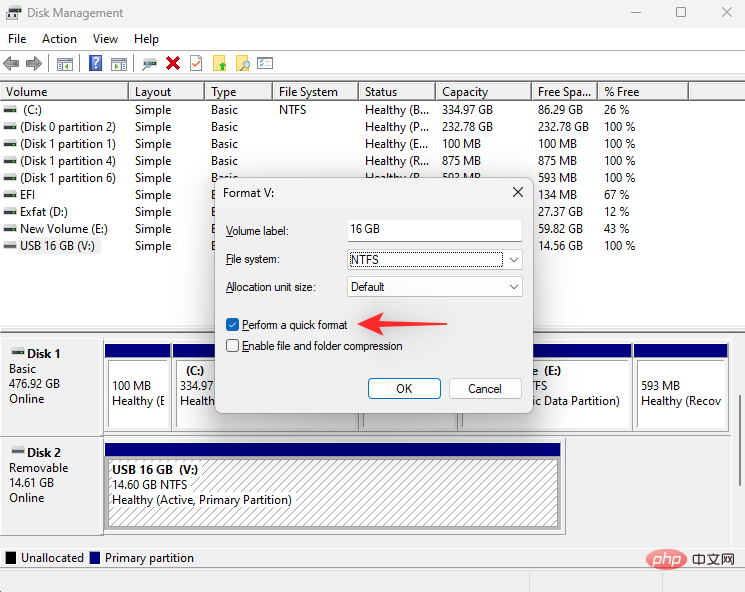
Perform Quick Format checkbox.
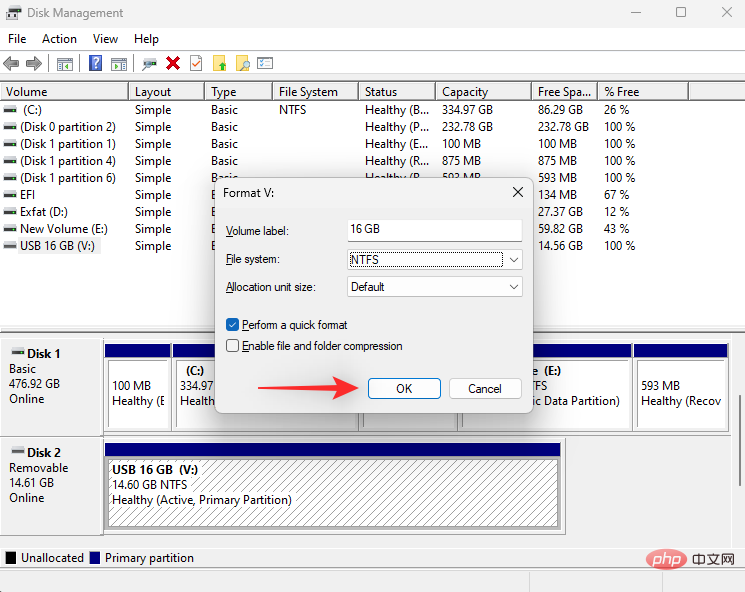
OK.
Windows R to start Run.
Ctrl Shift Enter.
powershell
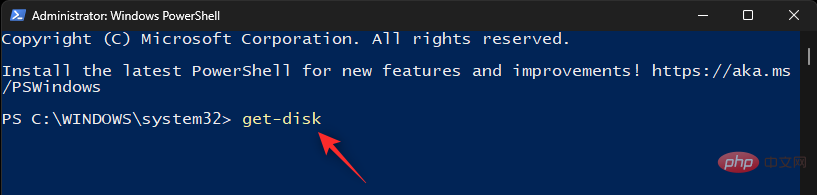
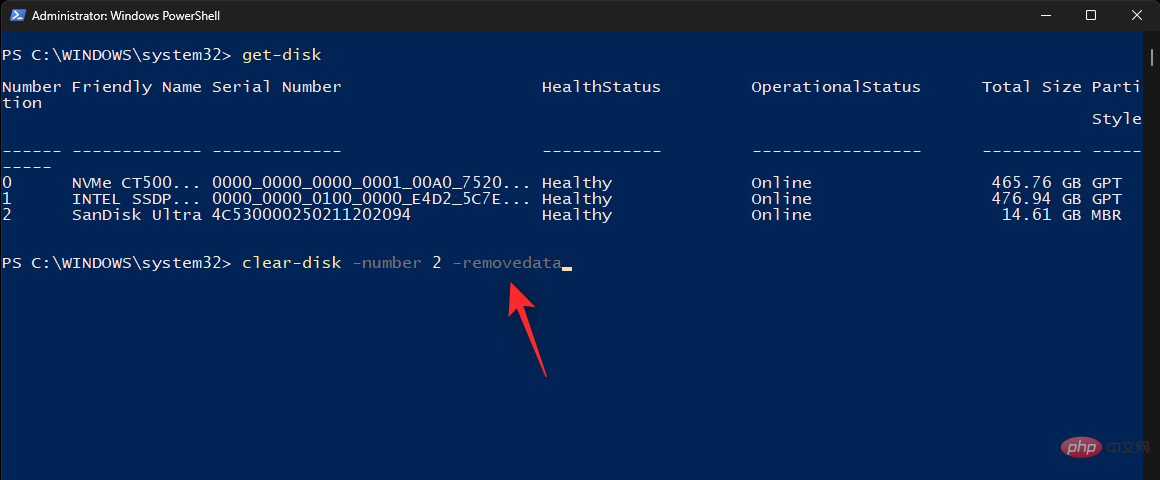
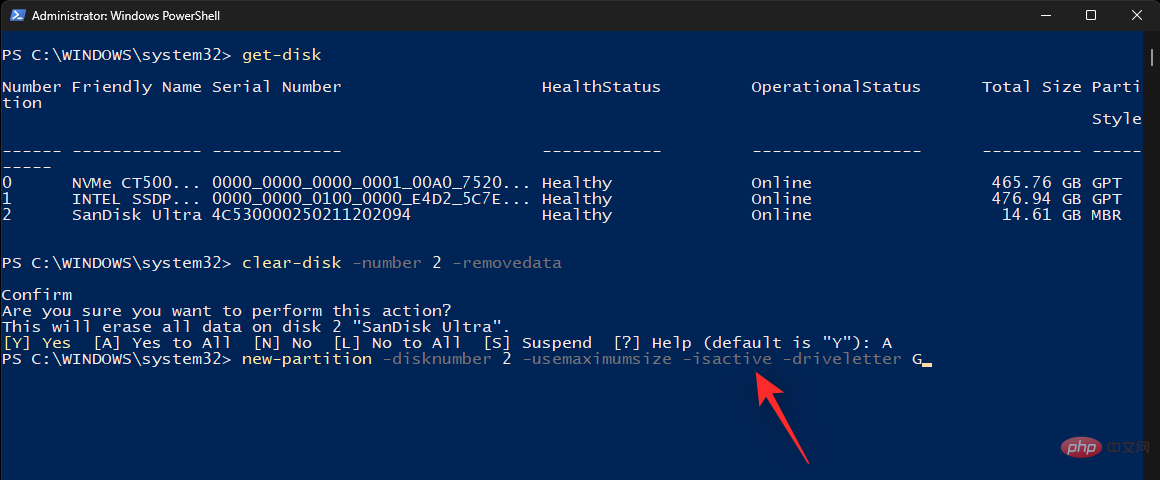
get-disk
in the first column serial number.

NUM with the disk number of the USB drive.
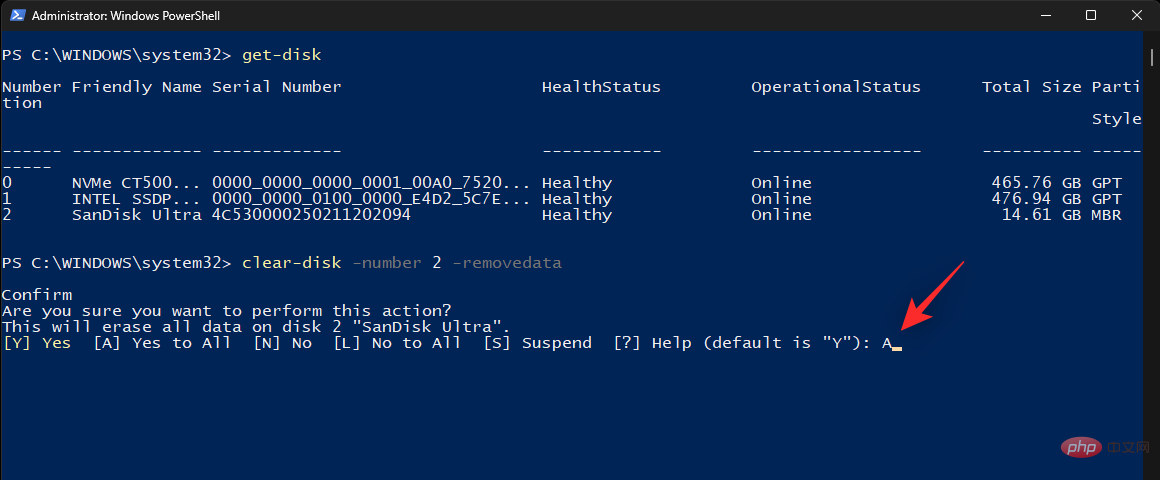
clear-disk -number NUM<strong> -RemoveData</strong>
A to confirm your choice.
NUM with the disk number of the USB drive and LETTER with the letter you wish to assign to the USB drive.
new-partition -disknumber <strong>NUM</strong> -usemaximumsize -isactive -driveletter <strong>LETTER</strong>
Now There is a new partition on your USB and we can format it to USB. Use the following command and replace LETTER with the new drive letter of your USB drive. Likewise, replace the USB tag with the name of your USB drive.
format-volume -driveletter <strong>LETTER</strong> -filesystem ntfs -newfilesystemlabel <strong>USB Label</strong>

Finally, close PowerShell using the following command.
exit
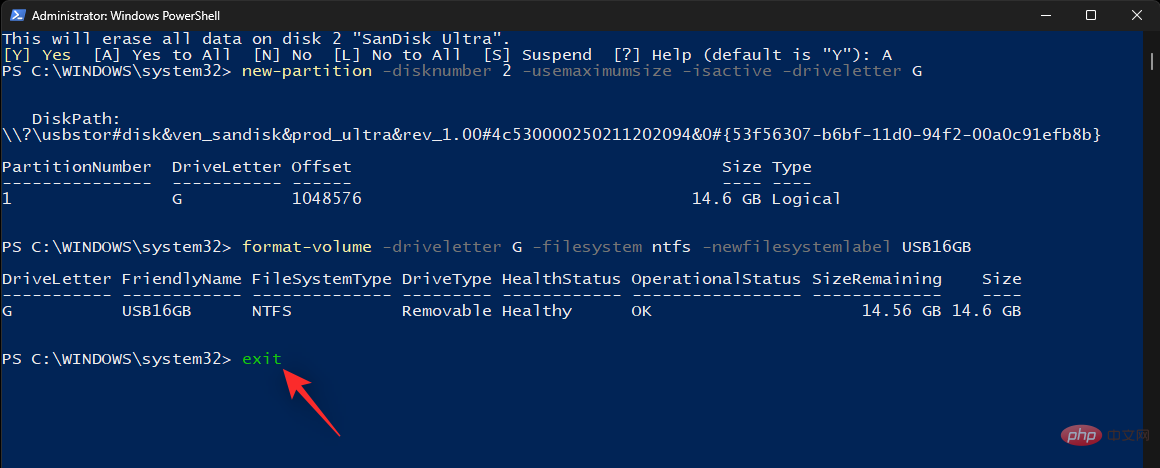
That’s it! Now you'll use PowerShell to format the USB drive to NTFS.
Method Five: Use Third-Party Applications
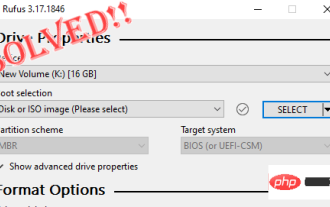
There are a large number of third-party applications that can help you format drives and disks as per your current needs and requirements. We recommend using Rufus because it's free, easy to use, and can even help you create a bootable USB drive. Follow the tutorial below to format your USB drive using Rufus.
- Rufus | Download Link
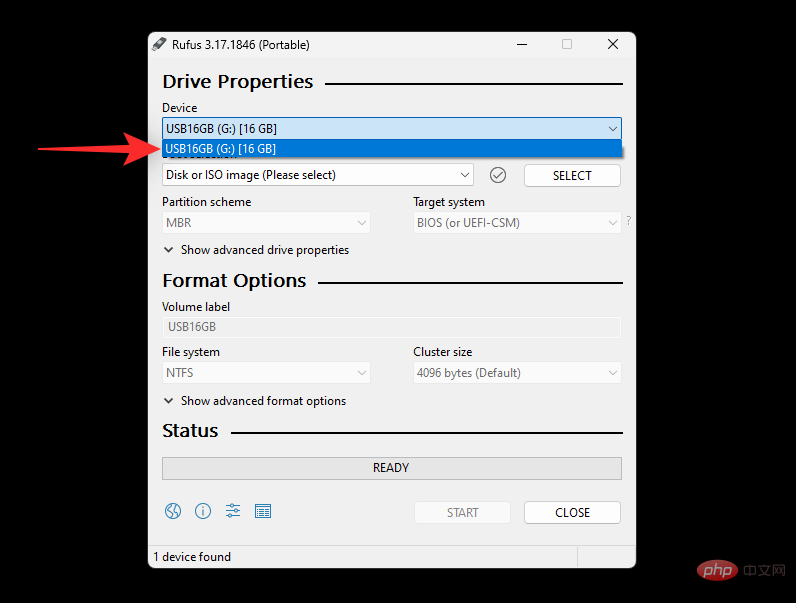
Use the link above to download Rufus to your PC and plug in your USB. Now use the .exe file to launch Rufus.

Click the drop-down menu for Device and select your USB drive if it’s not already selected.
Now click on the drop-down menu of Boot selection and select Non bootable.
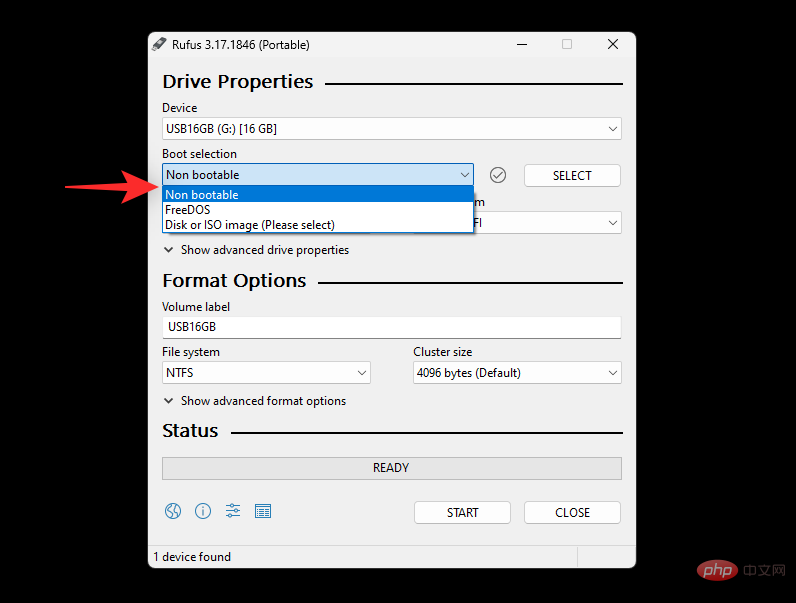
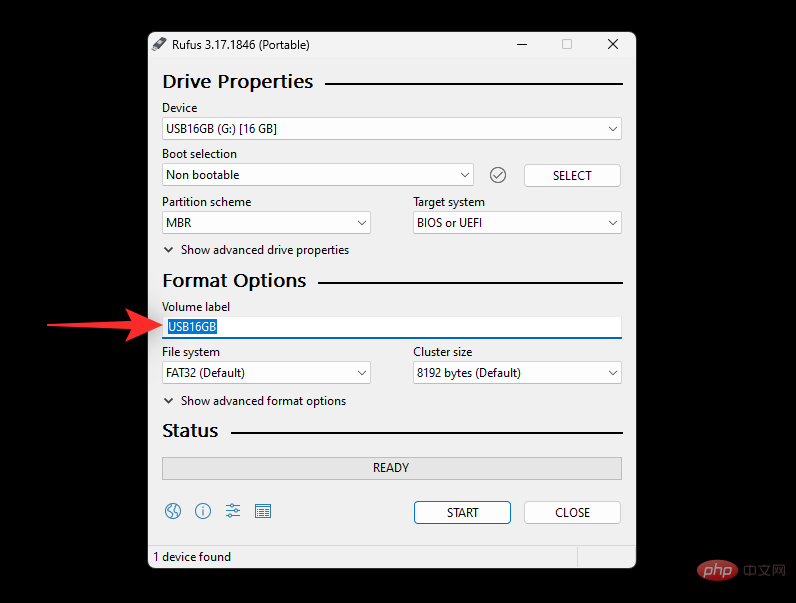
Set a name for your USB drive under the Volume label.
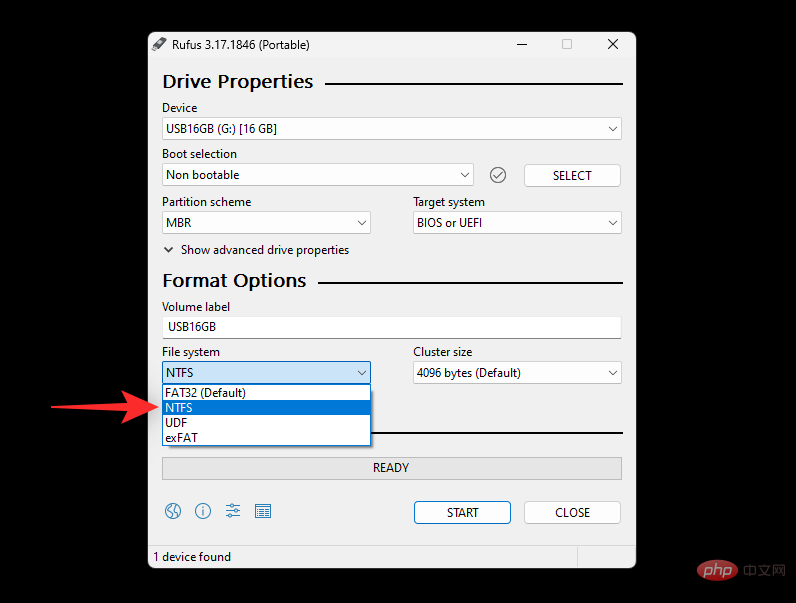
Click the drop-down menu for File System and select NTFS.
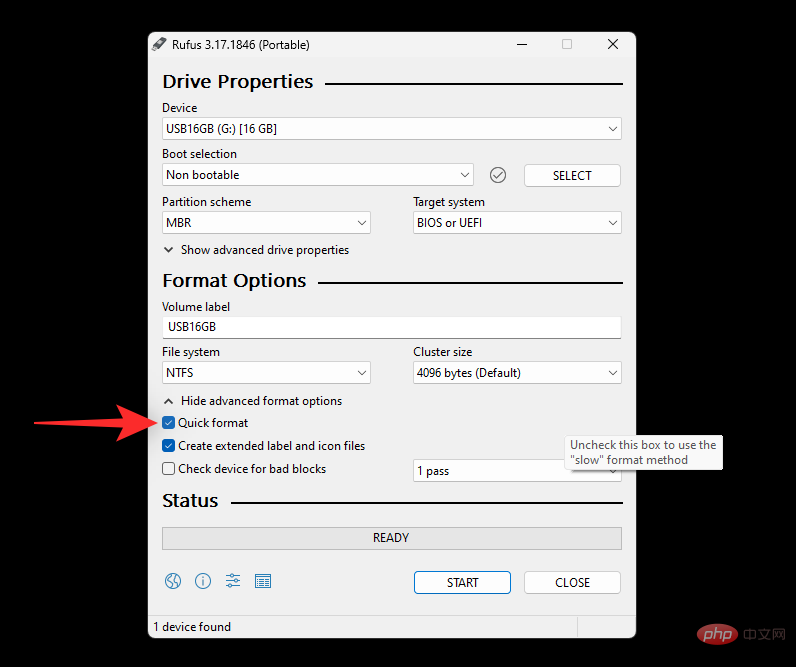
Click to show advanced formatting options and uncheck the Quick Format box.
Finally, click Start.
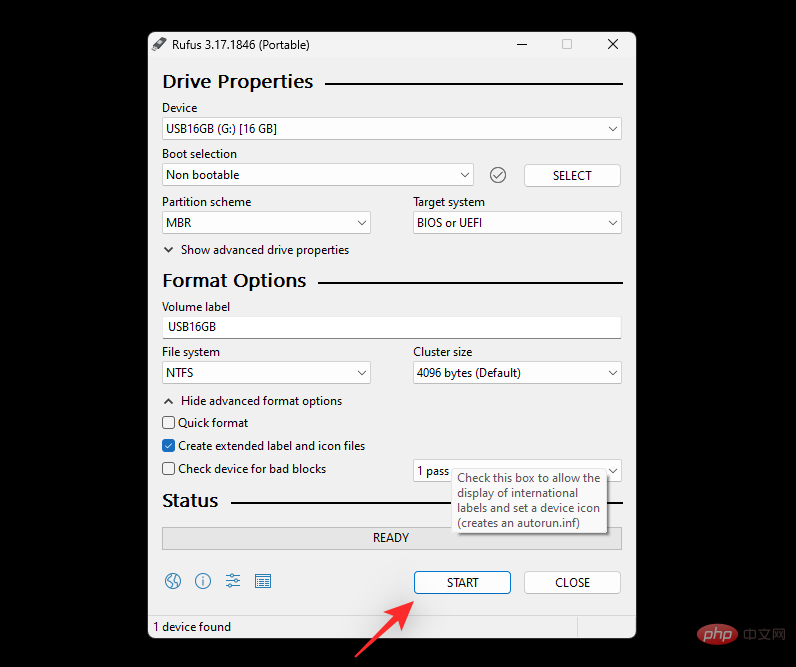
Click OK to confirm your choice.
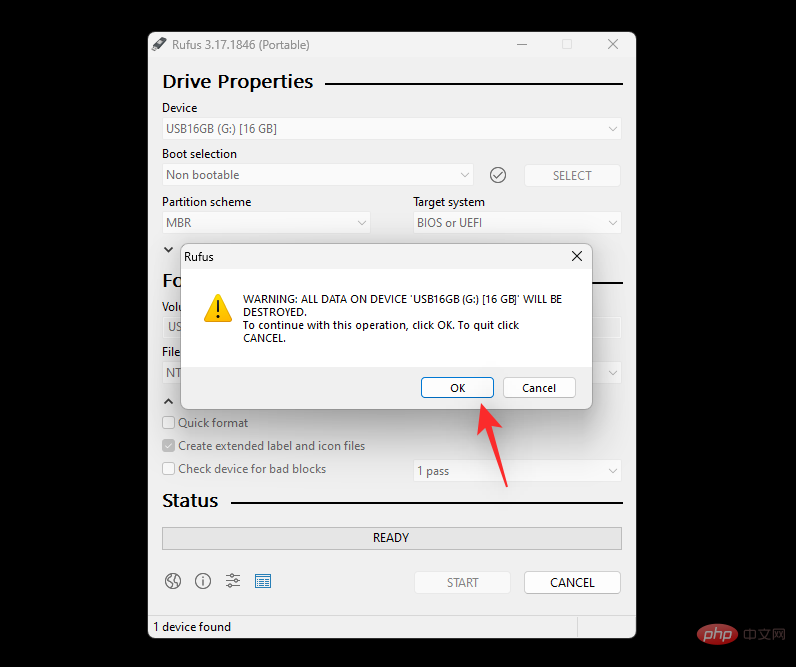
That's it! You will now use Rufus to format your USB drive on Windows 11.
The above is the detailed content of 5 Easy Ways to Format USB to NTFS Windows 11. For more information, please follow other related articles on the PHP Chinese website!

Hot AI Tools

Undress AI Tool
Undress images for free

Undresser.AI Undress
AI-powered app for creating realistic nude photos

AI Clothes Remover
Online AI tool for removing clothes from photos.

Clothoff.io
AI clothes remover

Video Face Swap
Swap faces in any video effortlessly with our completely free AI face swap tool!

Hot Article
Hot Tools

Notepad++7.3.1
Easy-to-use and free code editor

SublimeText3 Chinese version
Chinese version, very easy to use

Zend Studio 13.0.1
Powerful PHP integrated development environment

Dreamweaver CS6
Visual web development tools

SublimeText3 Mac version
God-level code editing software (SublimeText3)


 When your USB C is not recognized by Windows 11, there are over 5 fixes to choose from.
May 08, 2023 pm 11:22 PM
When your USB C is not recognized by Windows 11, there are over 5 fixes to choose from.
May 08, 2023 pm 11:22 PM
USB-C connectors are now standard on most modern phones, laptops, and tablets. In other words, we have entered the USB-C era, and the traditional rectangular USB Type-A plugs we have become accustomed to are gradually disappearing. You can now charge your Windows 11 PC and communicate via USB-C connection with other USB Type-C gadgets that have USB-C ports (such as display adapters, docking stations, phones, etc.). Unfortunately, certain software and hardware combinations can cause problems. When this happens, you may see a message indicating that the USB-C connection has failed. In this article, we will show how to fix Win
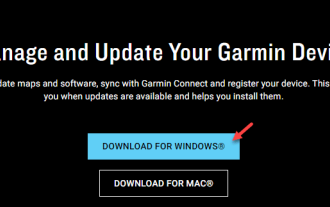 How to fix Garmin USB devices not being detected or recognized on Windows PC
May 06, 2023 pm 09:25 PM
How to fix Garmin USB devices not being detected or recognized on Windows PC
May 06, 2023 pm 09:25 PM
Garmin is a manufacturer of advanced GPS tracking and navigation equipment, producing high-quality wearable devices for ordinary users. If you are using a Garmin device and cannot connect it to your Windows 11/10 system and are looking for a quick solution, you have just arrived at the right destination. This article is helpful for those users who are unable to establish a connection between their device and Windows computer. Fix 1 – Try Restarting Your System Before jumping to the software side of the problem, you should try restarting your system. So, before you do anything, you should do two things. The first is to restart your computer. A temporary issue or one-off bug may cause this issue. Before restarting the system
 Commands to install BalenaEtcher on Windows 11
Apr 19, 2023 pm 05:46 PM
Commands to install BalenaEtcher on Windows 11
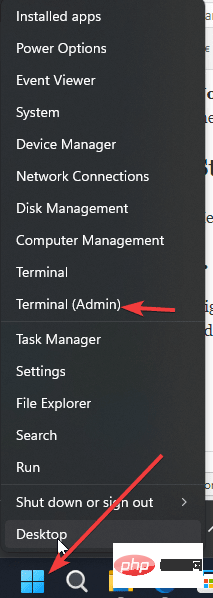
Apr 19, 2023 pm 05:46 PM
Steps to Install BalenaEtcher on Windows 11 Here we will show the quick way to install BalenaEthcer on Windows 11 without visiting its official website. 1. Open a command terminal (as an administrator), right-click the Start button and select Terminal (Admin). This will open a Windows Terminal with administrative rights to install software and perform other important tasks as superuser. 2. Install BalenaEtcher on Windows 11 Now, on your Windows terminal, just run Using the default Windows package manager
 Which one is better? What are the differences, advantages and disadvantages of NTFS and ReFS in Windows 11?
May 10, 2023 am 08:06 AM
Which one is better? What are the differences, advantages and disadvantages of NTFS and ReFS in Windows 11?
May 10, 2023 am 08:06 AM
NTFS has always been the default file system for Windows PCs, but Microsoft is introducing some juicy stuff with ReFS. This new file system may be coming to Windows 11, and users are eager to know how NTFS will compare to ReFS. In this detailed guide, we will show you the better choice between these two file systems. Does Windows 11 support ReFS? Discussions about Windows 11 supporting ReFS (Resilient File System) are still tentative and ongoing. This file system is not officially available on Windows 11 PCs yet. However, DevsChannel and WindowsServe
 Windows 11 doesn't recognize Android phone? Here's a quick fix
Apr 13, 2023 pm 04:31 PM
Windows 11 doesn't recognize Android phone? Here's a quick fix
Apr 13, 2023 pm 04:31 PM
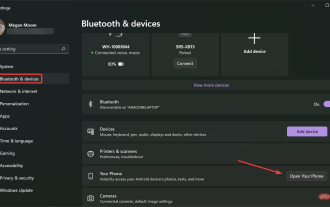
Microsoft users can connect their phones to their PCs using the app Phone Link (formerly Your Phone). This application allows your Windows PC to access photos, texts, notifications, and other data on your phone. Phone Link will be able to mirror the screen of your Android device. Currently, this feature is still in the testing phase for some Samsung smartphones. Users can still connect their Android devices to their PC using a USB cable, however, this only allows users to transfer files, photos, music, and other media between their PC and smartphone. To access texts and calls,
 How to solve Garmin USB device not recognized issue in Windows 11?
Apr 22, 2023 am 09:46 AM
How to solve Garmin USB device not recognized issue in Windows 11?
Apr 22, 2023 am 09:46 AM
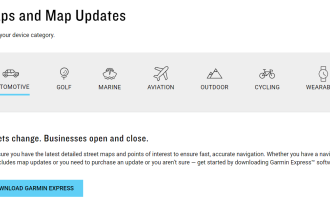
GarminGPS itself has the ability to change files, maps, routes and waypoints. However, it's often more efficient to connect the device to your computer and use BaseCamp software. In rare cases, you may find that your computer does not recognize GarminGPS. Don't worry because you're not alone, USB cable errors are usually easy to fix. In the worst case scenario, you will have to buy a new wire for your device. Follow along as we put together a comprehensive list of solutions you can try to fix the error as soon as we see what other products the company makes. Follow us! What products does Garmin make? In addition to GPS devices, the company also makes activity trackers and sports watches that track
 Fix: Device Manager keeps refreshing in Windows 11, 10
Apr 18, 2023 pm 10:55 PM
Fix: Device Manager keeps refreshing in Windows 11, 10
Apr 18, 2023 pm 10:55 PM
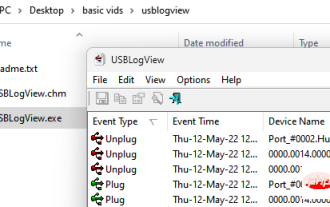
Many Windows users have reported that their Device Manager frequently refreshes after startup. Therefore, they cannot search for any device driver or perform any specified operations such as update, install, and uninstall. There can be many reasons for such problems on Windows systems, including corrupted system files, firewall or third-party antivirus software installed on the system, faulty connected USB devices, certain error reporting services, etc. In this post, we have gathered some details about the possible causes of the problem and put them into a collection of fixes that may help solve the problem on your Windows 11 system. Fix 1 – Find the USB device responsible for this issue This issue may be caused by the USB device
 Fix: Rufus cannot create bootable USB issue in Windows PC
Apr 29, 2023 am 09:19 AM
Fix: Rufus cannot create bootable USB issue in Windows PC
Apr 29, 2023 am 09:19 AM
Rufus is an excellent tool for easily creating bootable USB drives. This small and stylish tool is amazingly efficient and generally provides error-free operation. However, sometimes creating a new bootable USB stick can cause some error messages to pop up, stumbling upon the burning process. If you face any difficulty using Rufus, you can follow the steps below to find a quick solution to your problem. Fix 1 – Run the drive’s Error Checker Before trying again with Rufus, you can run the drive’s Error Checker tool to scan the drive for any errors. 1. Press Windows key + E key at the same time to open File Explorer. Then, click "This PC