
This article brings you relevant knowledge about front-end picture special effects. It mainly introduces to you how the front-end implements a picture multiple-choice special effect that has been very popular on Douyin recently. It is very comprehensive and detailed. Let’s take a look at it together. I hope Help those in need.
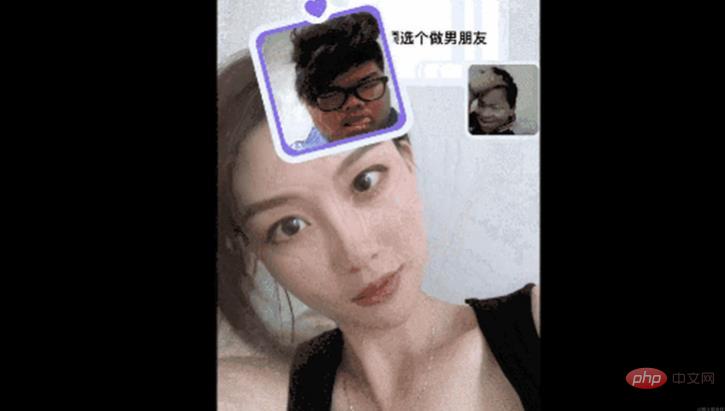

Due to security reasons, the Nuggets did not set allow="microphone *;camera *" on the iframe tag, causing the camera to open fail! Please click "View Details" in the upper right corner to view! Or click the link below to view
//复制链接预览
https://code.juejin.cn/pen/7160886403805970445
Recently, there is a Picture Multiple Choice Question in Douyin special effects that is particularly popular. Today, let’s talk about how to implement the front-end. Next, I will mainly talk about how to judge the left and right head swing.
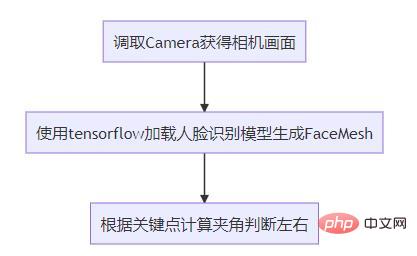
The abstract overall implementation idea is as follows
import '@mediapipe/face_mesh';
import '@tensorflow/tfjs-core';
import '@tensorflow/tfjs-backend-webgl';
import * as faceLandmarksDetection from '@tensorflow-models/face-landmarks-detection';
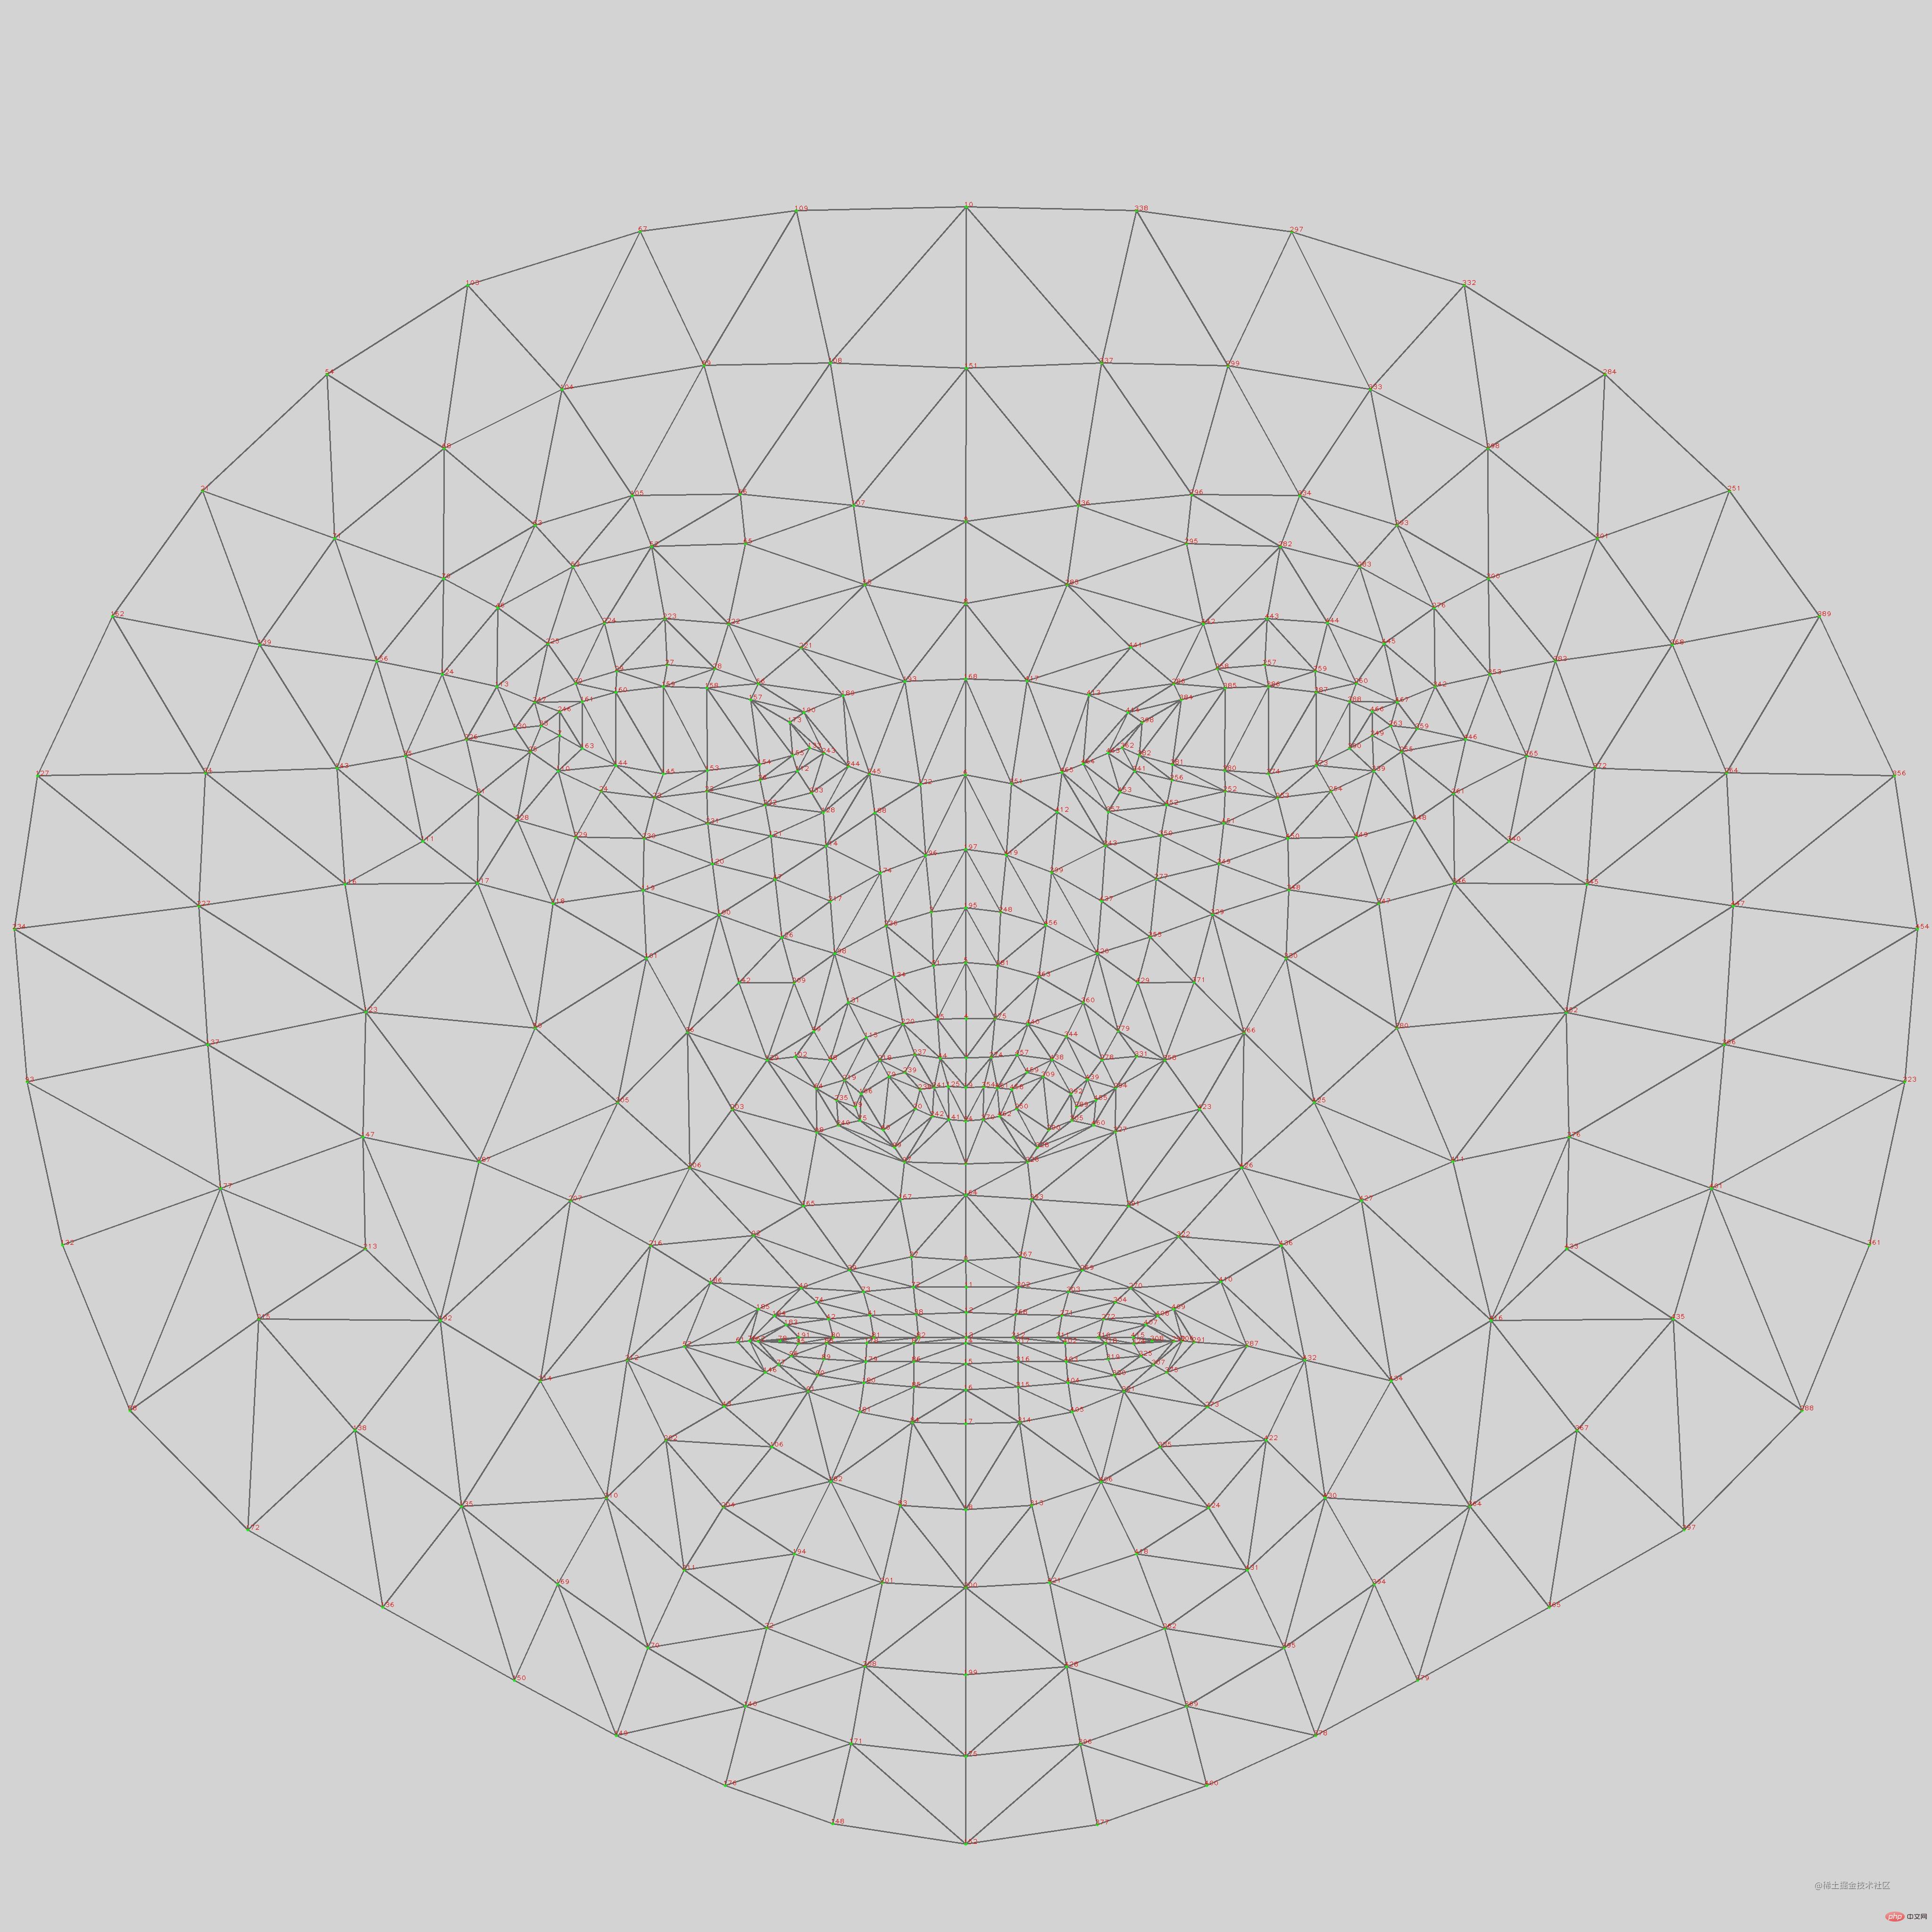
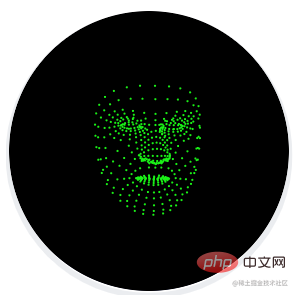
face feature point detection model, prediction486 3D facial feature points are used to infer the approximate facial geometry of the human face.
Default is 1. The maximum number of faces the model will detect. The number of faces returned can be less than the maximum (for example, when there are no faces in the input). It is strongly recommended to set this value to the maximum expected number of faces, otherwise the model will continue to search for missing faces, which may slow down performance. The default is false. If set to true, refines landmark coordinates around the eyes and lips, and outputs additional landmarks around the iris. (I can set false here because we are not using eye coordinates) The path to the location of the am binary and model files. (It is strongly recommended to put the model into domestic object storage. The first load can save a lot of time. The size is about 10M)async createDetector(){
const model = faceLandmarksDetection.SupportedModels.MediaPipeFaceMesh;
const detectorConfig = {
maxFaces:1, //检测到的最大面部数量
refineLandmarks:false, //可以完善眼睛和嘴唇周围的地标坐标,并在虹膜周围输出其他地标
runtime: 'mediapipe',
solutionPath: 'https://cdn.jsdelivr.net/npm/@mediapipe/face_mesh', //WASM二进制文件和模型文件所在的路径
};
this.detector = await faceLandmarksDetection.createDetector(model, detectorConfig);
} ##人Face recognition
HTMLVideoElement,
HTMLImageElement,HTMLCanvasElement, andTensor3D.
async renderPrediction() {
    var video = this.$refs['video'];
    var canvas = this.$refs['canvas'];
    var context = canvas.getContext('2d');
    context.clearRect(0, 0, canvas.width, canvas.height);
    const Faces = await this.detector.estimateFaces(video, {
        flipHorizontal:false, //镜像
    });
    if (Faces.length > 0) {
        this.log(`检测到人脸`);
    } else {
        this.log(`没有检测到人脸`);
    }
} This box represents the bounding box of the face in the image pixel space, xMin, xMax represent x-bounds, yMin, yMax represent y-bounds, width, height Represents the dimensions of the bounding box.
For keypoints, x and y represent the actual keypoint location in the image pixel space. z represents the depth at which the center of the head is the origin. The smaller the value, the closer the key point is to the camera. The size of Z uses roughly the same scale as x.
This name provides a label for some key points, such as "lips", "left eye", etc. Note that not every keypoint has a label.
How to judge
The first point
The center position of the foreheadThe second point Chin center position <div class="code" style="position:relative; padding:0px; margin:0px;"><pre class='brush:php;toolbar:false;'>const place1 = (face.keypoints || []).find((e,i)=>i===10); //额头位置
const place2 = (face.keypoints || []).find((e,i)=>i===152); //下巴位置
/*
x1,y1
|
|
|
x2,y2 -------|------- x4,y4
x3,y3
*/
const [x1,y1,x2,y2,x3,y3,x4,y4] = [
place1.x,place1.y,
0,place2.y,
place2.x,place2.y,
this.canvas.width, place2.y
];</pre><div class="contentsignin">Copy after login</div></div> Calculate
forehead center position and chin center position ,y3,x4,y4
getAngle({ x: x1, y: y1 }, { x: x2, y: y2 }){
    const dot = x1 * x2 + y1 * y2
    const det = x1 * y2 - y1 * x2
    const angle = Math.atan2(det, dot) / Math.PI * 180
    return Math.round(angle + 360) % 360
}
const angle = this.getAngle({
        x: x1 - x3,
        y: y1 - y3,
    }, {
        x: x2 - x3,
        y: y2 - y3,
    });
console.log('角度',angle)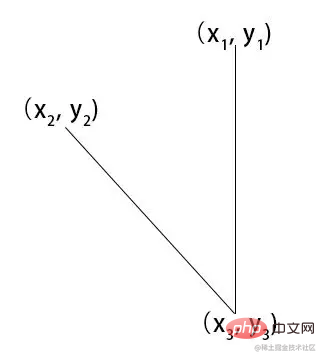
通过获取角度,通过角度的大小来判断左右摆头。
推荐:《web前端开发视频教程》
The above is the detailed content of Douyin's very popular picture multiple-choice special effects can be quickly implemented using the front end!. For more information, please follow other related articles on the PHP Chinese website!
 Is python front-end or back-end?
 Douyin cannot download and save videos
 How to watch live broadcast playback records on Douyin
 How to modify the text in the picture
 Check friends' online status on TikTok
 How to implement instant messaging on the front end
 What's the matter with Douyin crashing?
 What to do if the embedded image is not displayed completely


