

Installation method of oracle11g under win64: 1. Open the oracle official website; 2. Select the installation path and create a new oracle folder; 3. Find the installation file of the corresponding configuration; 4. Click file1 and file2 to download respectively. to the oracle folder; 5. Configure the environment.

The operating environment of this article: Windows 10 system, Dell G3 computer, Oracle 11g version.
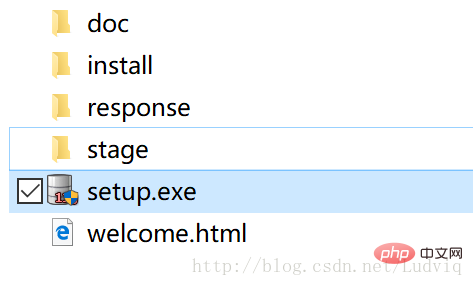
How to install win64-bit Oracle 11g?
Oracle11g installation win64-bit:
For course use, install oracle11g;

This machine is configured for win10 64-bit; during the configuration process, I referred to an article, but there are some differences. I will record it here, and I hope it can be used for encountering problems. Provide a solution to the same problem;
Reference article://m.sbmmt.com/oracle/485887.html
Details The installation process is as follows:
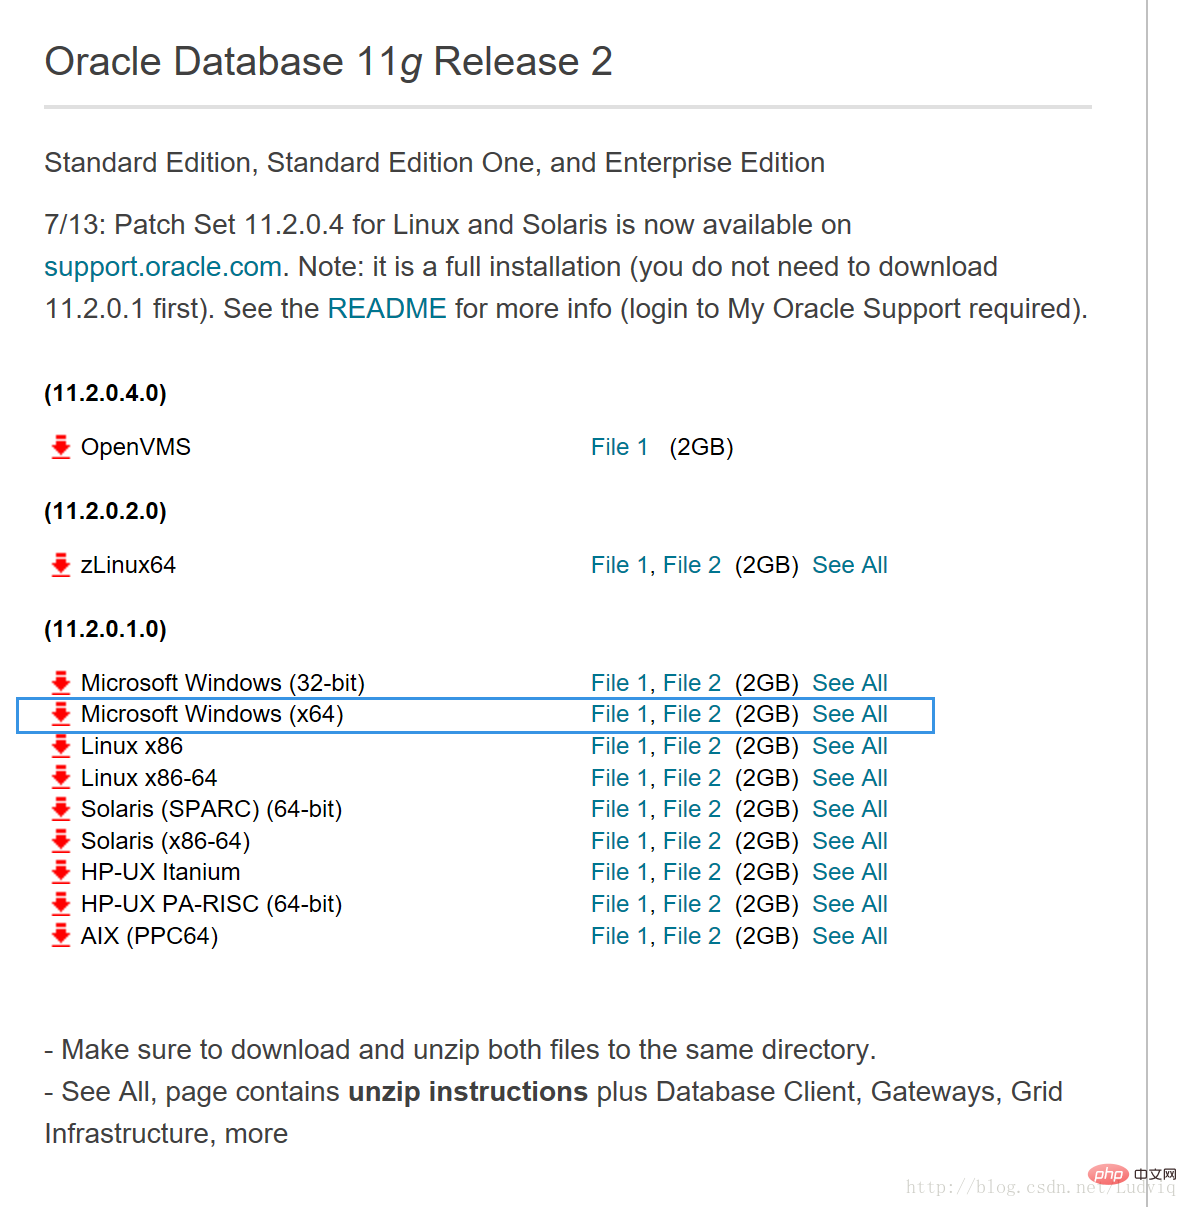
1: Download the installation package
Download website:
http://www.oracle.com/technetwork/database/enterprise-edition /downloads/index.html
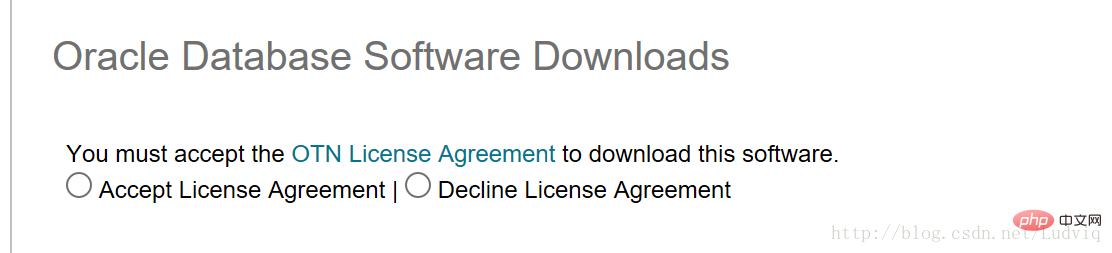
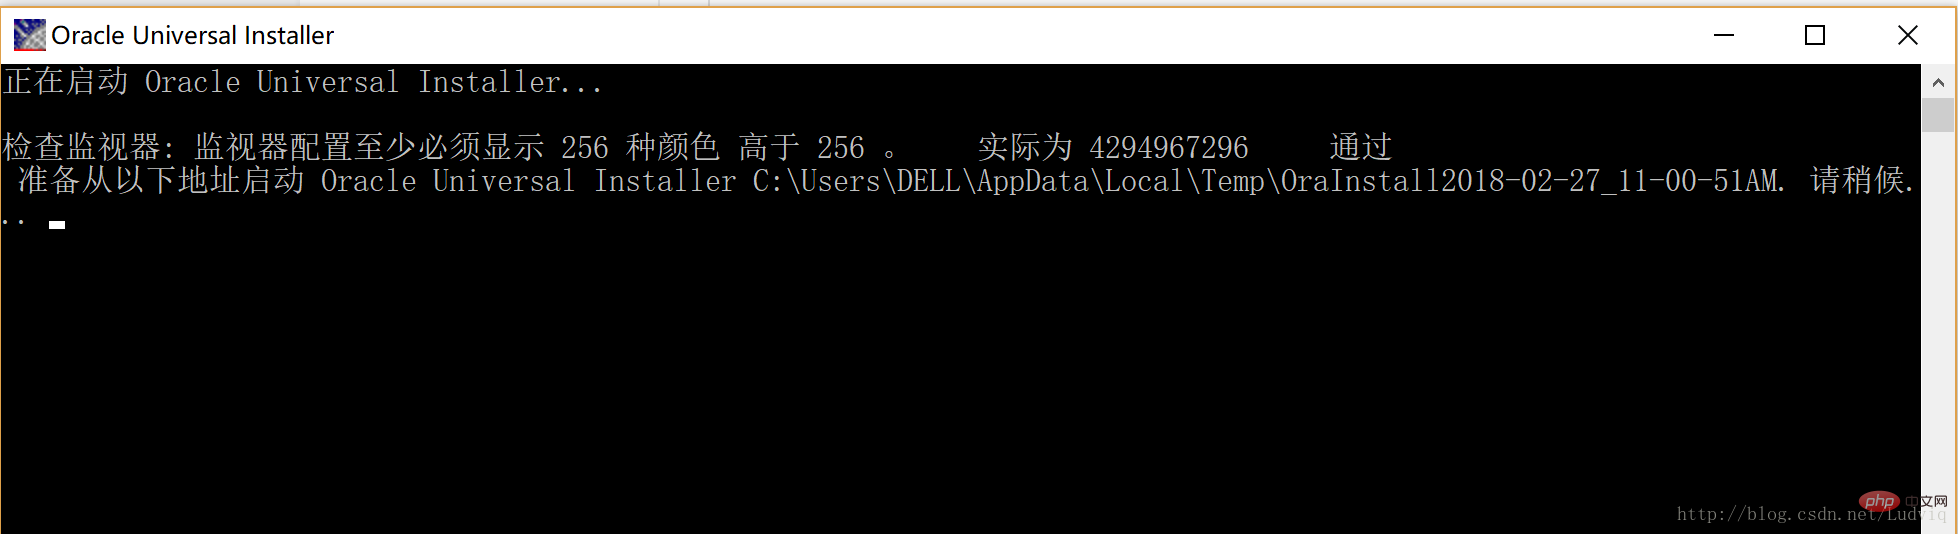
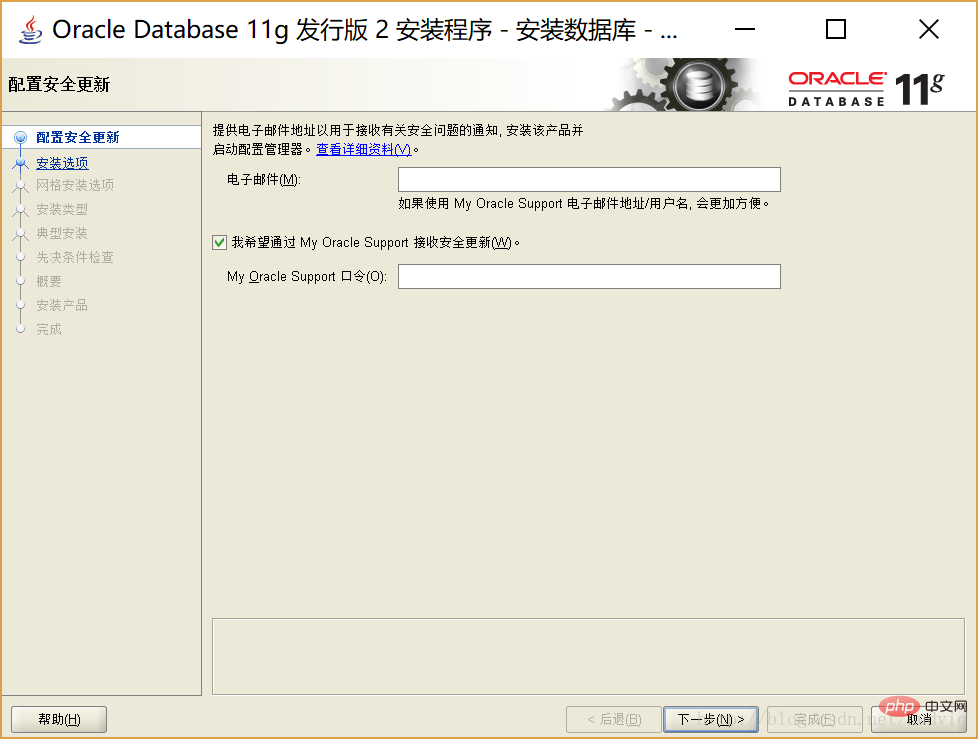
(1) Click on the website and enter the following interface

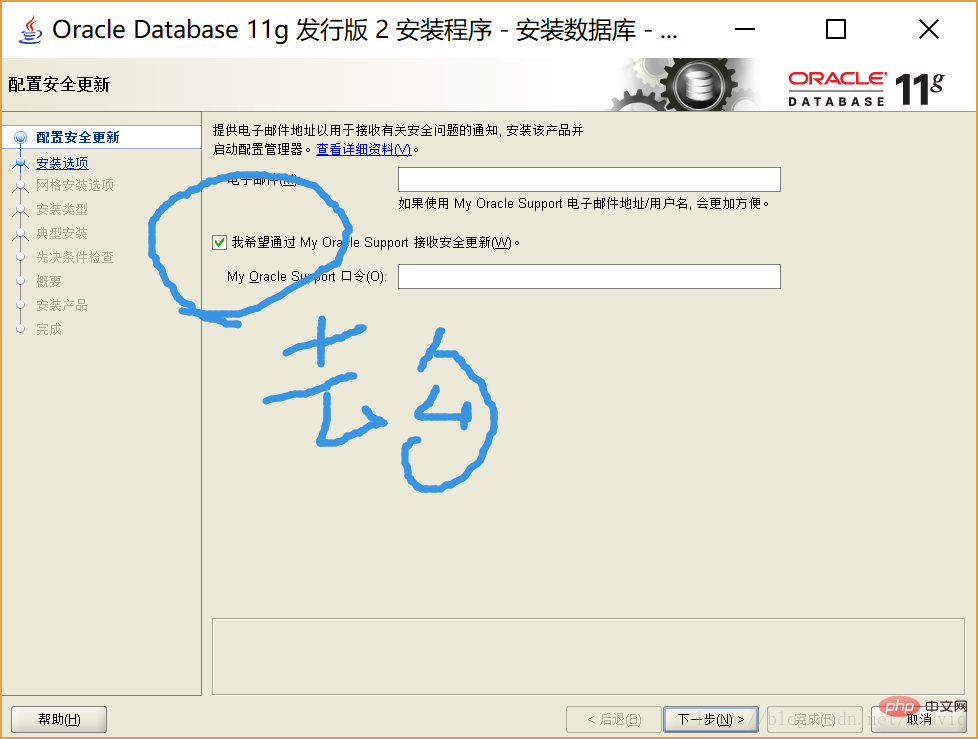
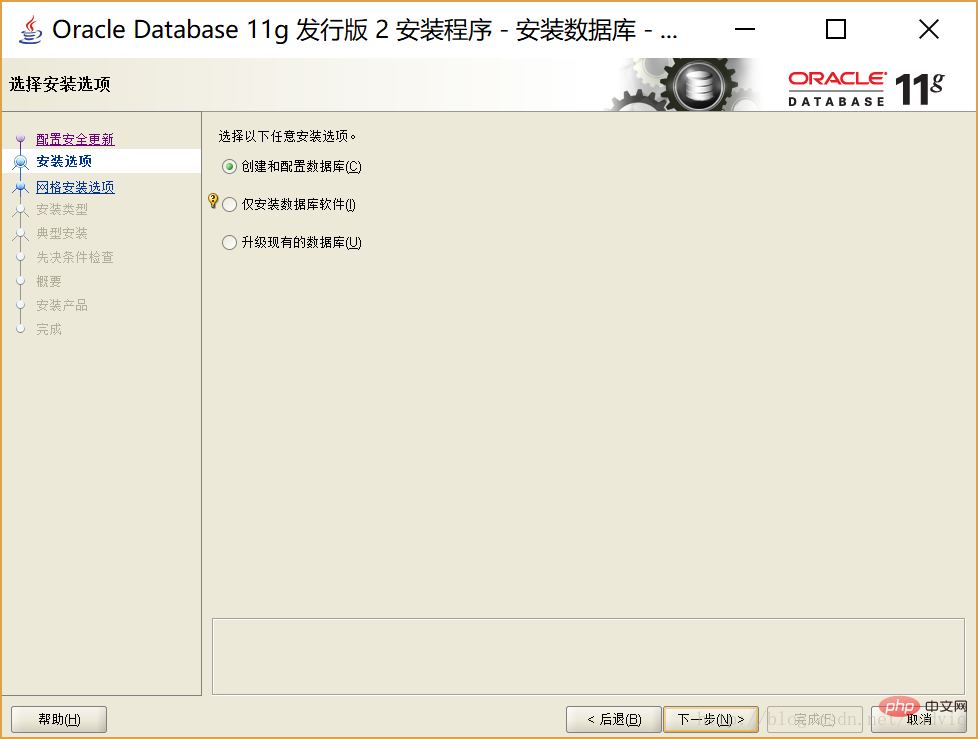
(2) Agree to the agreement, click ## in the circle on the left


(10.2) Default option, next step;
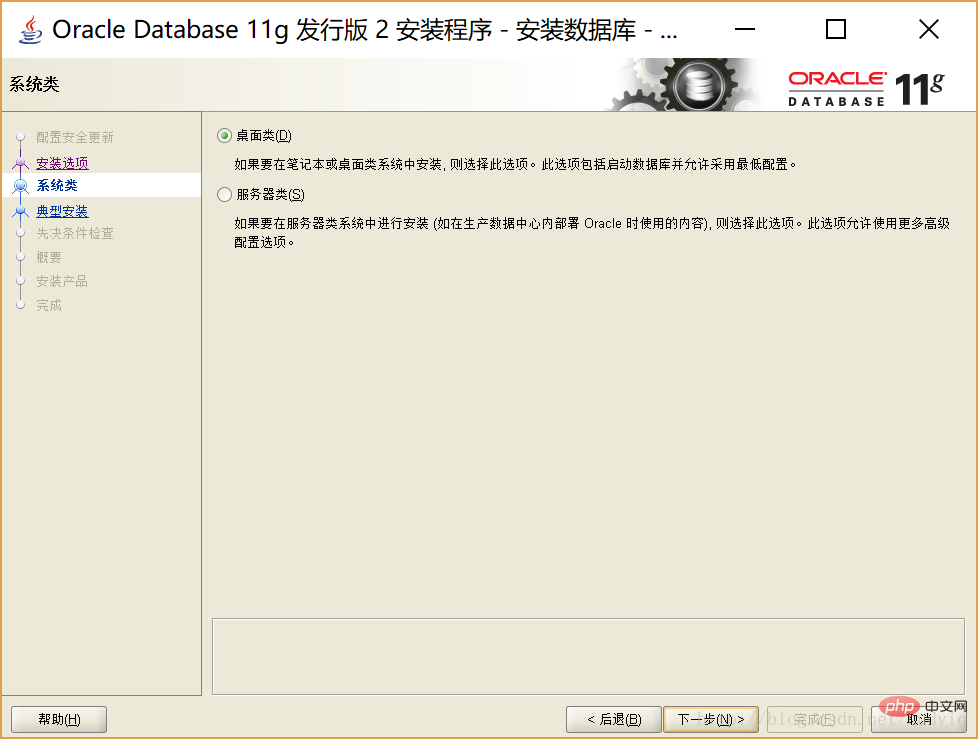
(10.3) Default option, next step:
(desktop class, use It’s enough to learn)
(10.4) Default option content, fill in the management password you defined, and the corresponding confirmation password that is the same as the management password to confirm, and then Next step;
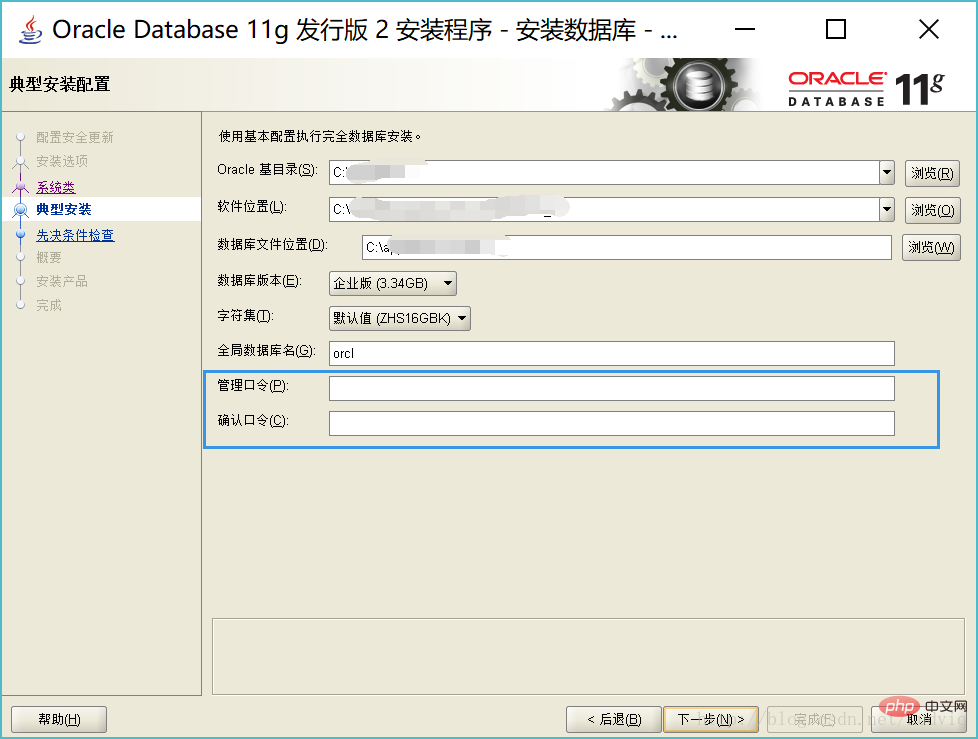
【! 】If the management password does not meet the security standards, click "Yes" and your password can be memorized;
(10.5) summary interface, you can click Save response file to save the file , you can also click Finish without saving;
[Sorry there are no reference pictures here, because this is what I recorded after downloading, and it is inconvenient to download again due to directory reasons. For specific pictures, you can refer to what I said at the beginning of the blog. Refer to the pictures in the blog]
(10.6) Installation product interface:
[! 】Do not close the window after the progress bar reaches 100%. Wait for a while, and it will automatically pop up and start the download page of the next part;
[Sorry there is no reference picture here, because this is my record after downloading The content, due to directory reasons, is inconvenient to download again. For specific pictures, you can refer to the pictures in the reference blog I mentioned at the beginning of the blog]
(10.7) In the new pop-up interface of the installation interface After the installation progress bar reaches 100%, a page will pop up;
In the lower right corner of this page, there is "Password Management", click;
(10.8) to enter the "Password Management" interface, Find "scott" and click to remove its corresponding check mark;
Enter the corresponding passwords for scott, sys, and system respectively:
scott: You can think of this yourself, generally blogs will enter tiger;
system:manager;
sys:change_on_install;
(The default passwords for sys and system are historical)
【! 】If the password prompt does not comply with the complexity principle, you can directly press "Yes";
【! 】If the confirmation command prompted is incorrect, please confirm whether your confirmation command is the same as the corresponding new command;
(10.9) After confirmation, it will automatically jump to the completion interface, click Close to complete the installation;
Related recommendations:oracle database learning tutorial
The above is the detailed content of How to install win64 bit + oracle 11g. For more information, please follow other related articles on the PHP Chinese website!


![[Web front-end] Node.js quick start](https://img.php.cn/upload/course/000/000/067/662b5d34ba7c0227.png)


