I have always been curious about the wordpress website. I have always heard that it is very convenient to use and just configure it locally, but I have never used it. I checked the official website today and compiled the local configuration information below. Hope this helps everyone.
1. Search "wordpress download" online and download the wordpress package.
Direct download URL: https://wordpress.org/download/

2. Download the wordpress package, unzip and put Go to the service project path(/Users/gaopeng/eclipse-workspace/wordpress/)
Local server configuration:
Alias /os/ "/Users/gaopeng/eclipse-workspace/wordpress/"AllowOverride All Order allow,deny Allow from All
3. WordPress creates a Mysql database(name is English, language utf8_general_ci)
wp-config-sample.phpFile database configuration
/** The name of the database for WordPress */ define( 'DB_NAME', 'database_name_here' ); /** MySQL database username */ define( 'DB_USER', 'username_here' ); /** MySQL database password */ define( 'DB_PASSWORD', 'password_here' ); /** MySQL hostname */ define( 'DB_HOST', 'localhost' ); /** Database charset to use in creating database tables. */ define( 'DB_CHARSET', 'utf8' ); /** The database collate type. Don't change this if in doubt. */ define( 'DB_COLLATE', '' );
According to the information of your own computer Configuration, I configured it as follows:
The username and password are the following information:
/** MySQL database username */ define('DB_USER', 'root'); /** MySQL database password */ define('DB_PASSWORD', '1'); /** MySQL hostname */ define('DB_HOST', '127.0.0.1'); /** Database Charset to use in creating database tables. */ define('DB_CHARSET', 'utf8'); /** The database collate type. Don't change this if in doubt. */ define( 'DB_COLLATE', 'utf8_general_ci' );
4. Installwordpress
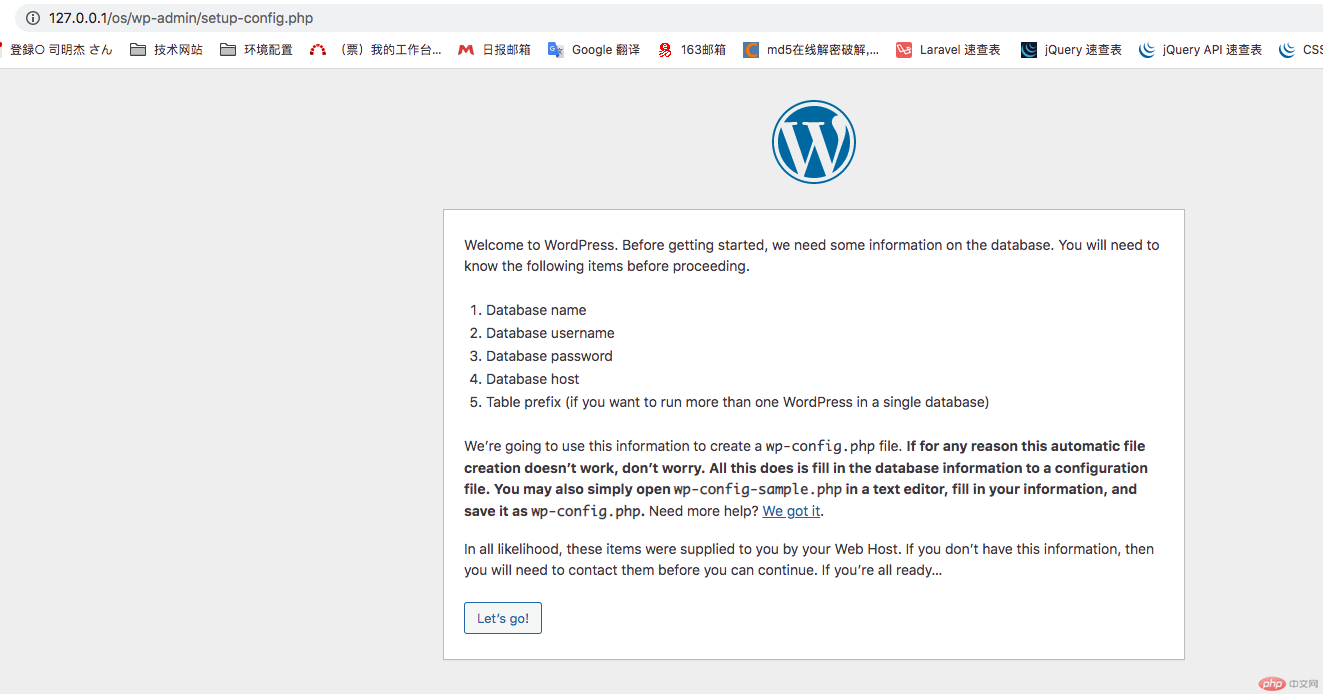
Step 1: Enterhttp://127.0.0.1/os/
 in the browser address bar. Step 2: "Create configuration file" in the text editor Open wp-config-sample.php, fill in the database information, and save it as wp-config.php. Then click the "let's go!" button;
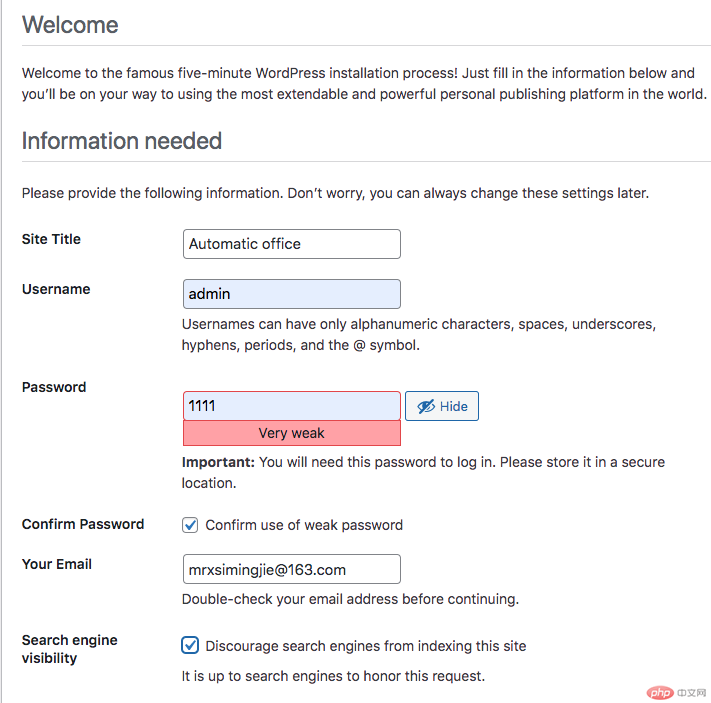
Step 3: Fill in the information in the entered page (fill in the database name just created wdpress for the database name, fill in root for the user name, and fill in the password 1,Database Host:127.0.0.1,Table Prefix:wp), then click the "Submit" button.
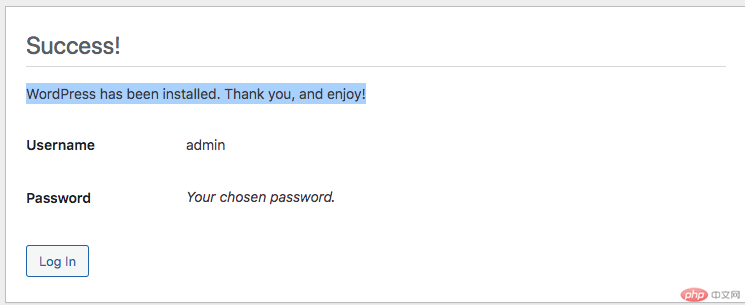
Step 4: Click the "Install" button. (Run the install)


5. Solve the problem that WordPress requires FTP to install themes or plug-ins
In the wp-content directory, create a new tmp folder and set the folder permissions to 777
Modification: Add the following code in wp-config.php:
define('WP_TEMP_DIR', ABSPATH.'wp-content/tmp'); /* WordPress的临时目录。*/ define("FS_METHOD", "direct"); define("FS_CHMOD_DIR", 0777); define("FS_CHMOD_FILE", 0777);
Note: To Define ABSPATH, that is, add this code after it:
if ( !defined('ABSPATH') ) define('ABSPATH', dirname(__FILE__) . '/');
6. Language switching (language pack download)
Inwp-confing. phpAdddefine('WPLANG', 'zh_CN');
In the wp-content directory, create a new languages folder and set the folder permissions to 777
Enter the site control panel (dashboard) and upgrade after seeing the update prompt. WordPress will automatically download the Chinese language pack from the official website and install it.
7. Install the plug-in
Select the plug-in you want to use and install it.
1.Wordpress File Upload (Plug-in for uploading files from the page.)
2.Multisite Language Switcher (Multisite language switcher: a plug-in that should be used when creating sub-sites in different languages)
When updating plug-ins, themes, etc. in the apache environment server fails (error: Because we cannot copy some files, the upgrade was not installed. This is usually because of inconsistent file permissions.), just open the permissions of the corresponding file That's it (for 777).
The above is the most basic configuration. The following configuration will not be explained in detail. You can configure it according to your own business needs. If you don't understand something, you can leave a message. Thank you for your support. Hope this helps everyone. [Related recommendations:WordPress Tutorial]
The above is the detailed content of WordPress local environment configuration (image and text steps). For more information, please follow other related articles on the PHP Chinese website!