The following tutorial column fromphpmyadminwill introduce you to the settings of phpmyadmin table creation and id user self-increment. I hope it will be helpful to friends in need!
1. Creation of phpmyadmin table
1. First open wamp and ensure that the mysql service is started.
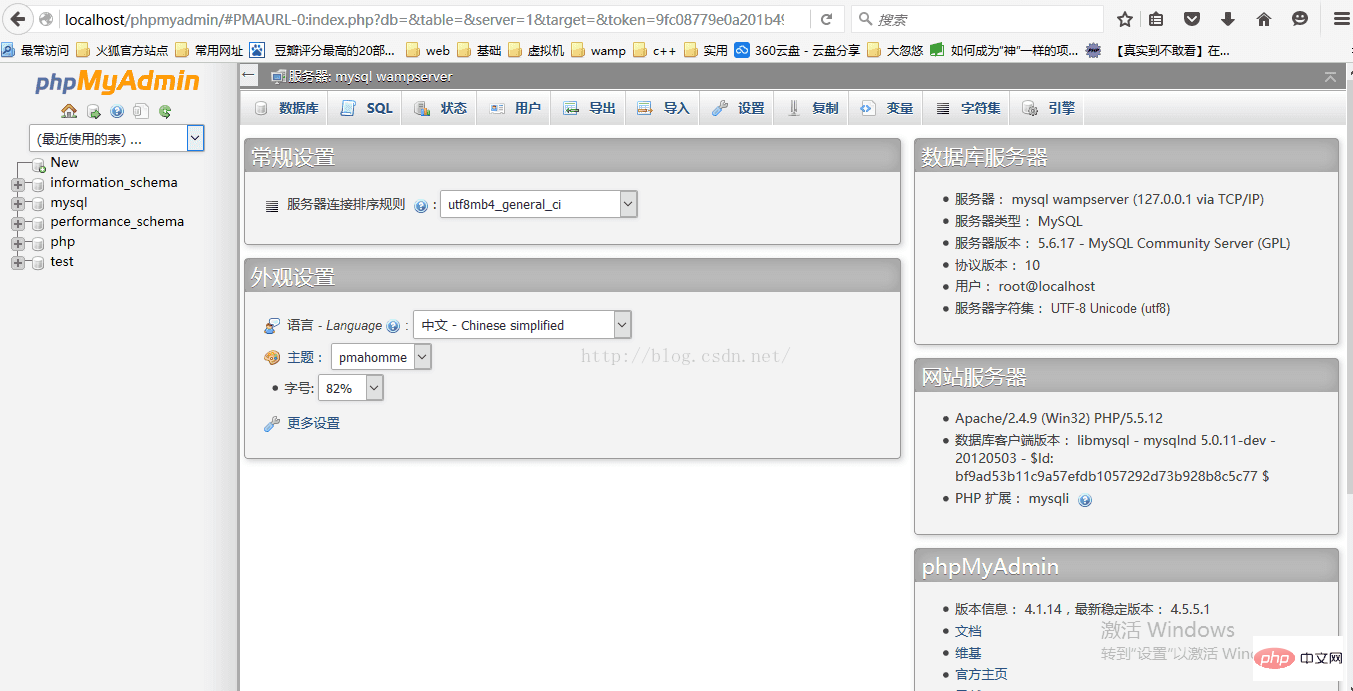
2. Open the browser and enter localhost/phpmyadmin in the address bar to enter the main interface of phpmyadmin.

3. Click new to create a new database, and the following interface will appear

4. In the new database column Fill in the name of the new database. Here I fill in phpmyadmin and click Create. The following view appears

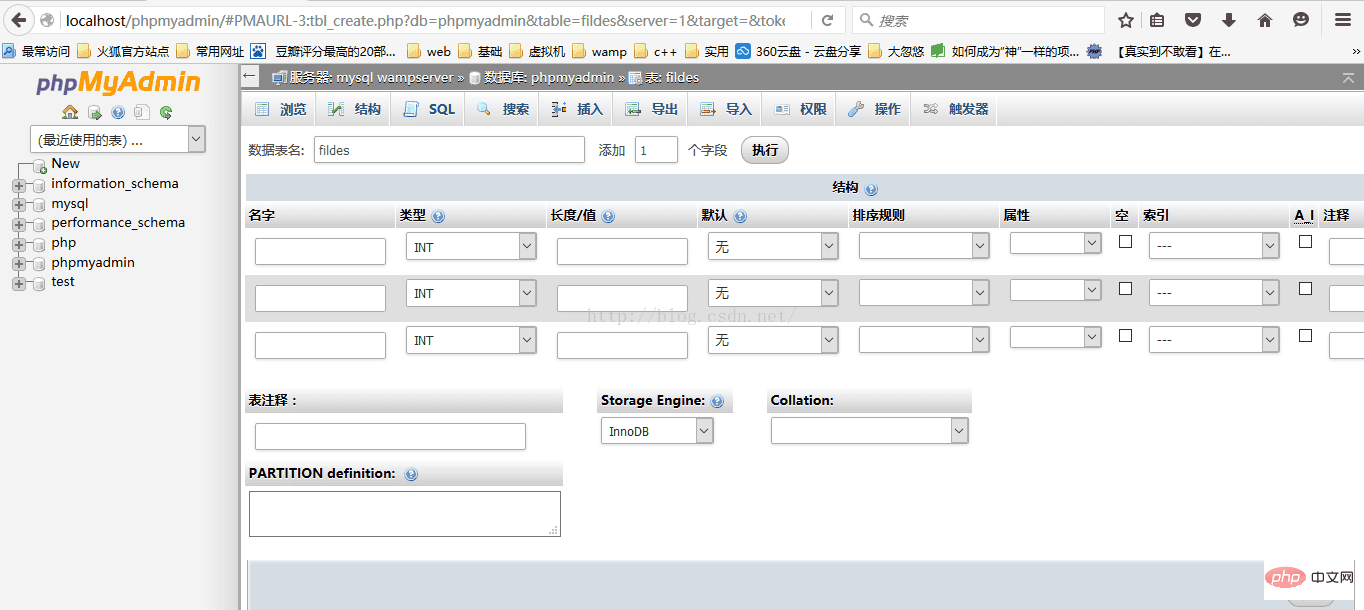
5. Click phpmyadmin on the left and fill in the name of the table to be built in the new data table on the right. Here I fill in fildes, the number of fields is 3, meaning There are 3 attributes in the created table. Click Execute, and the following figure will appear

Then fill in the name of the attribute, click Save, and you can find the newly created table in the structure.
2. Settings for id user auto-increment
In the process of creating the table in the previous step, in the picture shown in step 5, find the A_I column in the form and tick it. That's it.
The above is the detailed content of phpmyadmin creates tables and id user self-increase settings. For more information, please follow other related articles on the PHP Chinese website!
 Commonly used mysql management tools
 What to do if phpmyadmin fails to import sql file
 How to change phpmyadmin to Chinese
 What's going on when phpmyadmin can't access it?
 What are the dos commands?
 msdn official website entrance
 The difference between arrow functions and ordinary functions
 How to open jar files


