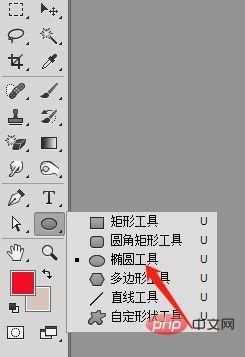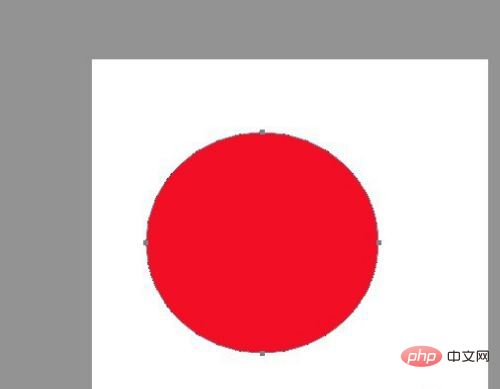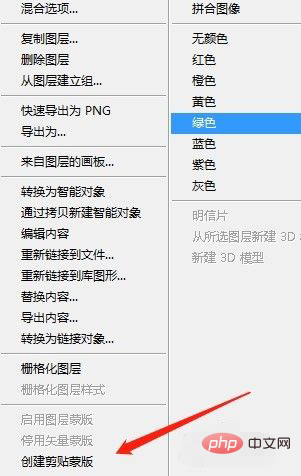
Creation method: First open the software and create a new file; then click the "Vector Graphics" tool on the toolbar and select the specified graphics tool in the pop-up drop-down menu; then draw the specified shape in the canvas, Import the image into the software and adjust the size; finally select the layer where the image is located, right-click the mouse and select the "Clipping Mask" option.

The operating environment of this tutorial: Windows 7 system, Adobe photoshop cs5 version, Dell G3 computer.
Open the Photoshop software, File-New, a dialog box will pop up, adjust the length, height and resolution, and click OK.

In the toolbar, select the vector graphics tool, click your favorite graphics tool in the drop-down option, hold down the left button in the canvas and drag to draw.


Drag the picture, the layer should be on top of the previously drawn graphics, and adjust the size.


Select the layer where the picture is located, right-click to pop up a dialog box, click the Clipping Mask option, and the picture will be cut.


File—Save as, save in the required format.
Recommended tutorial: "PS Tutorial"
The above is the detailed content of How to create a clipping mask in PS. For more information, please follow other related articles on the PHP Chinese website!