This article will introduce to you how to install MySQL5.6 using YUM under CentOS7. It has certain reference value. Friends in need can refer to it. I hope it will be helpful to everyone.

rpm -qa | grep mysql

If a null value is returned, it means MySQL is not installed.
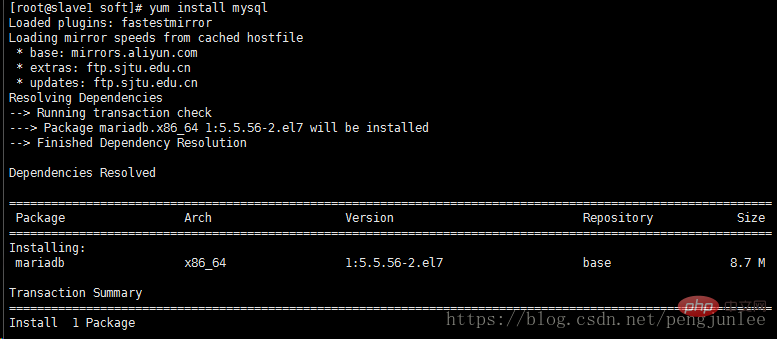
Note: In the new version of CentOS7, the default database has been updated to Mariadb instead of MySQL, so executing the yum install mysql command only updates the Mariadb database and does not install MySQL.

(2) Check the installed Mariadb database version.
rpm -qa|grep -i mariadb

# (3) Uninstall the installed Mariadb database.
rpm -qa|grep mariadb|xargs rpm -e --nodeps

(4) Check the installed Mariadb database version again to confirm whether the uninstallation is complete.
rpm -qa|grep -i mariadb

(5) Download the installation package file.
wget http://repo.mysql.com/mysql-community-release-el7-5.noarch.rpm

(6) Install the mysql-community-release-el7-5.noarch.rpm package
rpm -ivh mysql-community-release-el7-5.noarch.rpm

After the installation is completed, two yum source files, mysql-community.repo and mysql-community-source.repo, will be added to the /etc/yum.repos.d/ directory.

Execute the yum repolist all | grep mysql command to view the available mysql installation files.

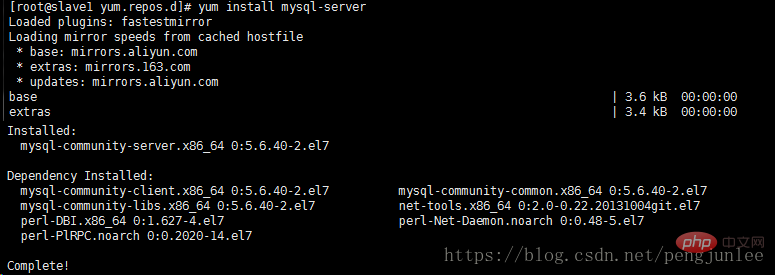
(6) Install mysql.
yum install mysql-server

(7) Check whether mysql is installed successfully.
rpm -qa | grep mysql

(8) Start the mysql service.
systemctl start mysqld.service #启动 mysql
systemctl restart mysqld.service #重启 mysql
systemctl stop mysqld.service #停止 mysql
systemctl enable mysqld.service #设置 mysql 开机启动
Mysql common file path:
/etc/my.cnf This is the main configuration file of mysql
/var/lib/mysql mysql The database file storage location of the database
/var/logs/mysqld.log The database log output storage location
(9) Set the password.
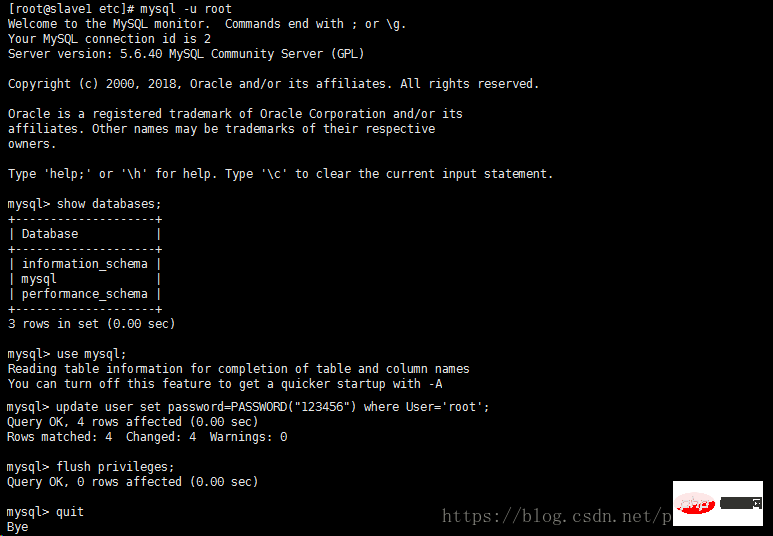
After the installation of mysql5.6 is completed, the password of its root user is empty by default. We need to log in promptly with the root user of mysql (press enter directly for the first time without entering a password) and change the password.
# mysql -u root
mysql> use mysql;
mysql> update user set password=PASSWORD("这里输入root用户密码") where User='root';
mysql> flush privileges;
(10) Set up remote host login
mysql> GRANT ALL PRIVILEGES ON *.* TO 'your username'@'%' IDENTIFIED BY 'your password';
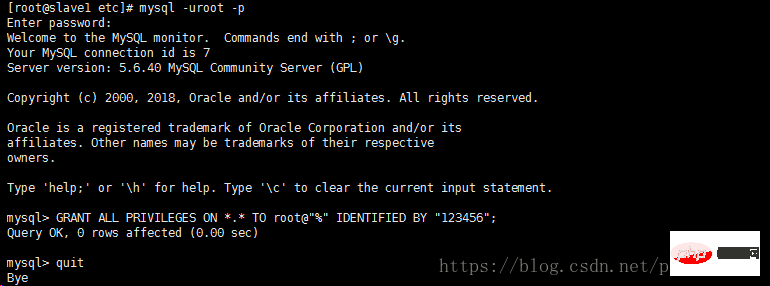
Execute the following command to add remote login capability to the root user.
mysql> GRANT ALL PRIVILEGES ON *.* TO root@"%" IDENTIFIED BY "123456";

[Recommended learning: SQL video tutorial]
The above is the detailed content of How to use YUM to install MySQL5.6 under CentOS7. For more information, please follow other related articles on the PHP Chinese website!