
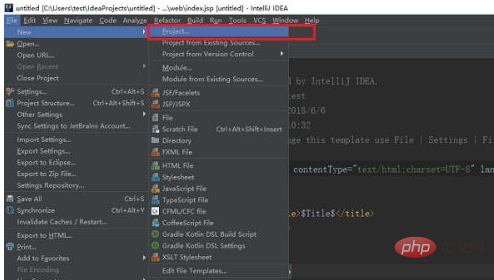
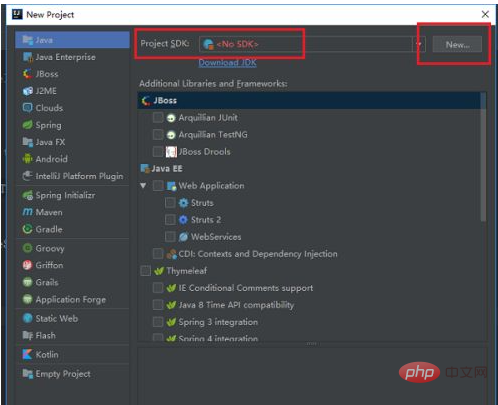
How to create a java project with idea: First open idea on your computer and click "File->New->Project"; then select the path to the JDK installation and click New; then create a simple java project; finally enter the name of the java project to be created and the project storage path.

The operating environment of this article: windows7 system, IntelliJ IDEA 2019.2 version, DELL G3 computer
The first step is to open idea on the computer and click File ->New->Project, as shown in the figure below:
In the second step, after entering the New Project interface, on the right side of java, you first need to select the JDK installation Path, click New, as shown below:
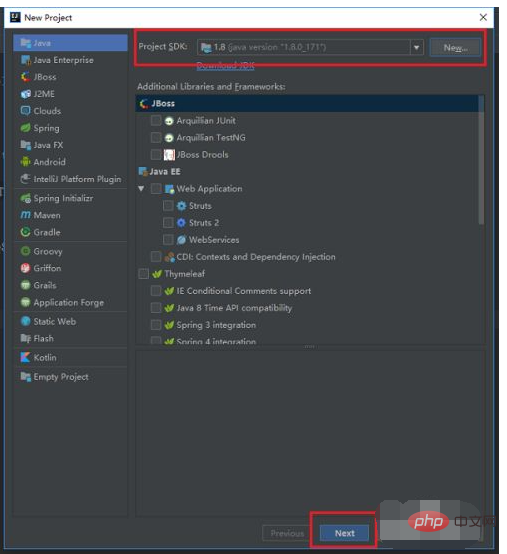
The third step is to select the JDK installation path, create a simple java project, no need to check the framework, directly Click Next, as shown in the figure below:
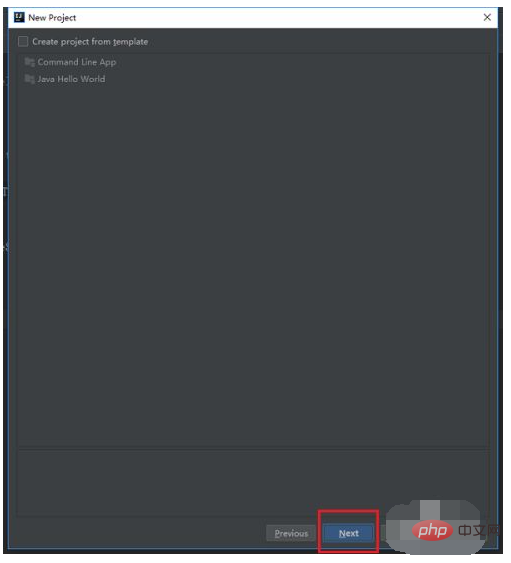
The fourth step is to enter the template interface. There is no need to check, click Next, as shown in the figure below: [Recommended: java video tutorial】
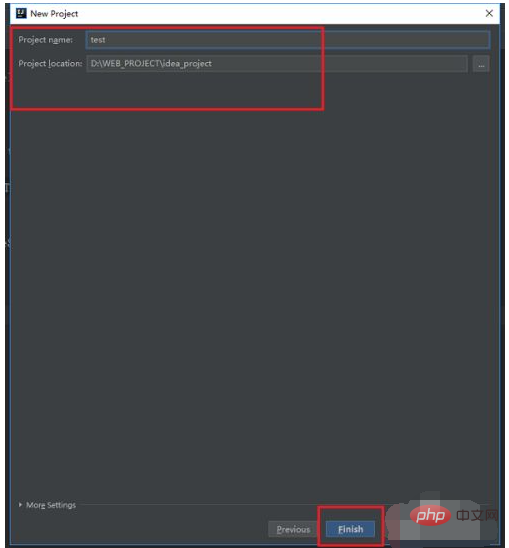
The fifth step is to enter the name of the java project to be created and the project storage path, and click Finish to complete, as shown in the figure below:
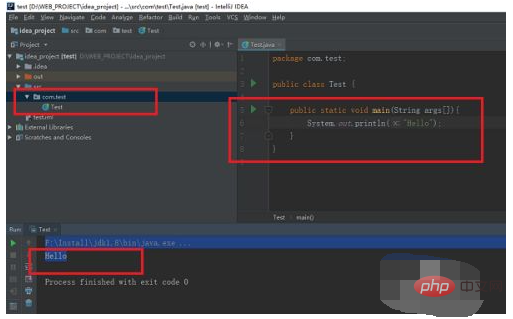
Step 6 After successfully creating a java project, there are two directories, idea and src, under the project. We mainly operate in the src directory and create a new package package in the src directory. , then create a new Test class, run the main method, and output Hello, which means the java project runs successfully, as shown in the following figure:
The above is the detailed content of How to create a java project in idea. For more information, please follow other related articles on the PHP Chinese website!