
How to use the cad format brush: first draw two layers; then use the shortcut key ma, press enter and select "source object"; then select "target object"; finally click to select this The regular pentagon turns red.

The operating environment of this article: Windows 7 system, autocad2020 version, Dell G3 computer.
How to use cad format brush:
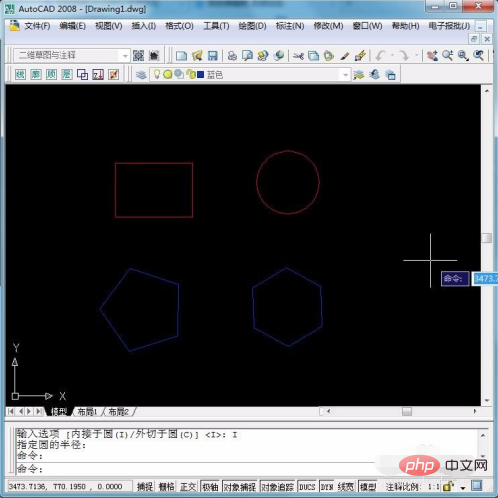
1. Open a CAD. I drew four graphics here, namely rectangle, circle and regular pentagon. , regular hexagon, they are in two layers respectively.
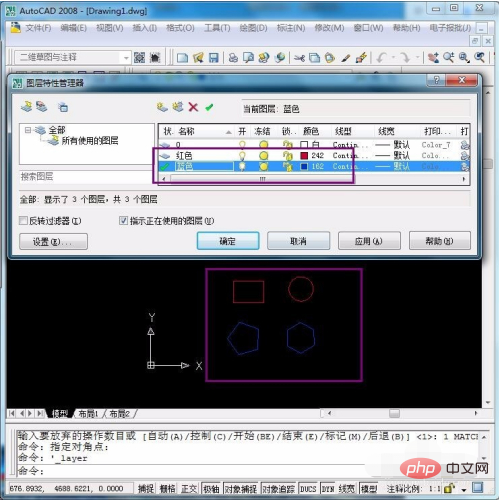
#2. Of my two folders, one has a red picture name and the color is set to red, and the other picture name is blue and the layer color is also set. blue. It is convenient for us to demonstrate below.
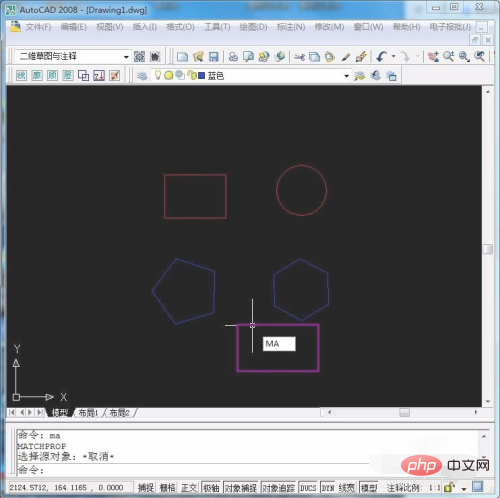
#3. Use the shortcut key ma in CAD. The full name should be MATCHPROP, which is the format brush.
#4. Press enter and you will be asked to select the "source object". For example, now we need to paint the blue regular pentagon into a red layer. For this source object, we select red
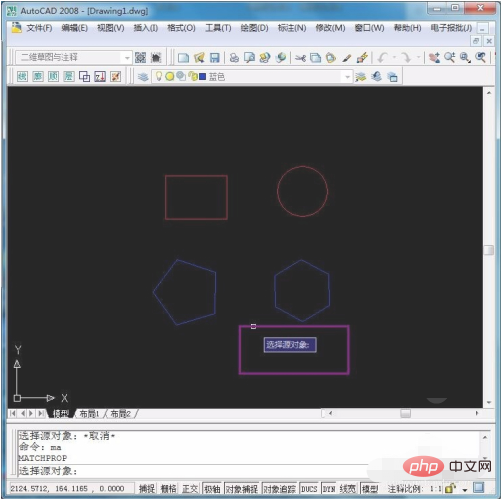
5. After selecting the source object, select the "target object". Our target here is the blue regular pentagon.
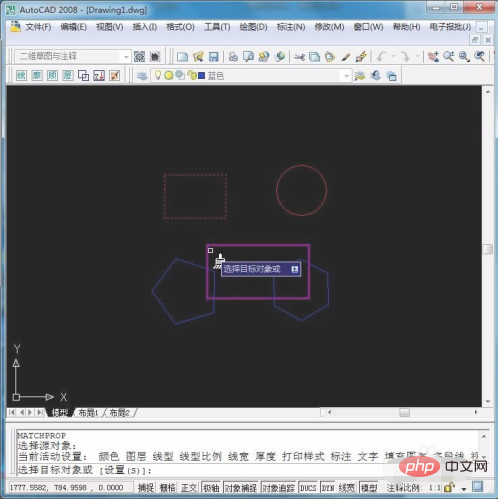
#6. After clicking to select, the regular pentagon will turn red. You can also continue to brush other objects.
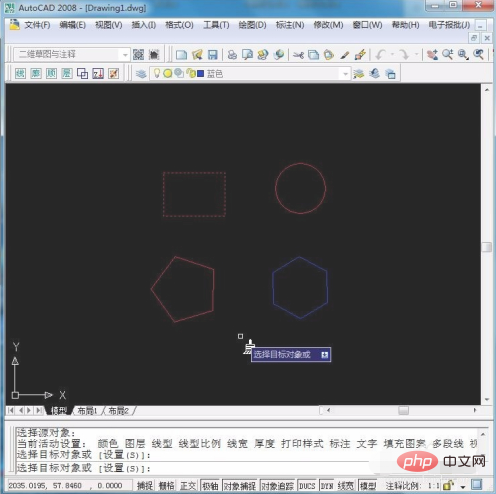
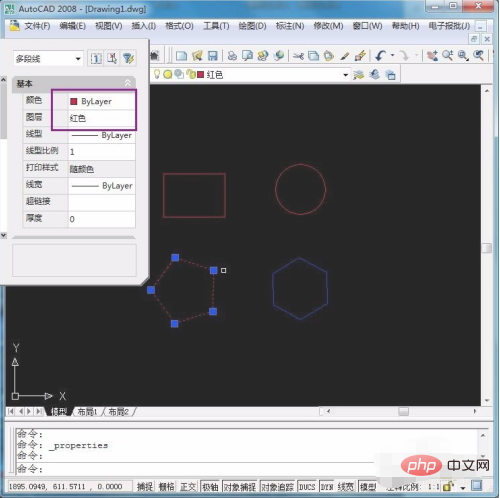
#7. We select this regular pentagon. It was originally in the blue layer, but now it has been transformed into the red layer after brushing. Isn’t the format brush in CAD very convenient?
##Related free learning recommendations: php programming(video)
The above is the detailed content of How to use cad format brush. For more information, please follow other related articles on the PHP Chinese website!


