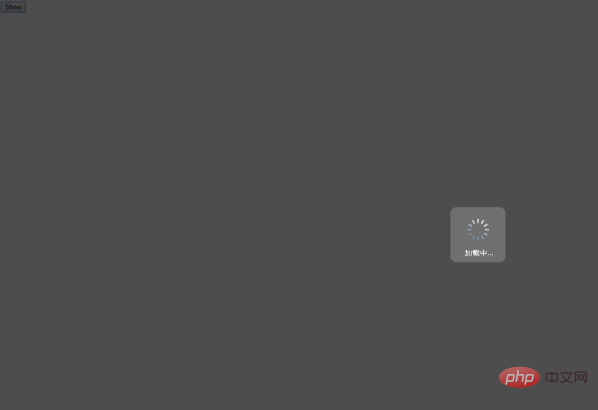

The div css method is used here. The images being loaded are animations downloaded from the Internet. You can modify them according to your needs.
(Recommended tutorial: html tutorial)
Implementation code:
<!DOCTYPE html>
<html>
<head>
<title>DIV CSS遮罩层</title>
<script language="javascript" type="text/javascript">
function showdiv() {
document.getElementById("bg").style.display ="block";
/* document.getElementById("show").style.display ="block";*/
}
function hidediv() {
document.getElementById("bg").style.display ='none';
/*document.getElementById("show").style.display ='none';*/
}
</script>
<style type="text/css">
#bg{ display: none; position: absolute; top: 0%; left: 0%; width: 100%; height: 100%; background-color: black; z-index:1001; -moz-opacity: 0.7; opacity:.70; filter: alpha(opacity=70);}
#show{display: none; position: absolute; top: 25%; left: 22%; width: 53%; height: 49%; padding: 8px; border: 8px solid #E8E9F7; background-color: white; z-index:1002; overflow: auto;}
/*遮罩图片居中显示*/
.zhezhao{
position: absolute;
top:50%;
left: 50%;
transform: translate(-50%,-50%);
}
</style>
</head>
<body>
<input id="btnshow" type="button" value="Show" onclick="showdiv();"/>
<div id="bg">
<img class="zhezhao" src="img/timg.gif" alt="html add mask effect" >
</div> <!-- 遮罩层 -->
<div id="show">测试
<input id="btnclose" type="button" value="Close" onclick="hidediv();"/>
</div>
</body>
</html>Effect:

The above is the detailed content of html add mask effect. For more information, please follow other related articles on the PHP Chinese website!